March 25, 2026 | Oologah, OKTaking Care of Your Leather
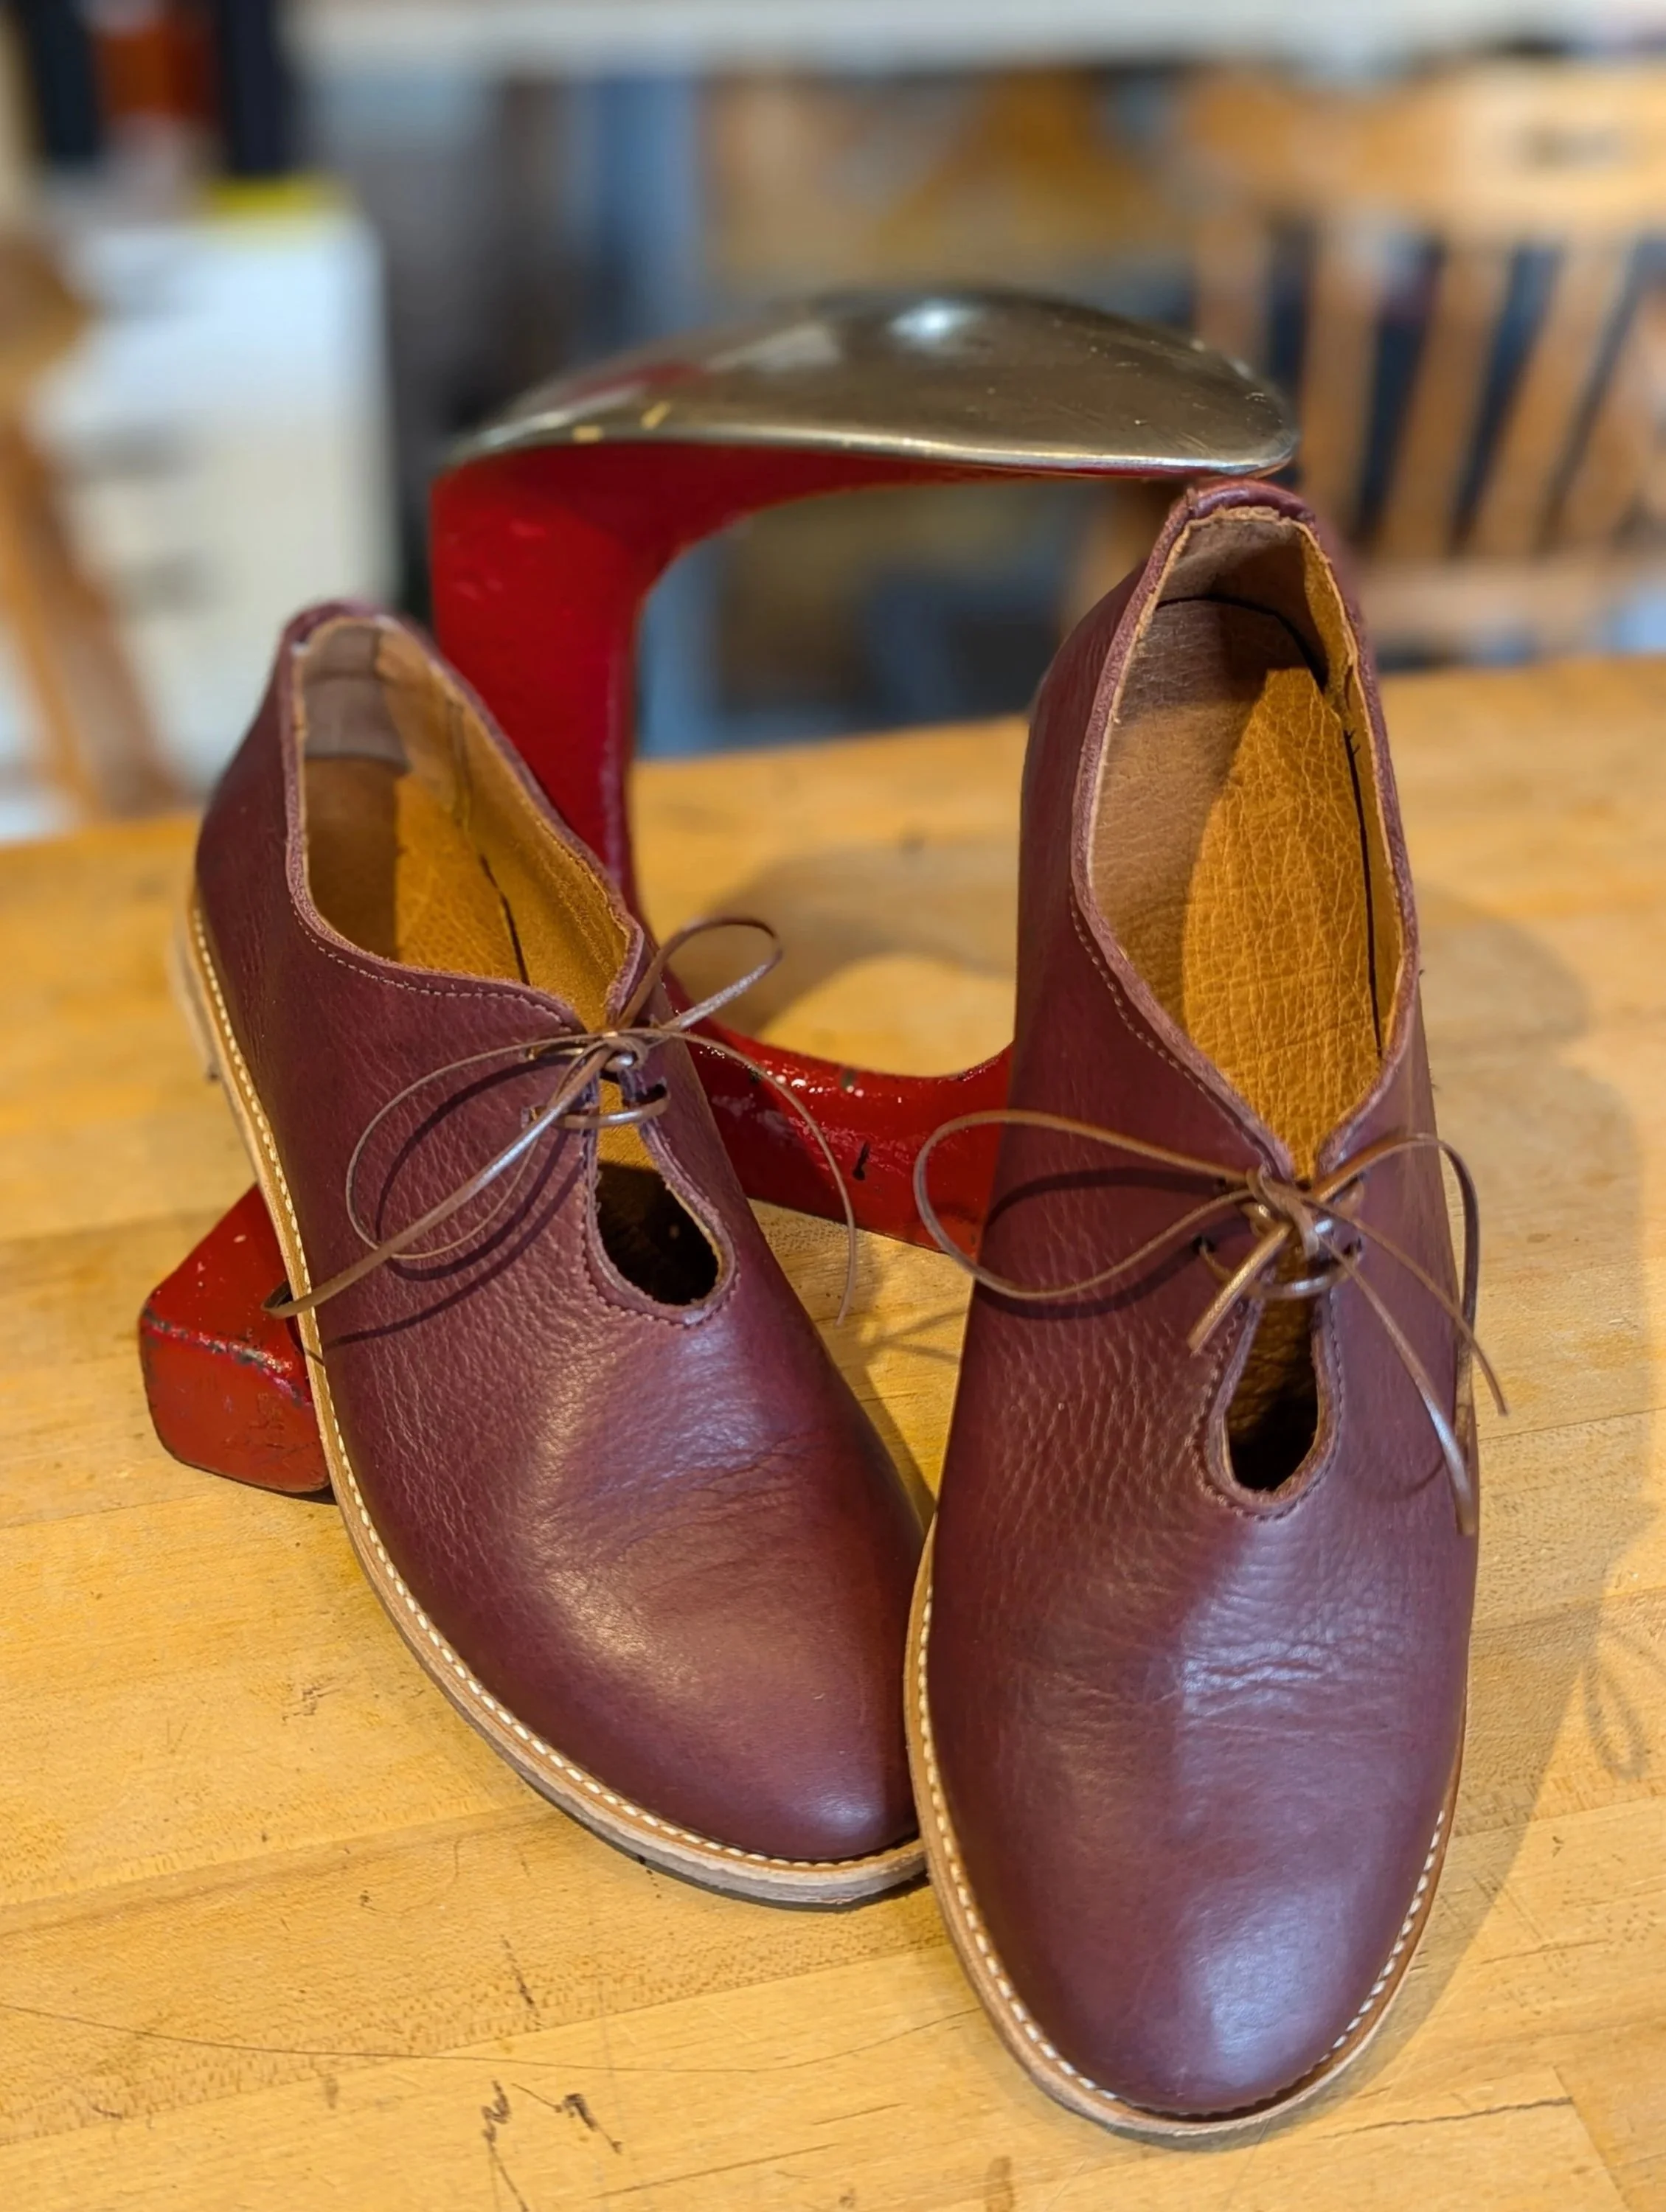
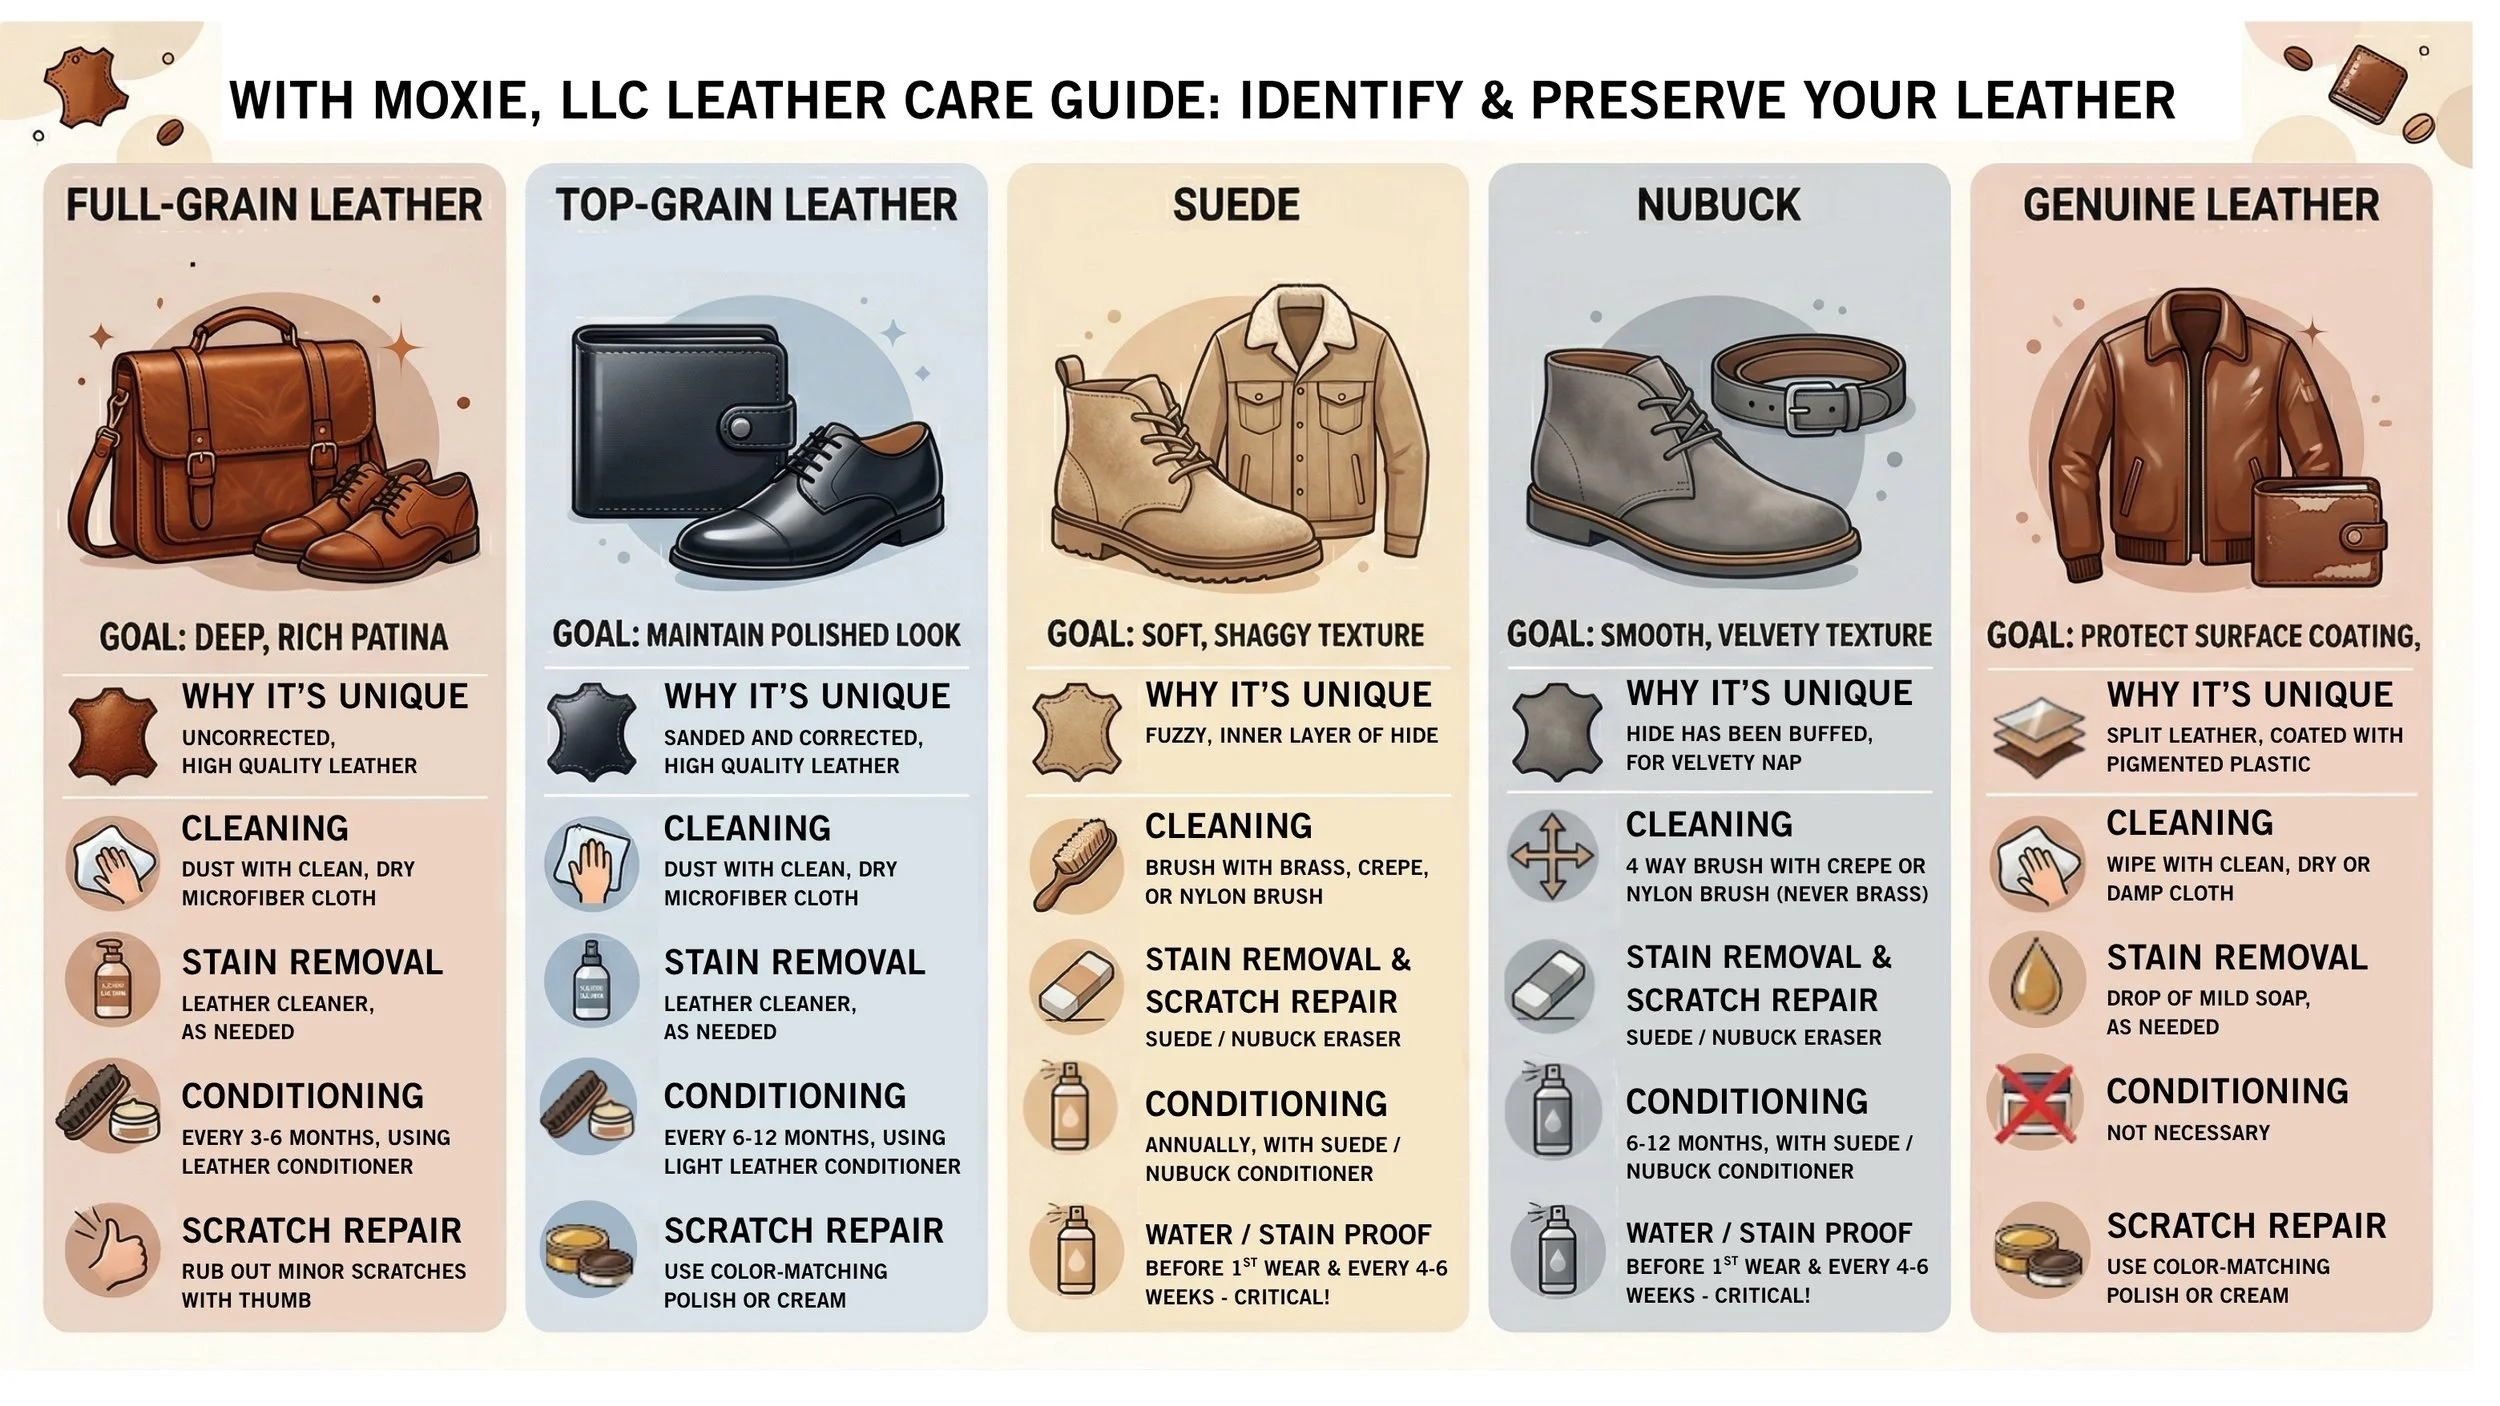
Maintaining and extending the active product life of your leather goods eliminates all resources that would be required to produce a new, replacement item. Below is guidance on caring for your leather goods, depending on the type of split. Learn more about leather splits here.Caring for Full-Grain Leather
The Goal: To build a deep, natural patina while keeping the hide supple.
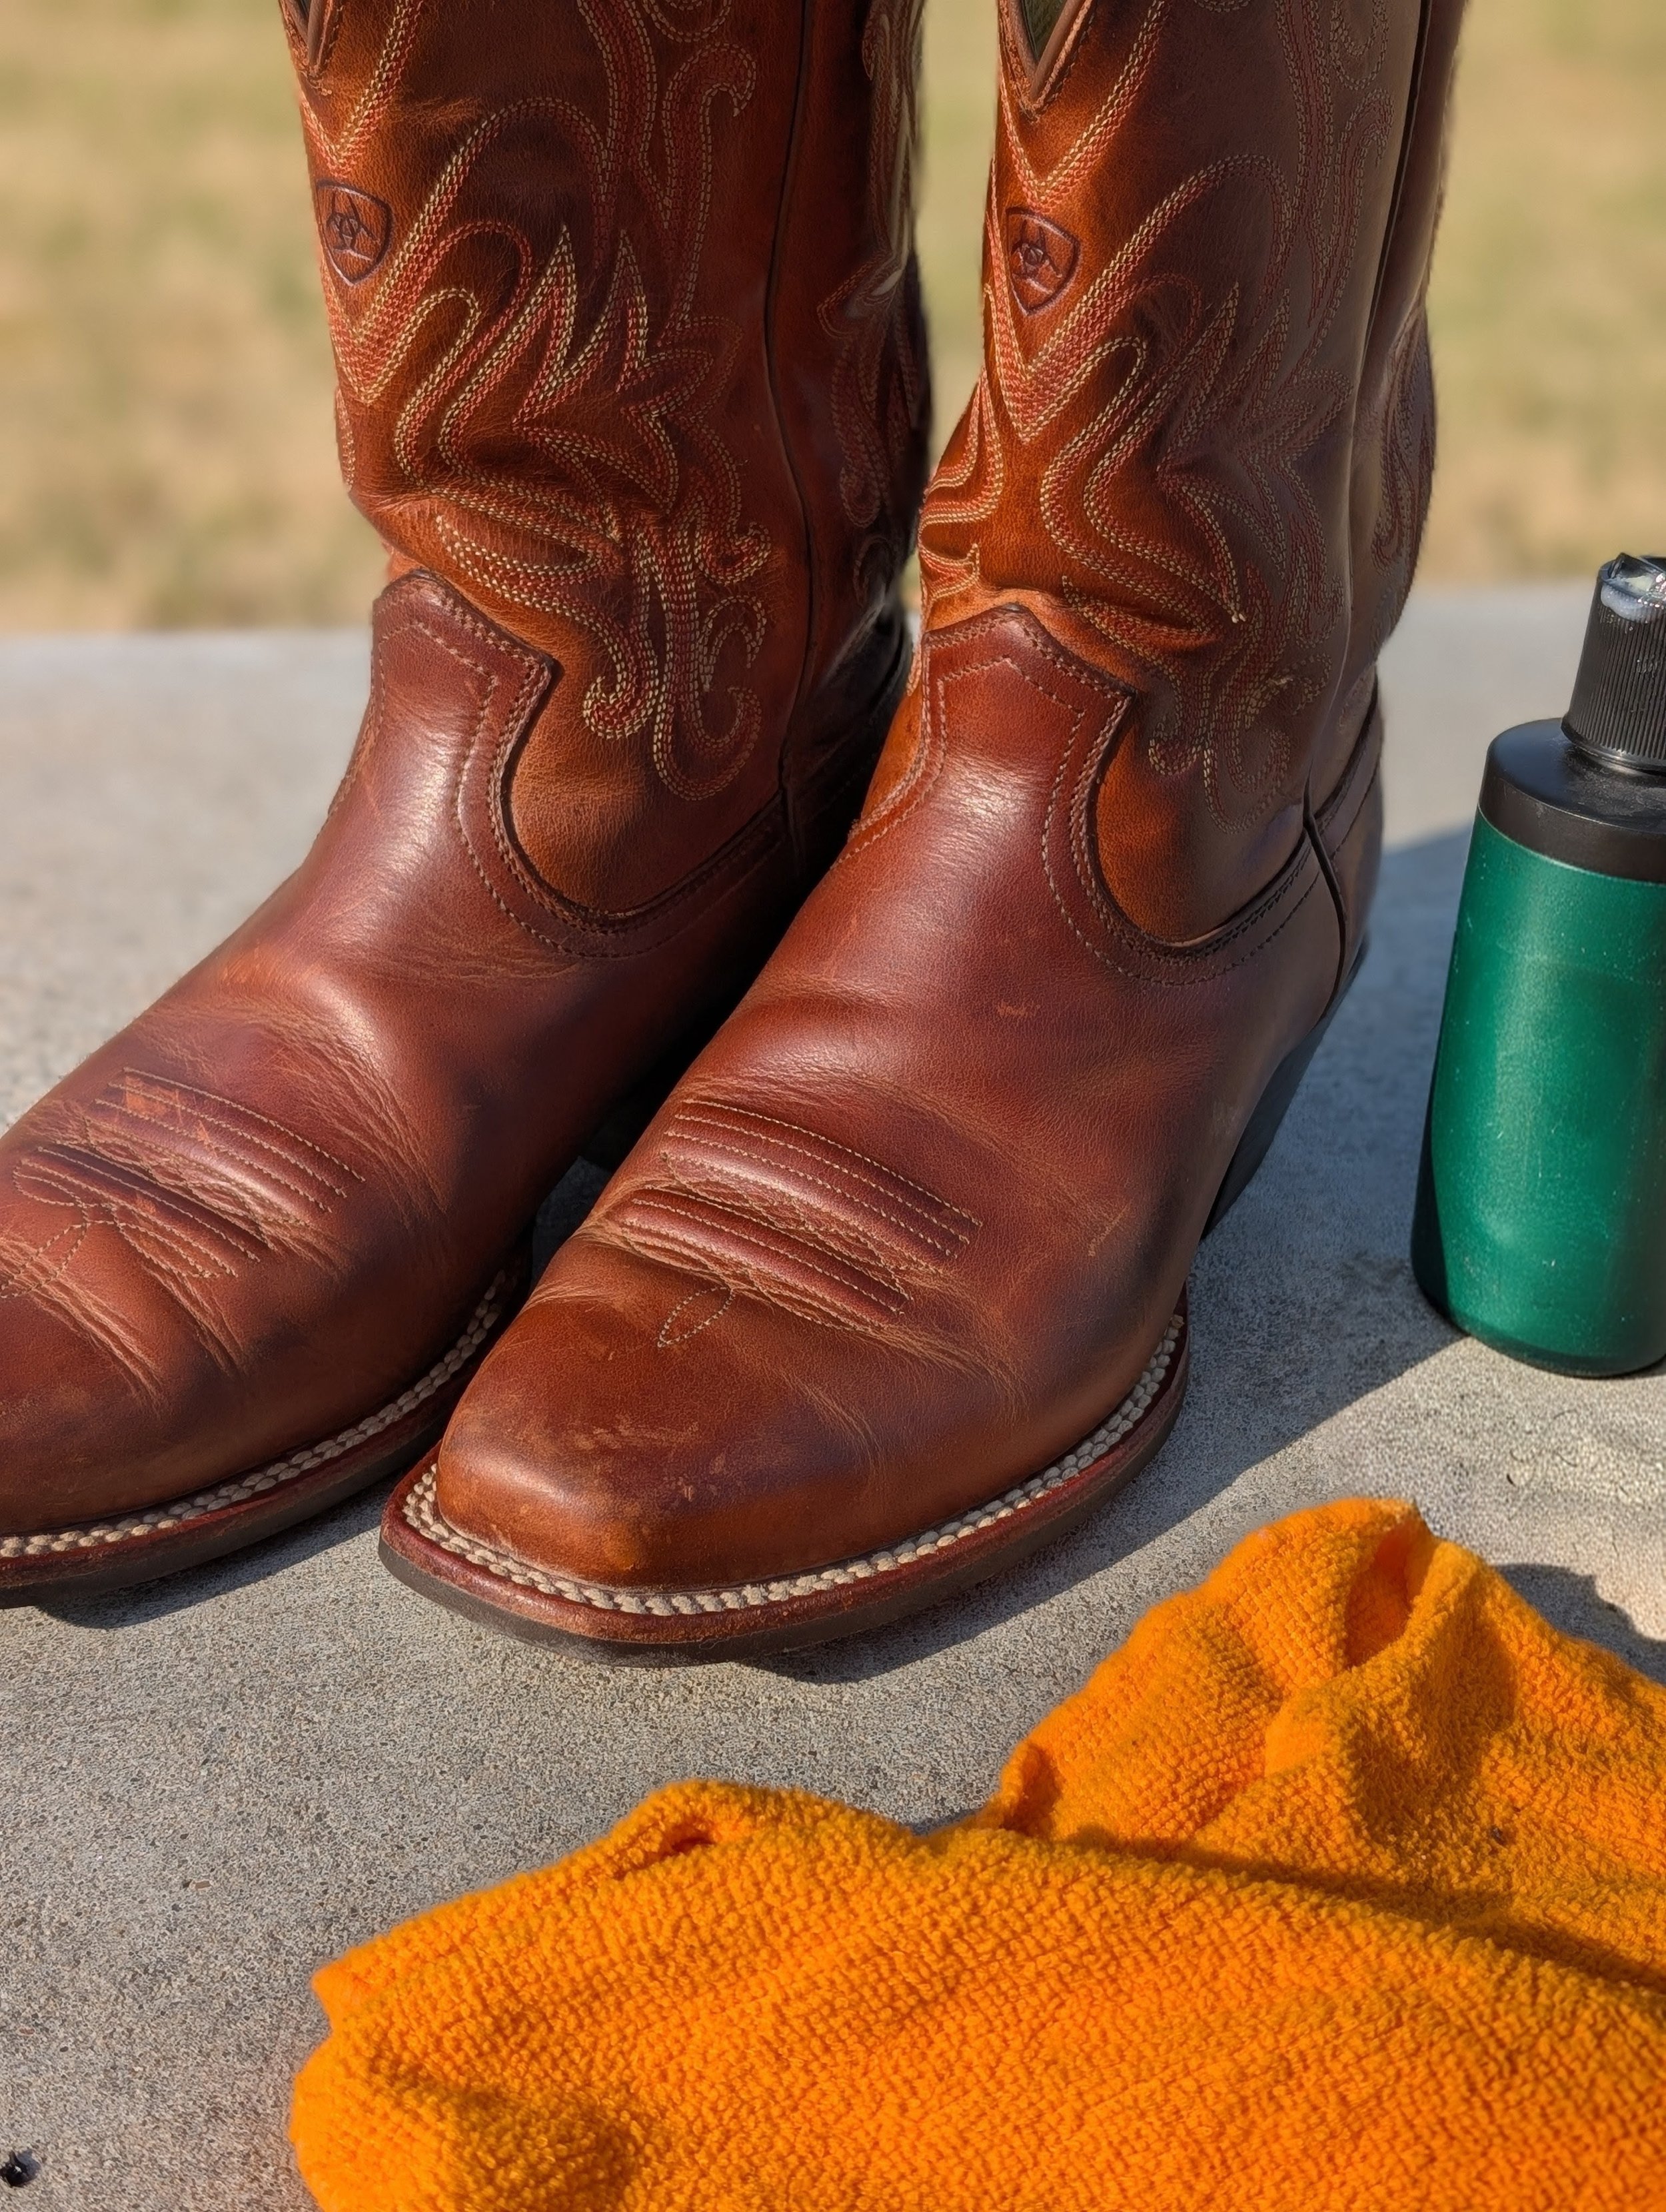
Because full-grain leather has its natural pores fully intact, it is highly absorbent. It requires more "food" (conditioner) but rewards you by developing a rich patina.
Cleaning: While I condition my full-grain leather often, I very rarely actually clean it. Over-cleaning will prevent or alter the natural patina of the aging leather. Generally speaking, a simple dusting with a clean, dry (or very slightly damp) micro-fiber cloth is sufficient for cleaning.
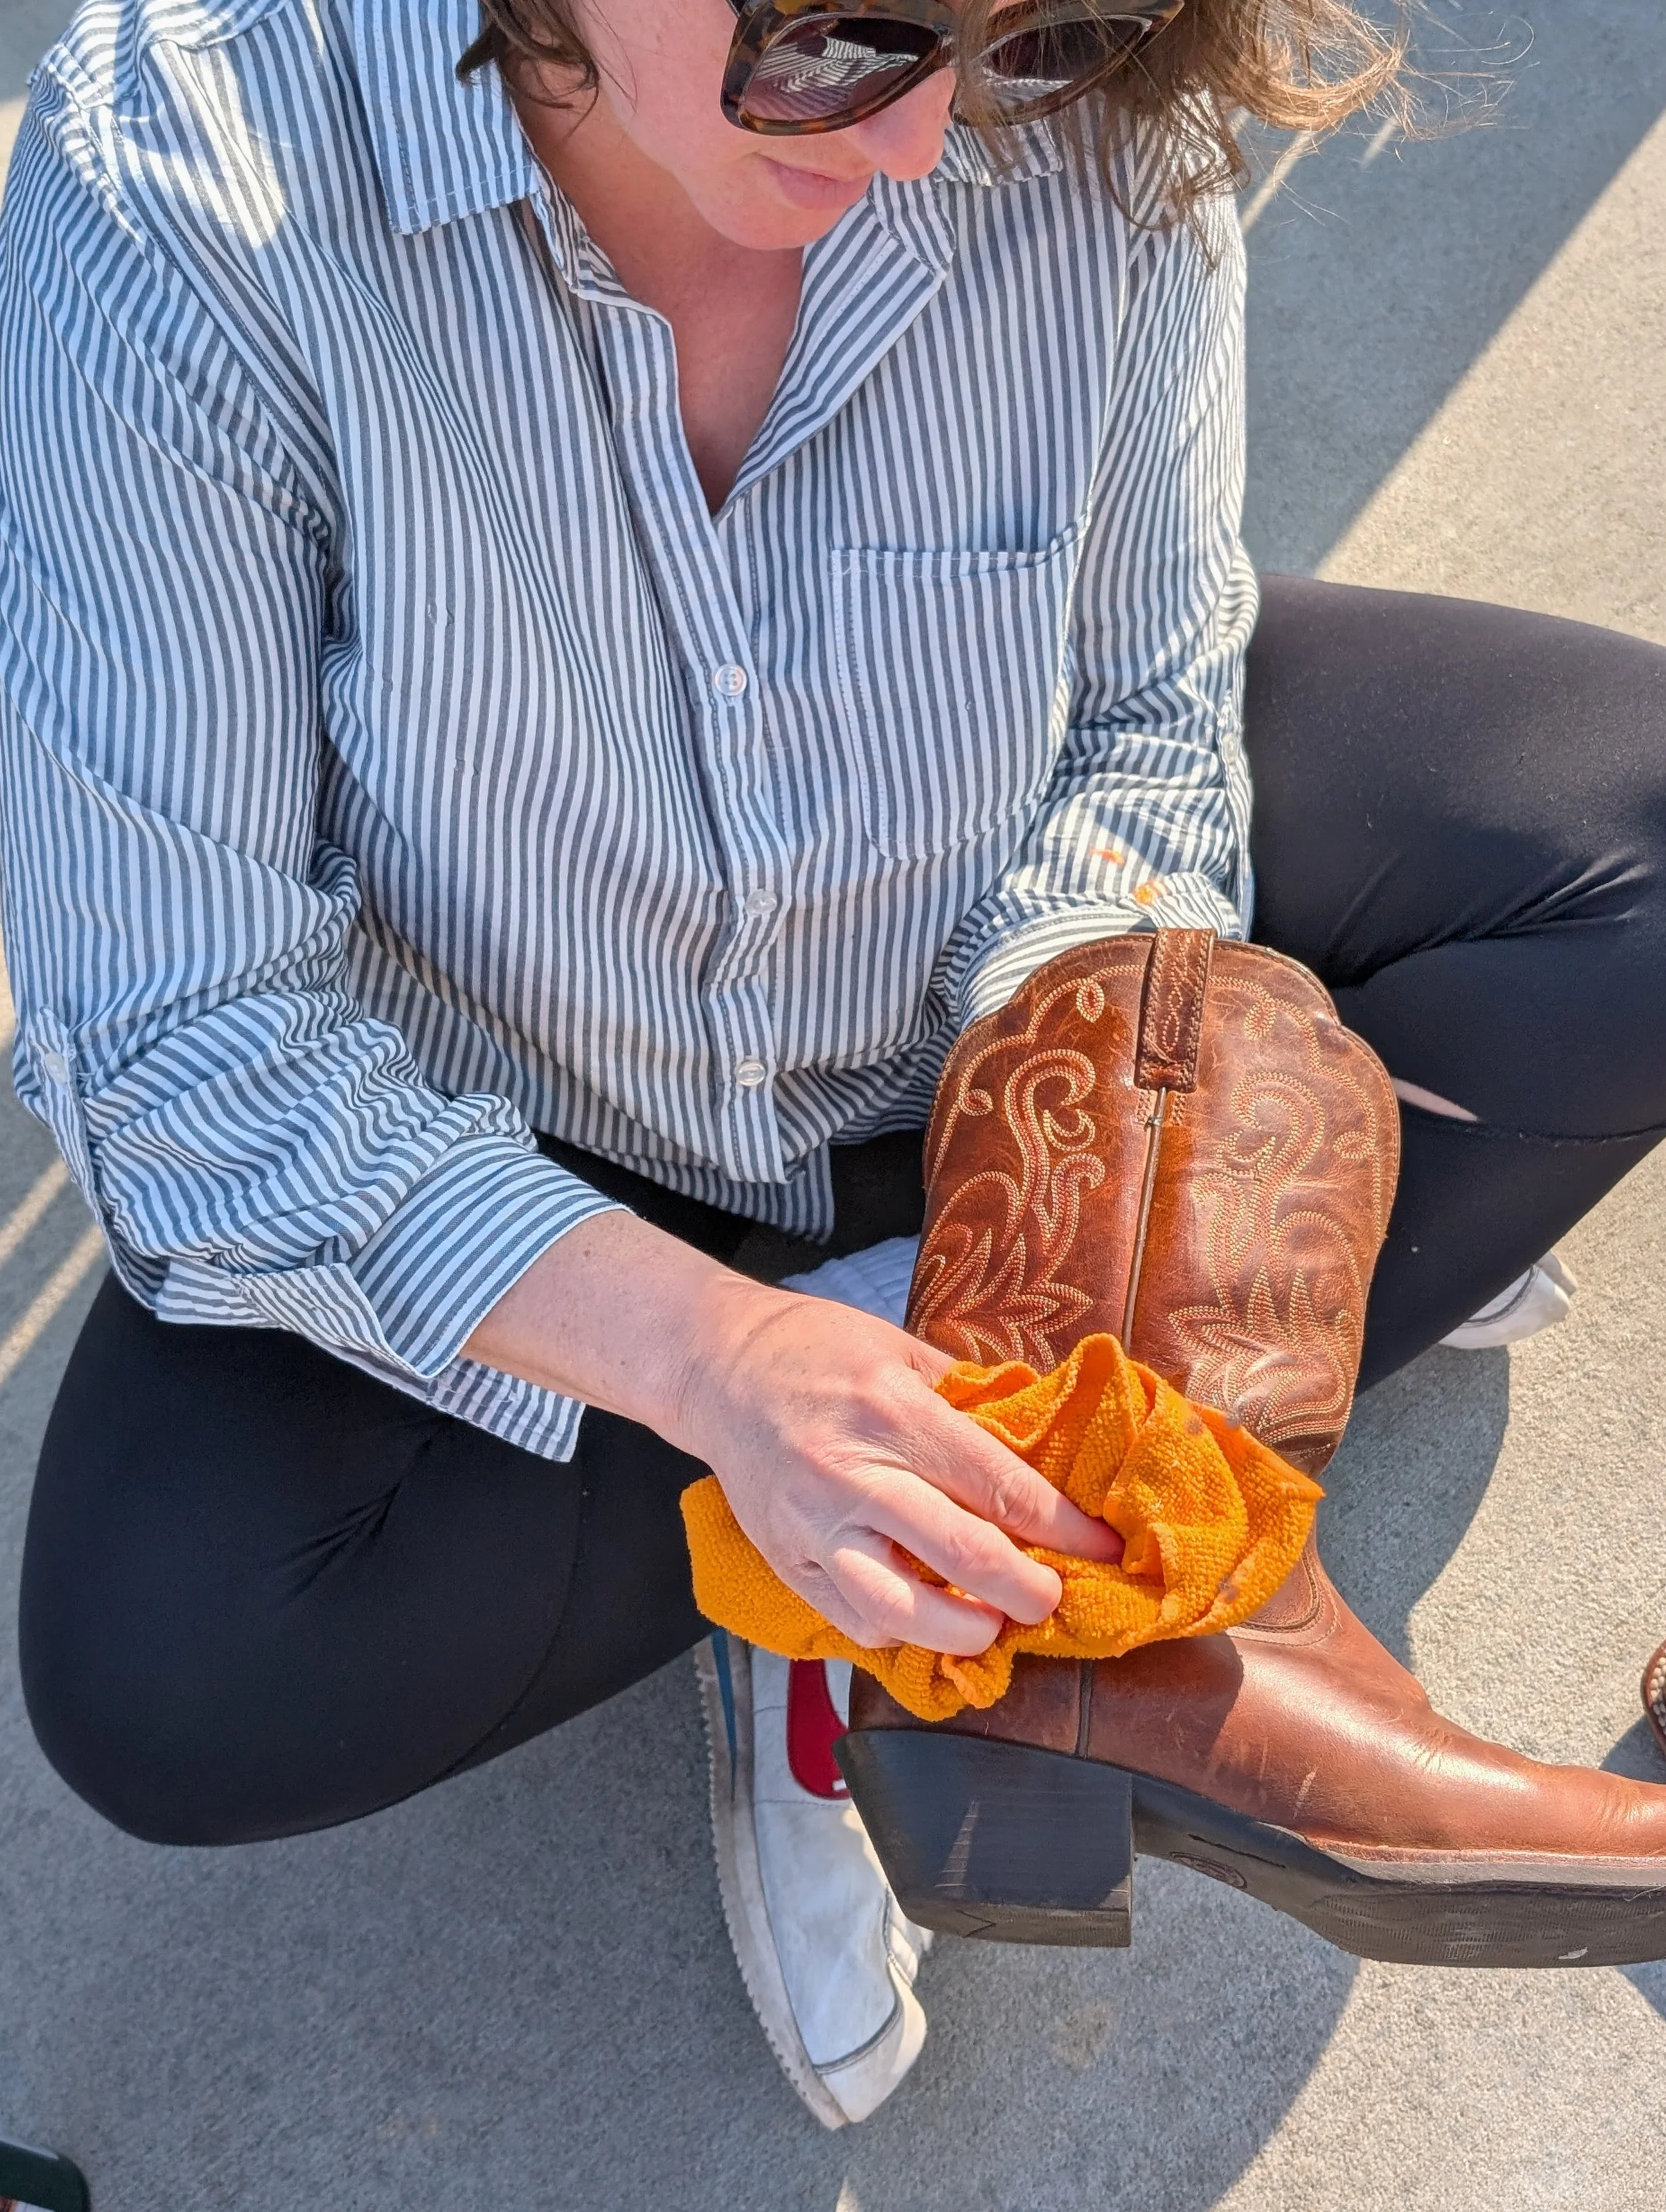
Stain Removal: If your item is actually dirty, you can use a dedicated leather cleaner. Wipe away any loose dirt first. Then, apply a small amount of cleaner to a micro-fiber cloth. Rub the cloth in gentle, circular motions over the surface of your item. Clean the entire panel (seam to seam) to avoid “tidemarks” from uneven drying. Use a second, dry cloth to buff away excess cleaner. Allow to air dry completely, then follow up with a leather conditioner.
Conditioning: Condition your full-grain items every 3-6 months, to avoid the leather drying out and cracking. This is vital! The leather will literally "drink" the conditioner. Clean your leather first, via simple dusting or deep cleaning with a leather cleaner, then apply a high-quality leather cream or balm. Apply a small amount of conditioner to a micro-fiber cloth. Rub the cloth in gentle, circular motions over the surface of your item. Condition the entire panel (seam to seam) to avoid “tidemarks” from uneven drying. Be sure to also condition the seams, as threads can dry out too! Let sit for 15 minutes, then use a clean, dry cloth or horsehair brush to buff the leather.
Bonus points: look for a leather conditioner that provides water resistance.
Scratch Repair: Minor scratches can often be rubbed out with just the warmth of your thumb and the natural oils from your skin. For deeper scratches, you may need a leather touch-up pen or a matching leather cream polish. Apply color matching leather cream polish in thin coats. Allow to sit for a few minutes, then buff away excess polish. Repeat until the desired color is achieved. Seal with conditioner.
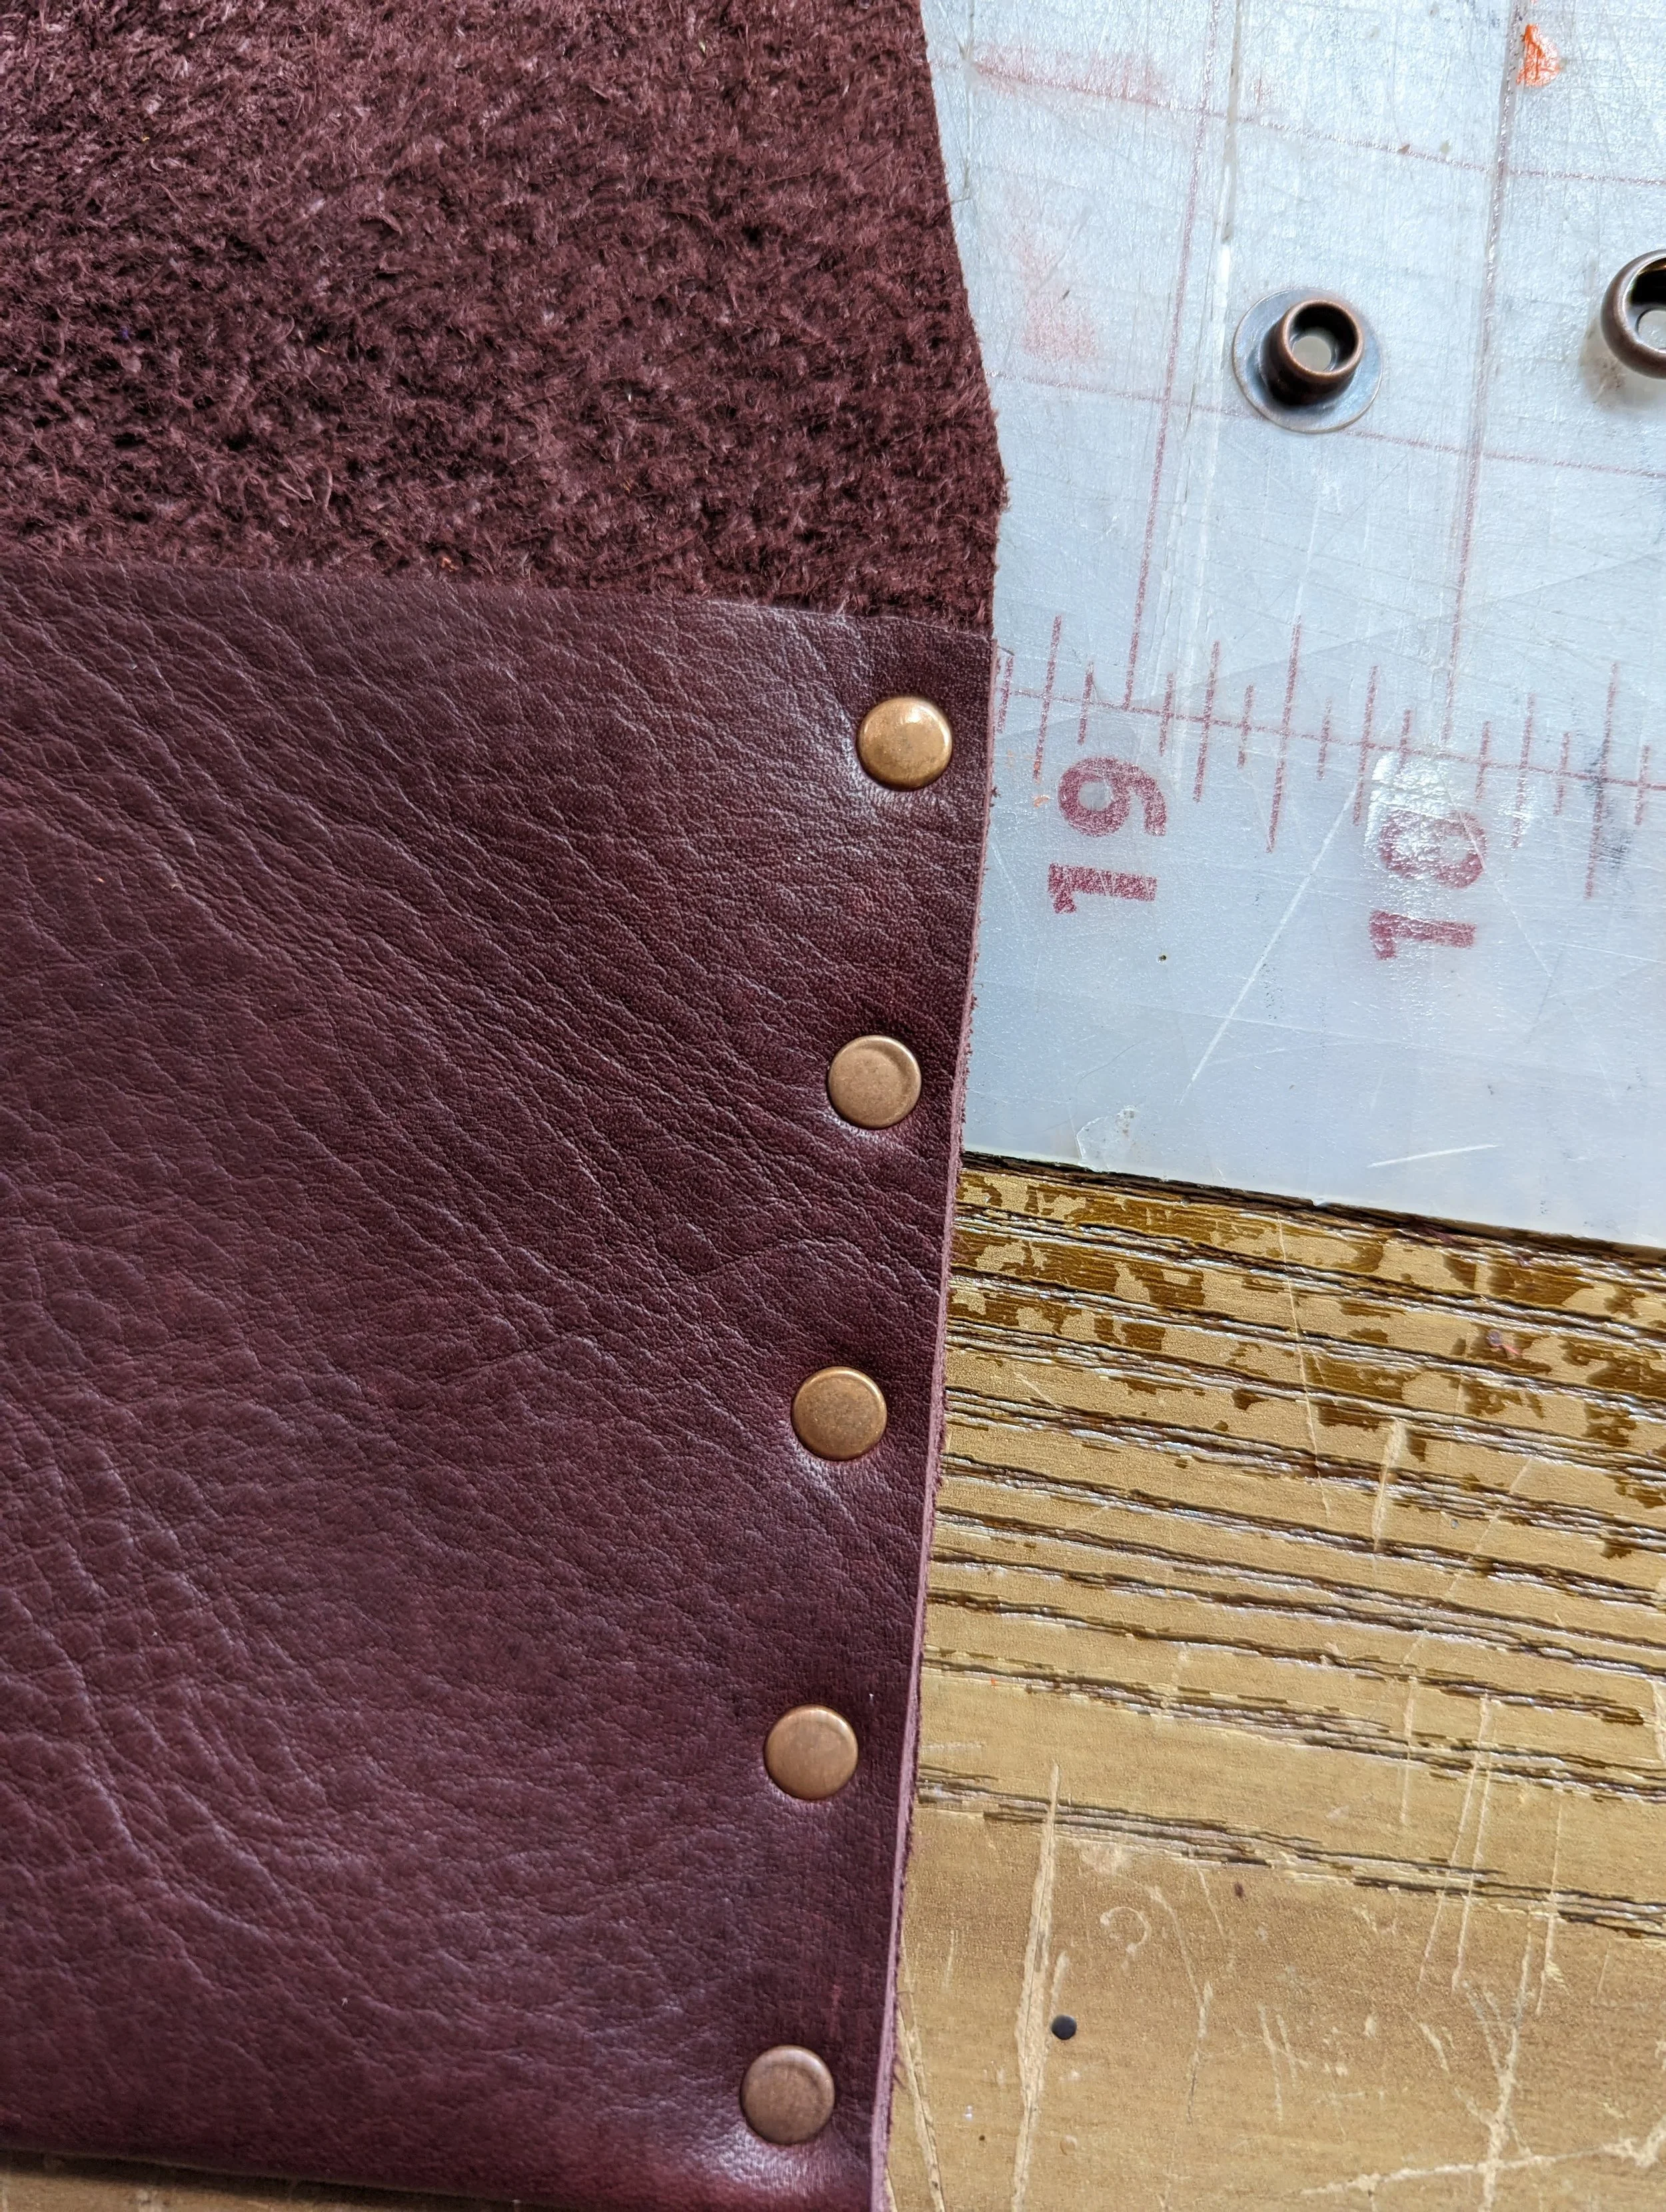
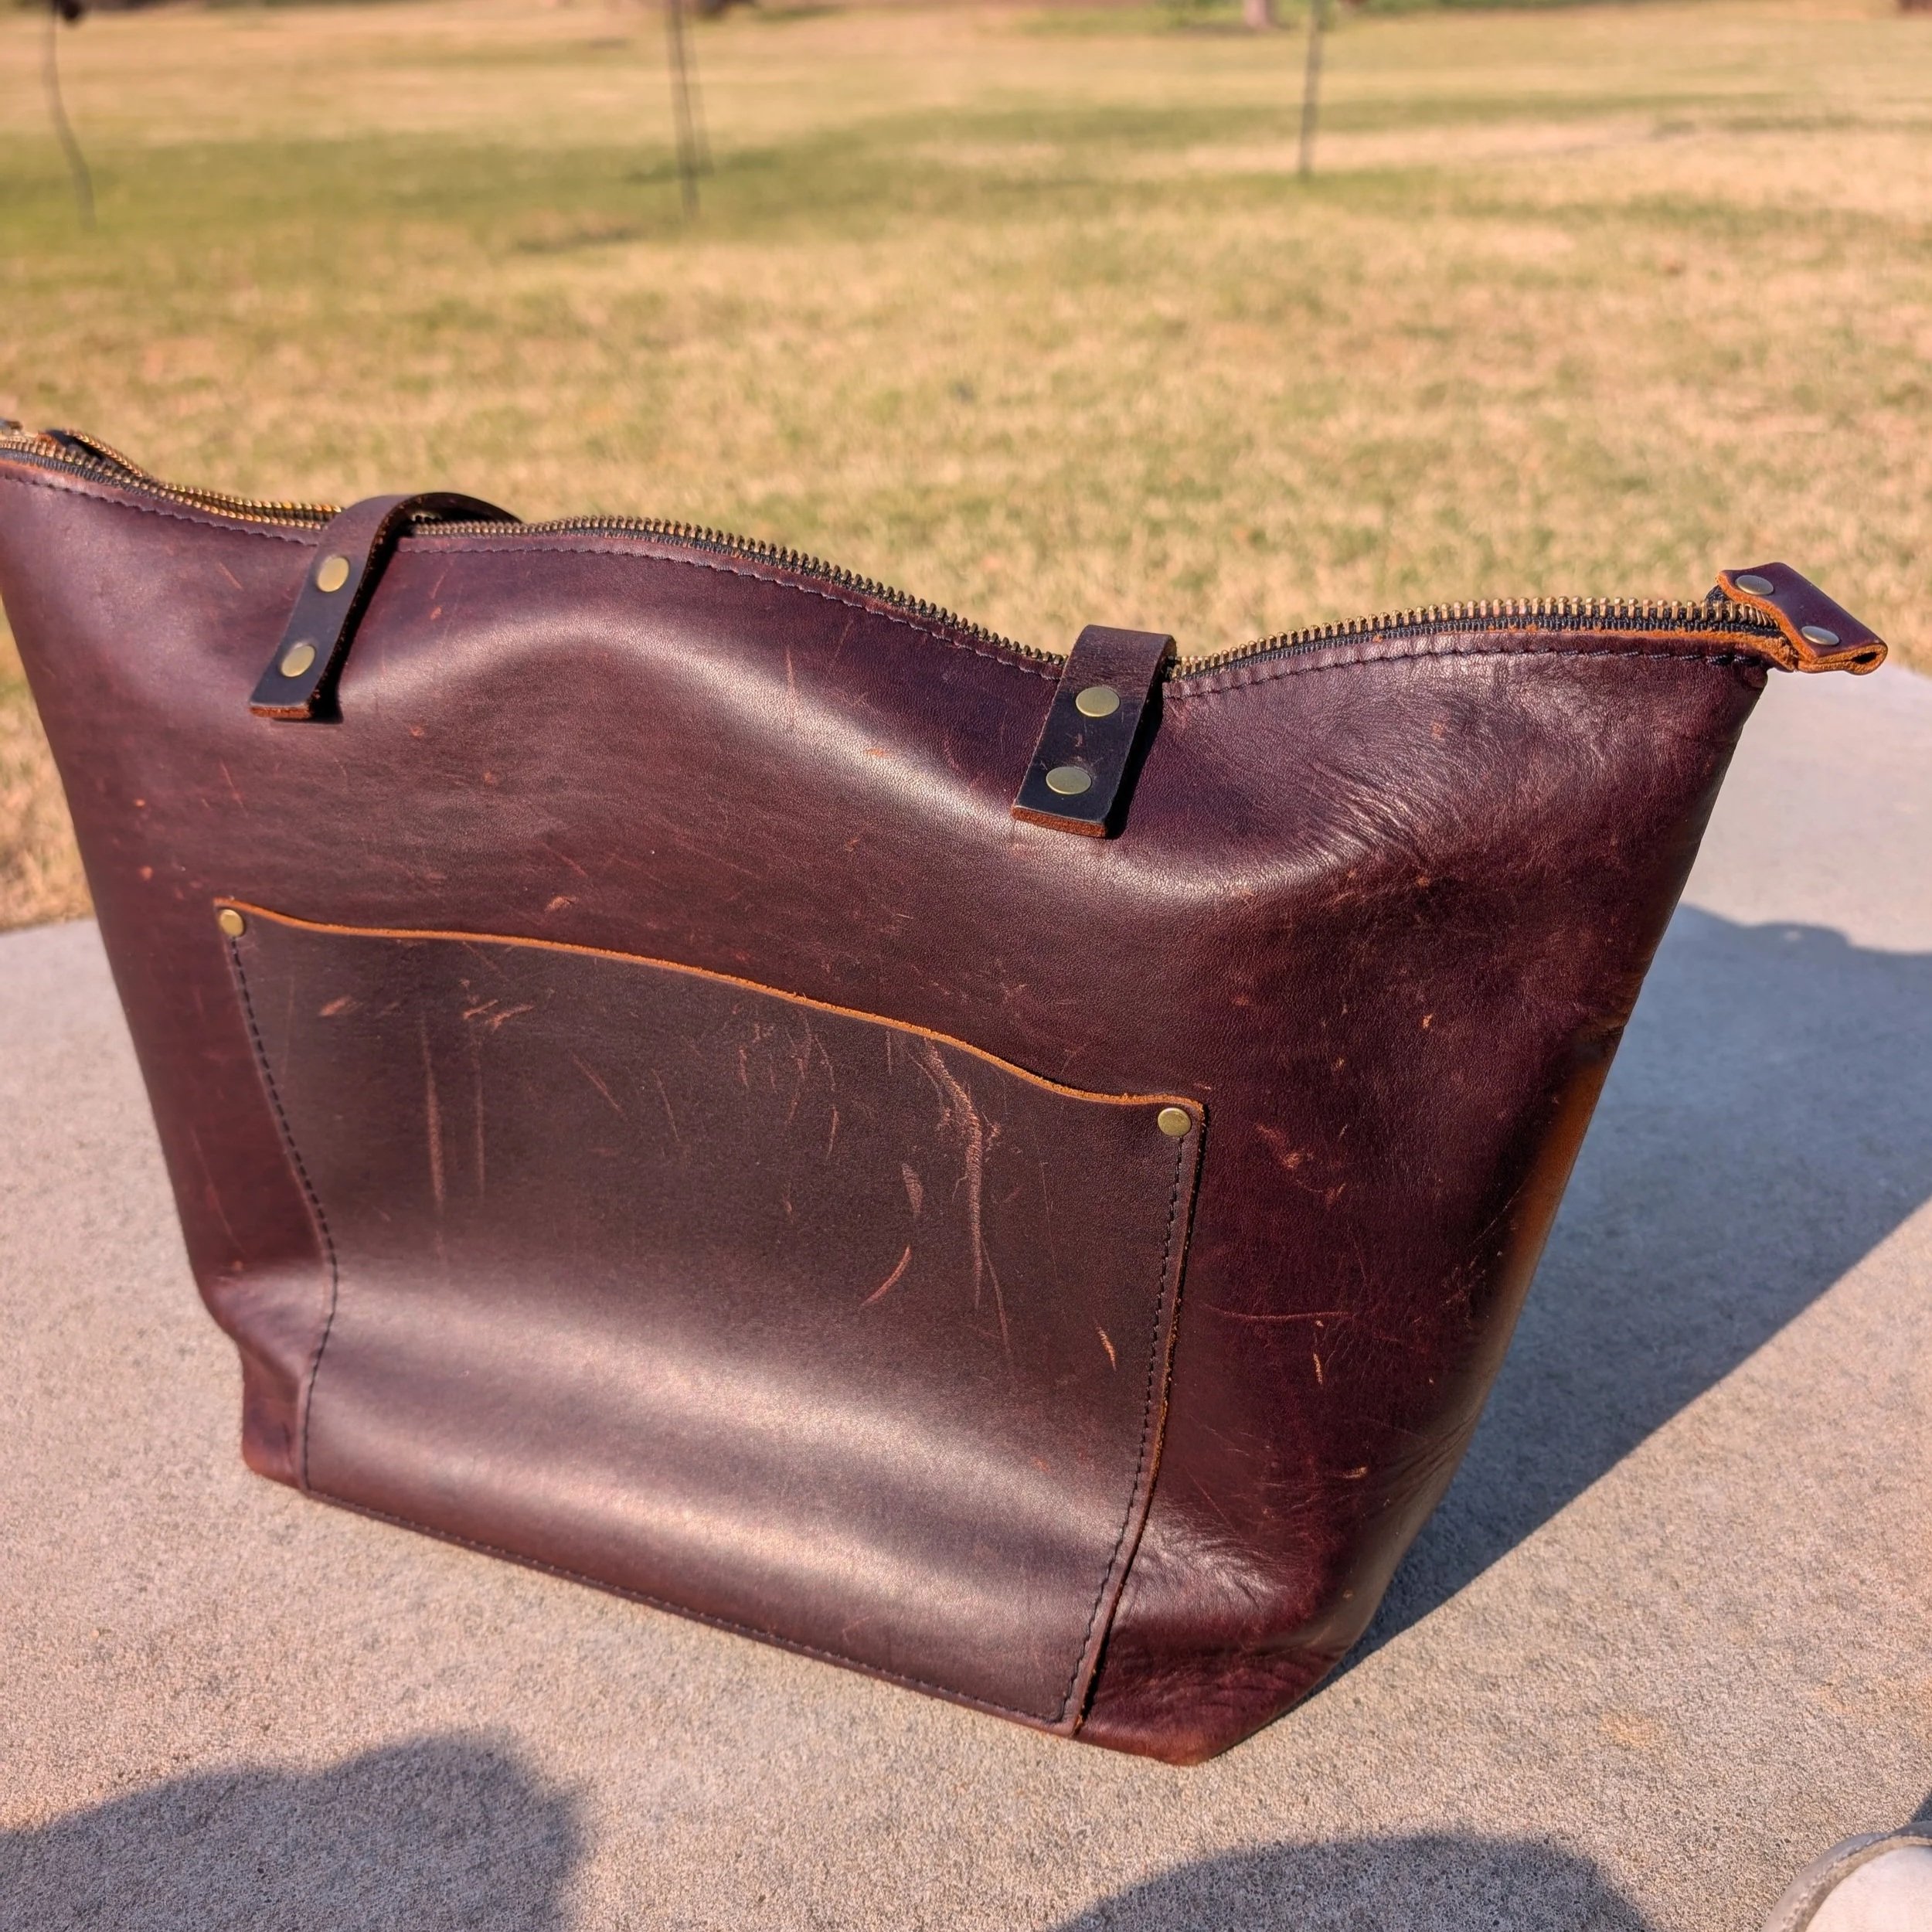
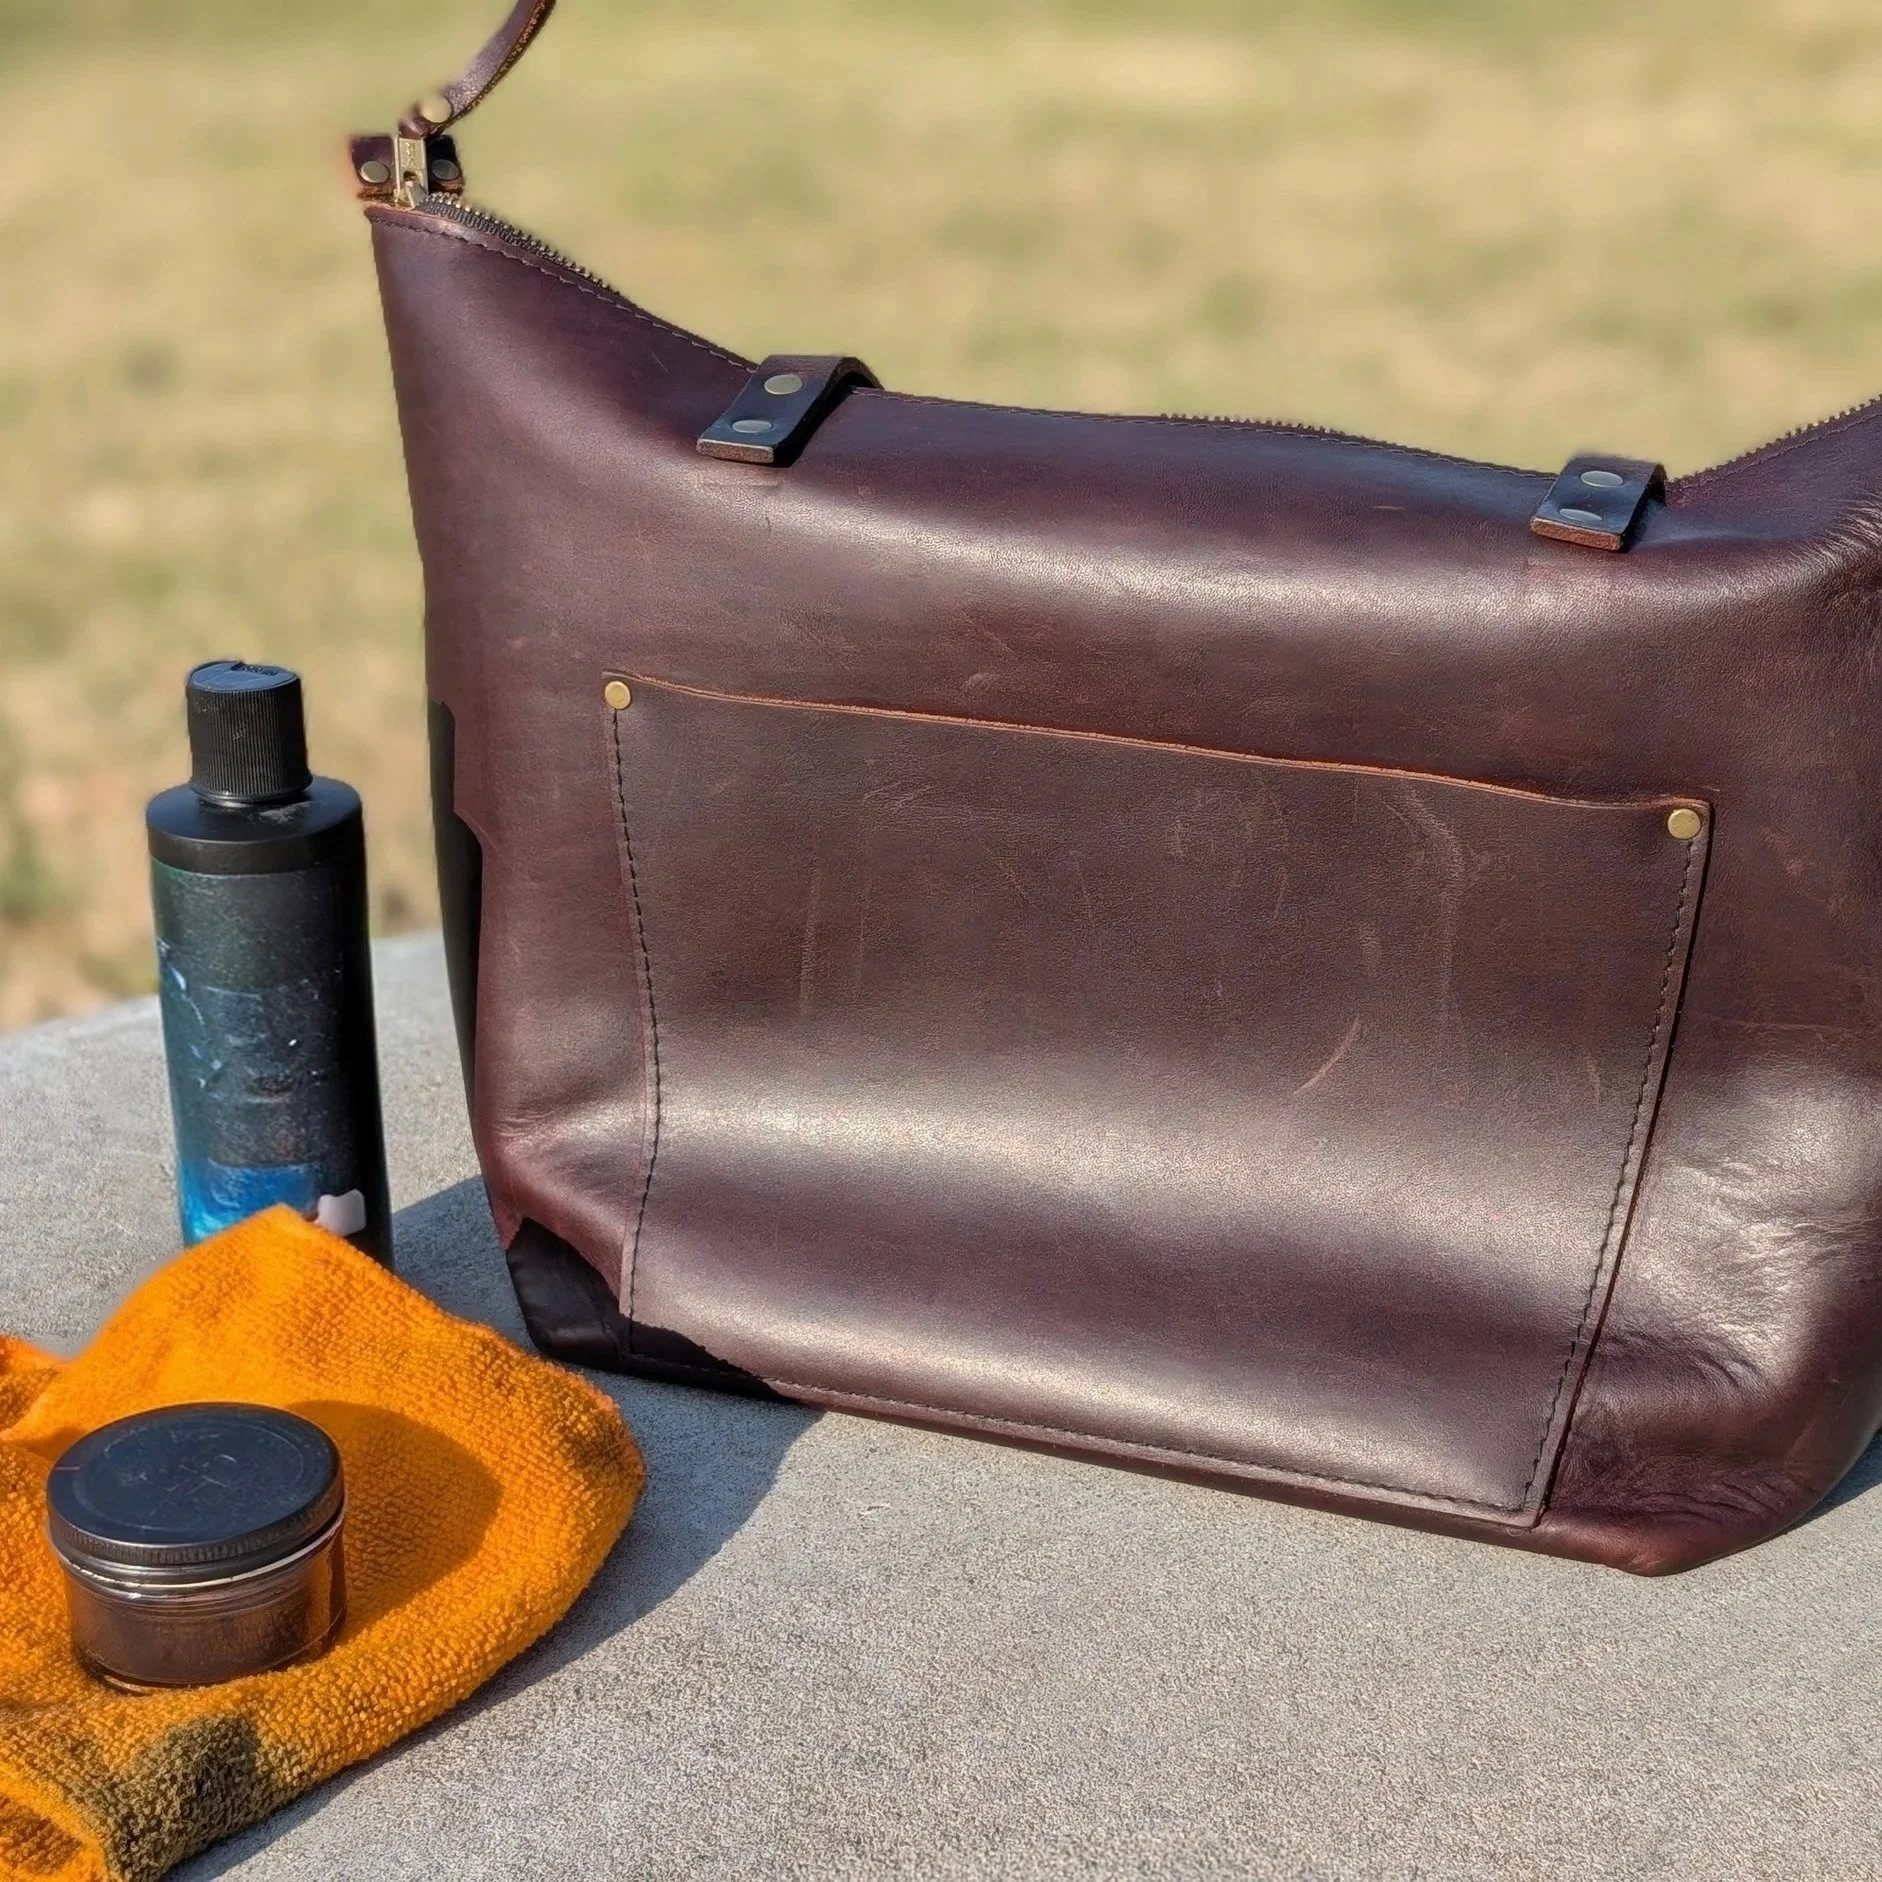
Caring for Top-Grain Leather
The Goal: To maintain the polished look of the item.
Top-grain has been sanded and usually has a polymer or pigment finish applied. This makes it more stain-resistant, but it also means conditioners don't soak in as easily.
Cleaning: Similar to full-grain leather, a simple dusting is often sufficient to clean top-grain leather. You can be a bit more liberal with a damp cloth here, if needed.
Stain Removal: Since the surface is "sealed," most spills will sit on top rather than soaking in immediately. Wipe away spills fast to prevent "tidemark" stains. If your item is actually dirty, you can use a dedicated leather cleaner. Wipe away any loose dirt first. Then, apply a small amount of cleaner to a micro-fiber cloth. Rub the cloth in gentle, circular motions over the surface of your item. Clean the entire panel (seam to seam) to avoid “tidemarks” from uneven drying. Use a second, dry cloth to buff away excess cleaner. Allow to air dry completely, then follow up with a leather conditioner.
Conditioning: You don't need to condition as often, usually every 6–12 months. Look for "light" conditioners or "leather milks." Heavy waxes or oils will often just sit on the surface and feel greasy because they can't penetrate the finish. Clean your leather first, via simple dusting or deep cleaning with a leather cleaner, then apply your chosen conditioner. Apply a small amount of conditioner to a micro-fiber cloth. Rub the cloth in gentle, circular motions over the surface of your item. Condition the entire panel (seam to seam) to avoid “tide marks” from uneven drying. Be sure to also condition the seams, as threads can dry out too! Let sit for 15 minutes, then use a clean, dry cloth or horsehair brush to buff the leather.
Bonus points: look for a leather conditioner that provides water resistance.
Scratch Repair: Unlike full-grain, you cannot "rub out" a scratch on top-grain. If the pigment is scratched off, you may need a leather touch-up pen or a professional color-matched cream to hide the mark. Similar to full-grain leather, apply color matching leather cream polish in thin coats. Allow to sit for a few minutes, then buff away excess polish. Repeat until the desired color is achieved. Seal with conditioner.
Caring for Suede
The Goal: To maintain a soft, shaggy texture.
Suede is more delicate and has a longer, shaggier nap. It is highly susceptible to water damage and staining.
Cleaning: You will need a suede brush (brass, crepe, or nylon) to properly care for your suede. Always brush in the direction of the nap to remove dust. For flattened spots, brush vigorously back and forth to "wake up" the fibers.
Stain Removal: Use a suede/nubuck eraser (a crumbly block of rubber). Rub the eraser over the stain until it crumbles away, then brush off the residue.
For Deeper Stains: Honestly, good luck. This is the trouble with suede. There are suede shampoos and videos on how to use them, but my recommendation is to avoid this entirely (best you can) by using a waterproof / stain protection spray, before the first wear and every 4-6 weeks during regular use (every 3-4 months for less frequently worn items).
Waterproof / Stain Protection: After brushing, hold the waterproof / stain protection spray 6-8 inches from your material and apply a light mist over the entire item. Do not soak the material. Allow the spray to air dry, naturally away from heat and sunlight. Apply a second thin coat, following the same steps. Once the suede is completely dry, use your suede brush to restore the soft hand-feel.
Conditioning: Do not over-condition your suede. You probably only need to condition every 12 months. You'll know you need to condition your suede if it starts feeling crunchy, rather than soft like shag carpet. You might also notice the color appears faded or ashy. After brushing, apply a specialty suede conditioning spray. Hold the spray 6-8 inches from your material, spray a light mist. Do not soak the material. Let the spray dry naturally, away from heat or sunlight. Once dry, apply waterproof / stain protector.
Scratch Repair: Unlike smooth leather, you cannot cover a suede scratch with creams and polish. The best you can do is manipulate the nap around the scratch to disguise it. My recommendation is to do what you can with your eraser and suede brush. If this doesn't work, there are tons of videos on youtube for fixing deeper suede scratches. Viewer be warned - steaming your suede can cause water damage if done incorrectly. Sanding your suede might make the scratch even worse.
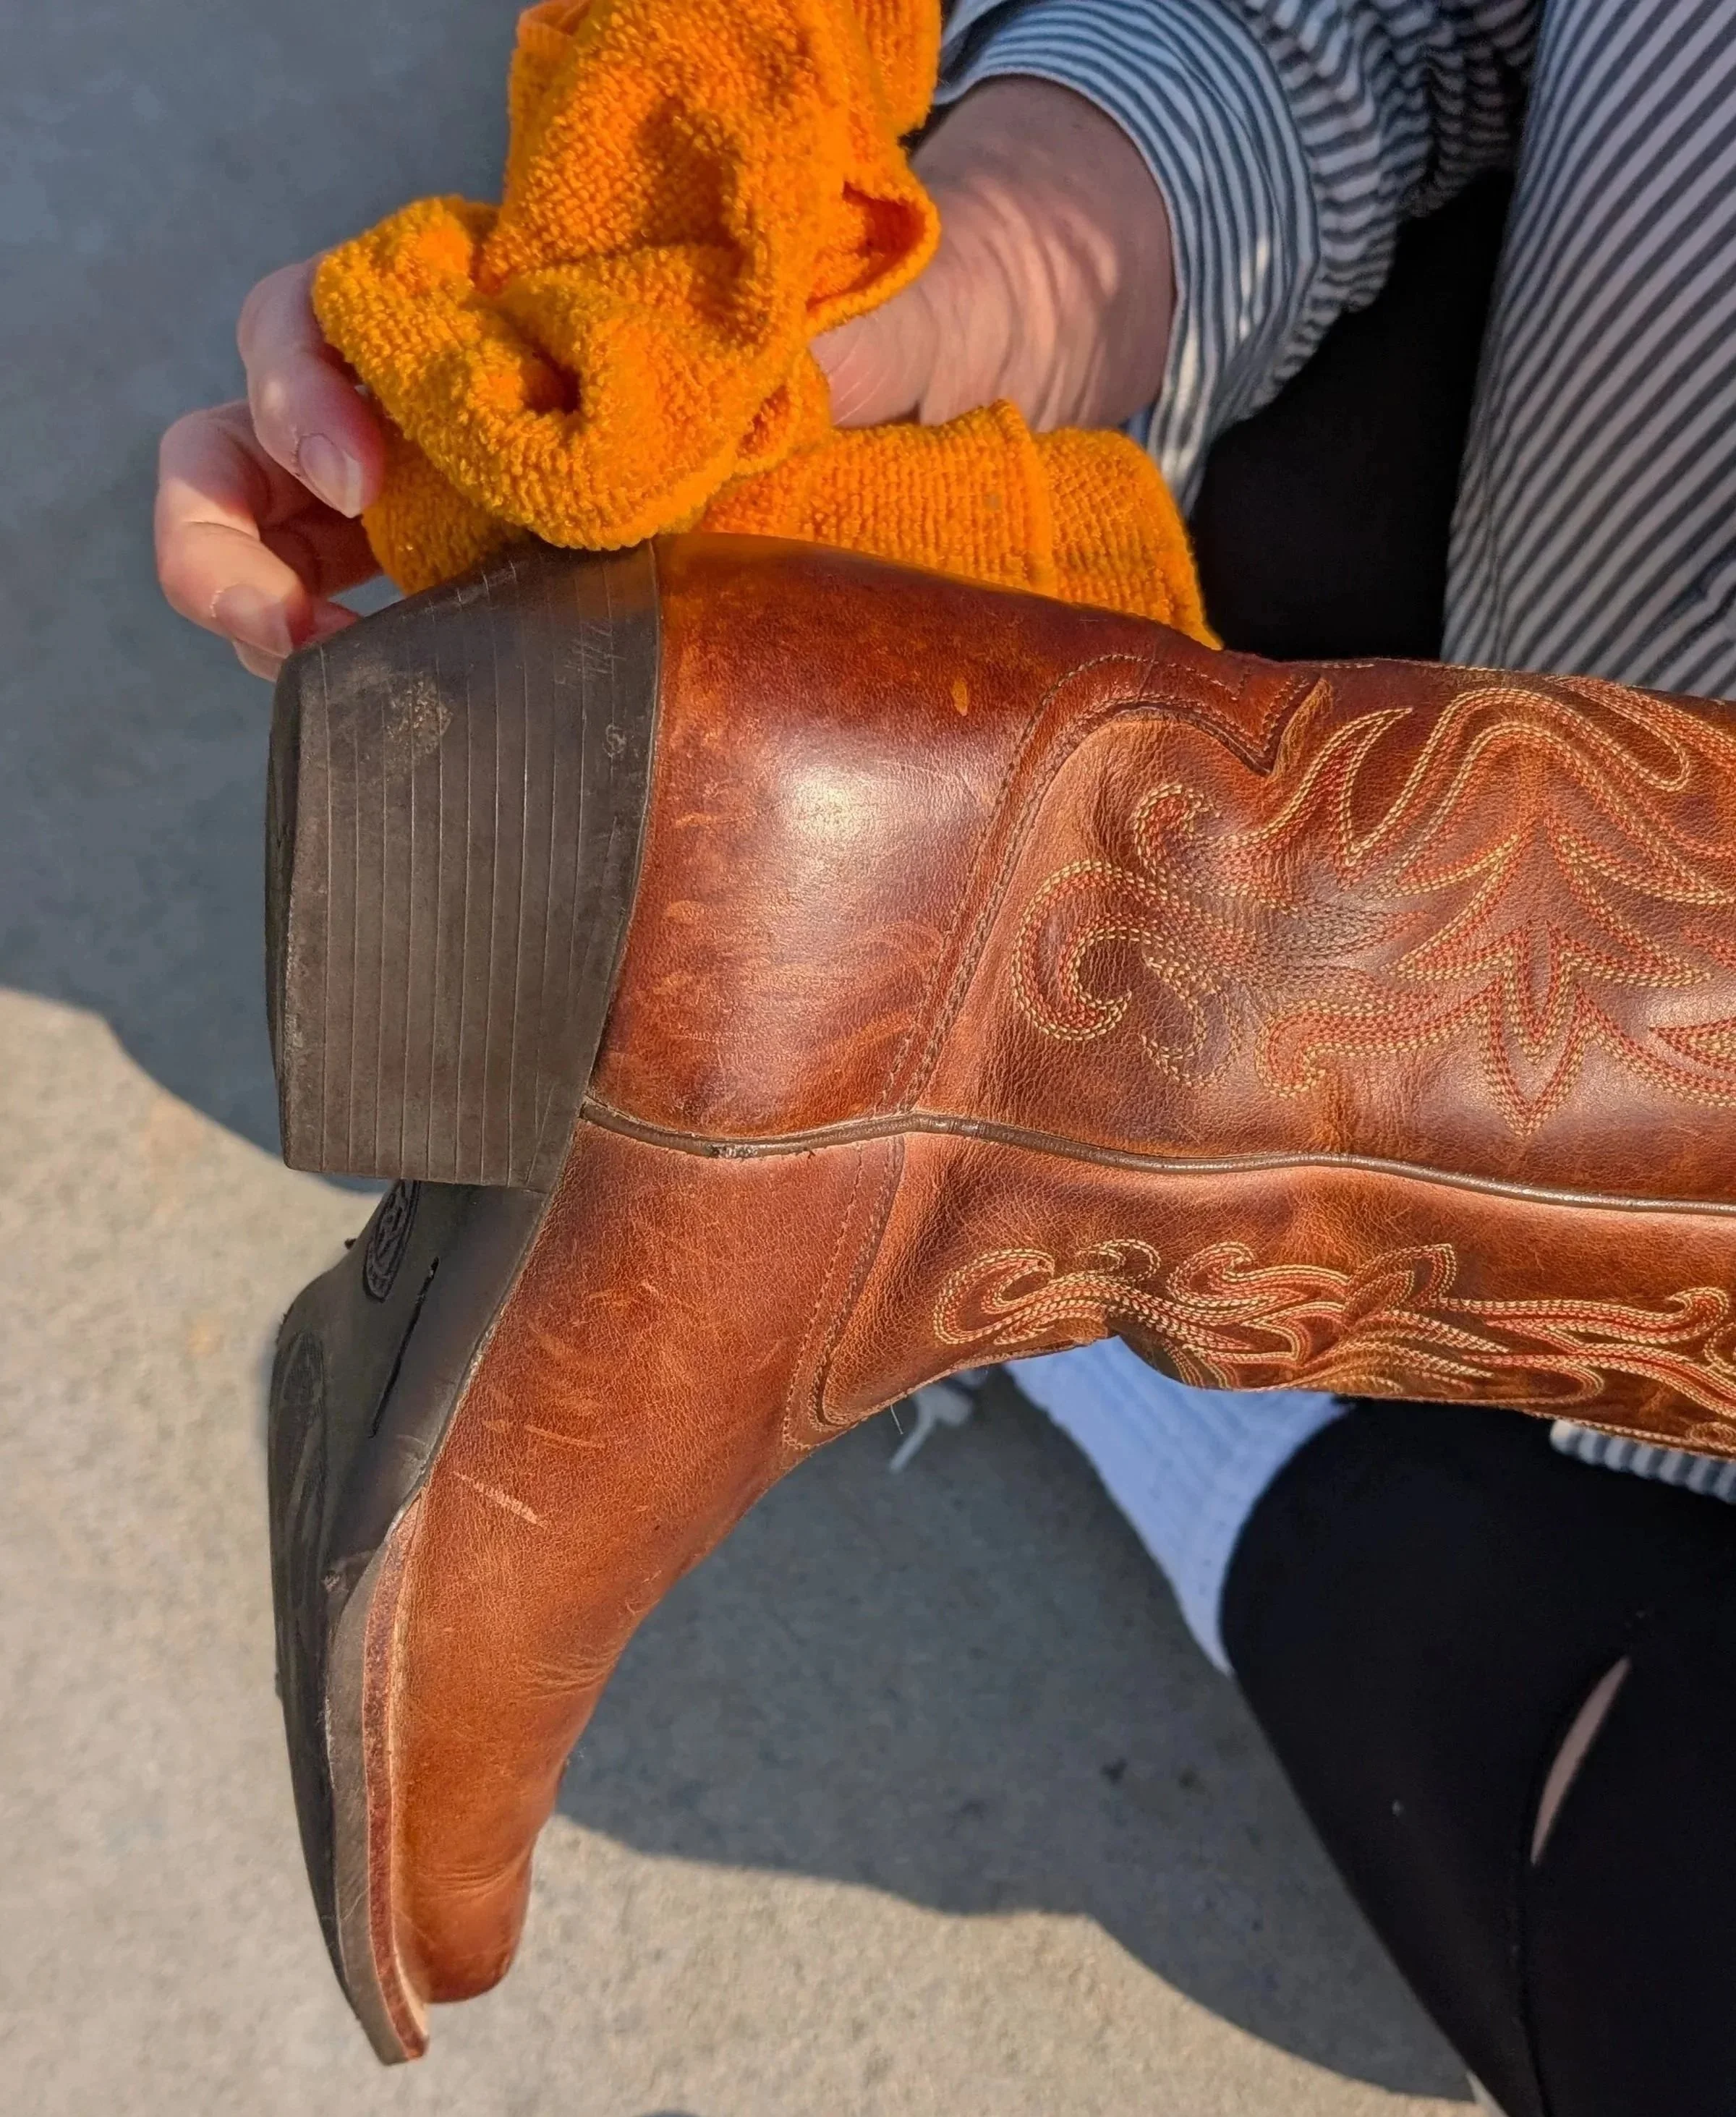
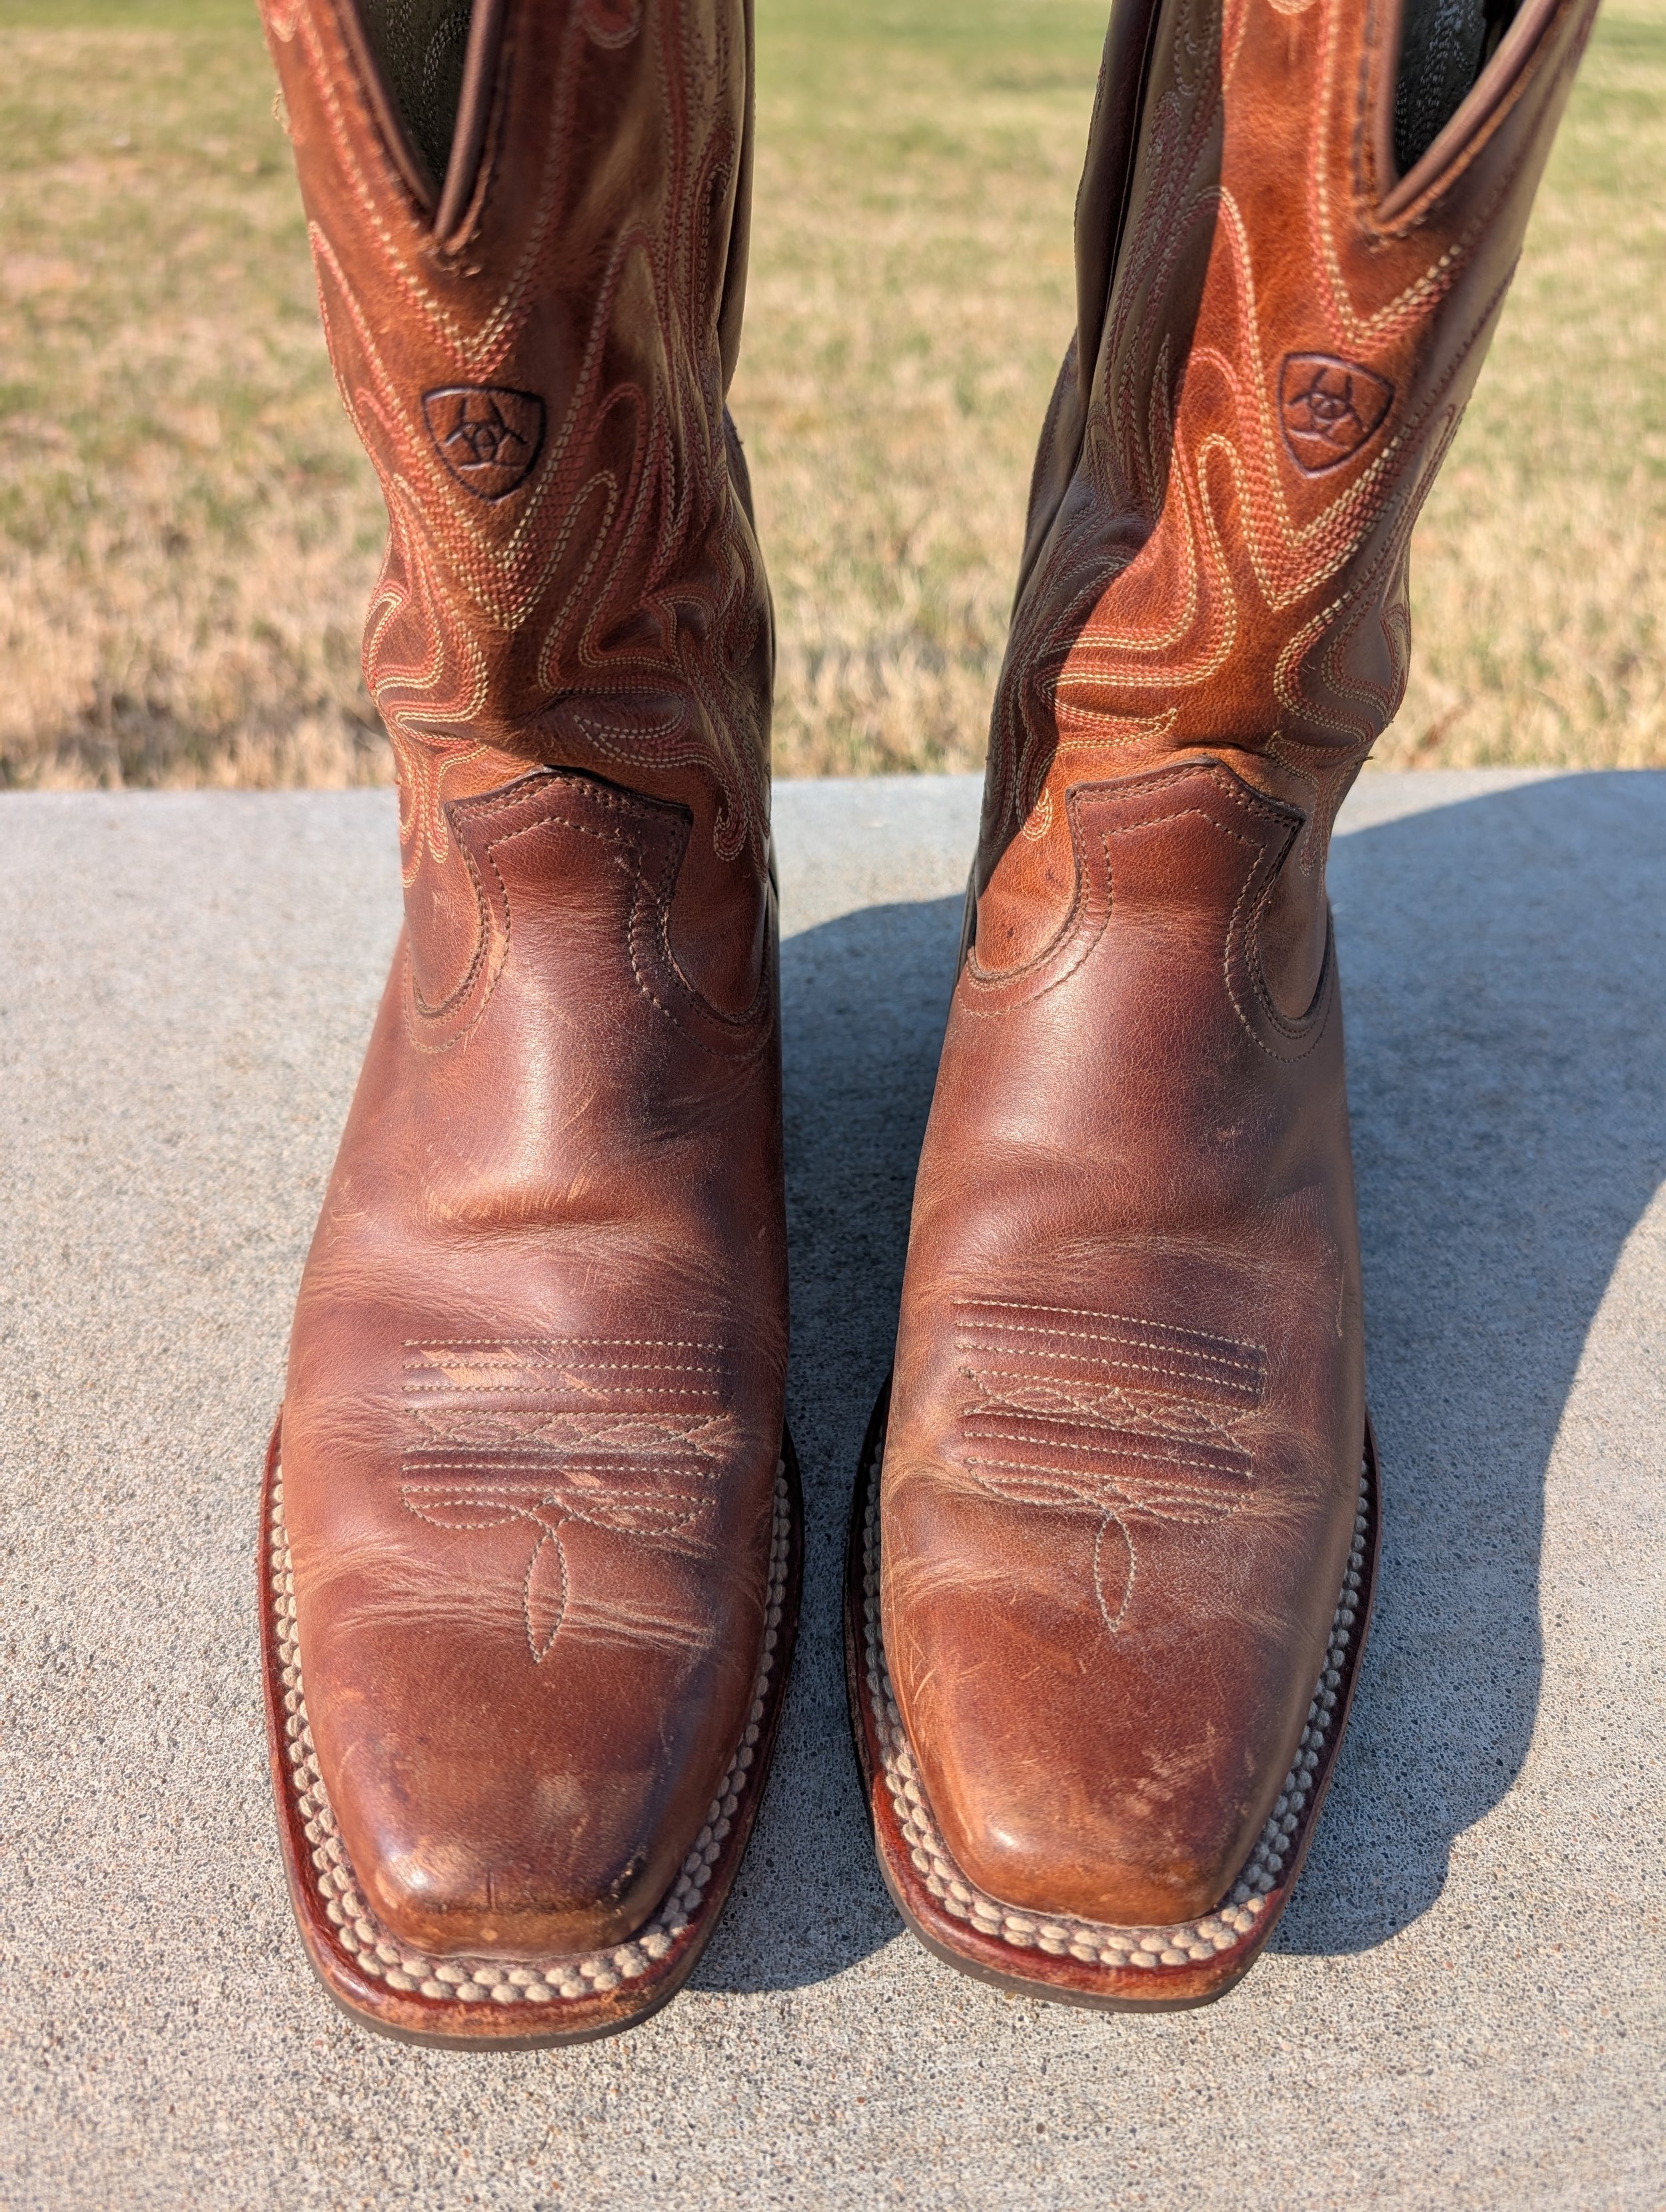
Caring for Nubuck
The Goal: To maintain a smooth, velvety texture.
Nubuck is tougher than suede, but its nap is much shorter and finer (almost like velvet). It requires a gentler touch to avoid "balding" the surface.
Cleaning: You will need a nubuck brush (crepe or nylon, never brass) or a nubuck cloth to properly care for your nubuck. Similar to suede, most cleaning can be done with a nubuck brush alone. Use the four directions technique:
Step 1: The Clean (One Direction) Brush the entire item in one constant direction. This flicks away loose surface dust and ensures you aren't just "rubbing the dirt in."
Step 2: The Lift (Against the Grain) Gently brush against the way the fibers naturally lay to stand them up. This restores that signature "velvet" look.
Step 3: The Spot Fix (Circular Motion) If you have a scuff or a flat "shiny" spot, use your crepe brush in small, firm circles. The friction creates a tiny amount of heat, which helps "unstick" matted fibers.
Step 4: The Reset (Back to One Direction) Finish by brushing everything back in the same direction for a clean, "fresh-out-of-the-box" appearance.
Stain Removal: Use a Suede/ Nubuck Eraser (a crumbly block of rubber). Rub the eraser over the stain until it crumbles away, then brush off the residue.
For Deep Stains and Water Marks: Again, good luck. There are specialty nubuck foam cleansers and videos on how to use them, but my recommendation is to avoid this entirely (best you can) by using a waterproof / stain protection spray, before the first wear and every 4-6 weeks during regular use (every 3-4 months for less frequently worn items).
Waterproof / Stain Protection: After brushing, hold the waterproof / stain protection spray 10-12 inches from your material (nubuck is more absorbent than suede) and apply a light mist over the entire item. Do not soak the material. Allow the spray to air dry, naturally away from heat and sunlight. Apply a second thin coat, following the same steps. Once the suede is completely dry, use your suede brush to restore the soft, velvety nap.
Conditioning: Nubuck does need conditioned, but not nearly as often as smooth leather. Aim for every 6-12 months and after any cleaning involving water or soap. After brushing, apply a specially nubuck conditioning spray. Hold the spray 6-8 inches from your material, spray a light mist. Do not soak the material. Let the spray dry naturally, away from heat or sunlight. Once dry, apply waterproof / stain protector.
Scratch Repair: Similar to suede, my recommendation is to do what you can with your eraser and suede brush. If this doesn't work, there are nubuck recoloring sprays and youtube videos on how to use them. Reach out if you find something that works well for you!
Caring for Genuine Leather
The Goal: To protect the surface coating and prevent peeling.
Genuine leather is the under split layer with a plastic or painted top coating. The most common cause of failure for this type of leather is "delamination," where the top layer bubbles or peels away from the base.
Cleaning: Genuine leather is very easy to clean, as liquids tend to sit on the surface. Use a damp microfiber cloth to remove body oils and dust.
For Deeper Stains: Try a drop of clear dish soap or baby shampoo on a damp microfiber cloth. Avoid baby wipes or household cleaners that contain alcohol, which will break down the protective coating.
Conditioning: Not really necessary. Leather conditioners can't really penetrate the plastic coating, so it's kind of a waste of money.
Scratch Repair: Since this usually has a painted or plastic-like top coat, a scratch is often a "chip" in that paint. You can use a leather touch-up pen or color-match cream to hide the mark. Similar to full-grain leather, apply color matching leather cream polish in thin coats. Allow to sit for a few minutes, then gently wipe/buff away excess polish. Repeat until the desired color is achieved.
Key Takeaways
For footwear and apparel, almost all of the product’s environmental impact occurs in the supply chain. According to the Outdoor Industry Association, less than 3% of a product’s impact occurs after the product has left the final goods factory - this includes active product life and end of life. It sounds like I’m saying, as a consumer there is nothing you can do to reduce the impact of your closet - but it's the opposite actually. By taking care of the items you already own, you can extend their active product life, and eliminate ALL the environmental impact it would take to create a new, replacement product.
More in this Series…