I Made My Own Shoes!
Chicago School of Shoemaking and Leather Arts
July 13-15, 2024 | Chicago, IL
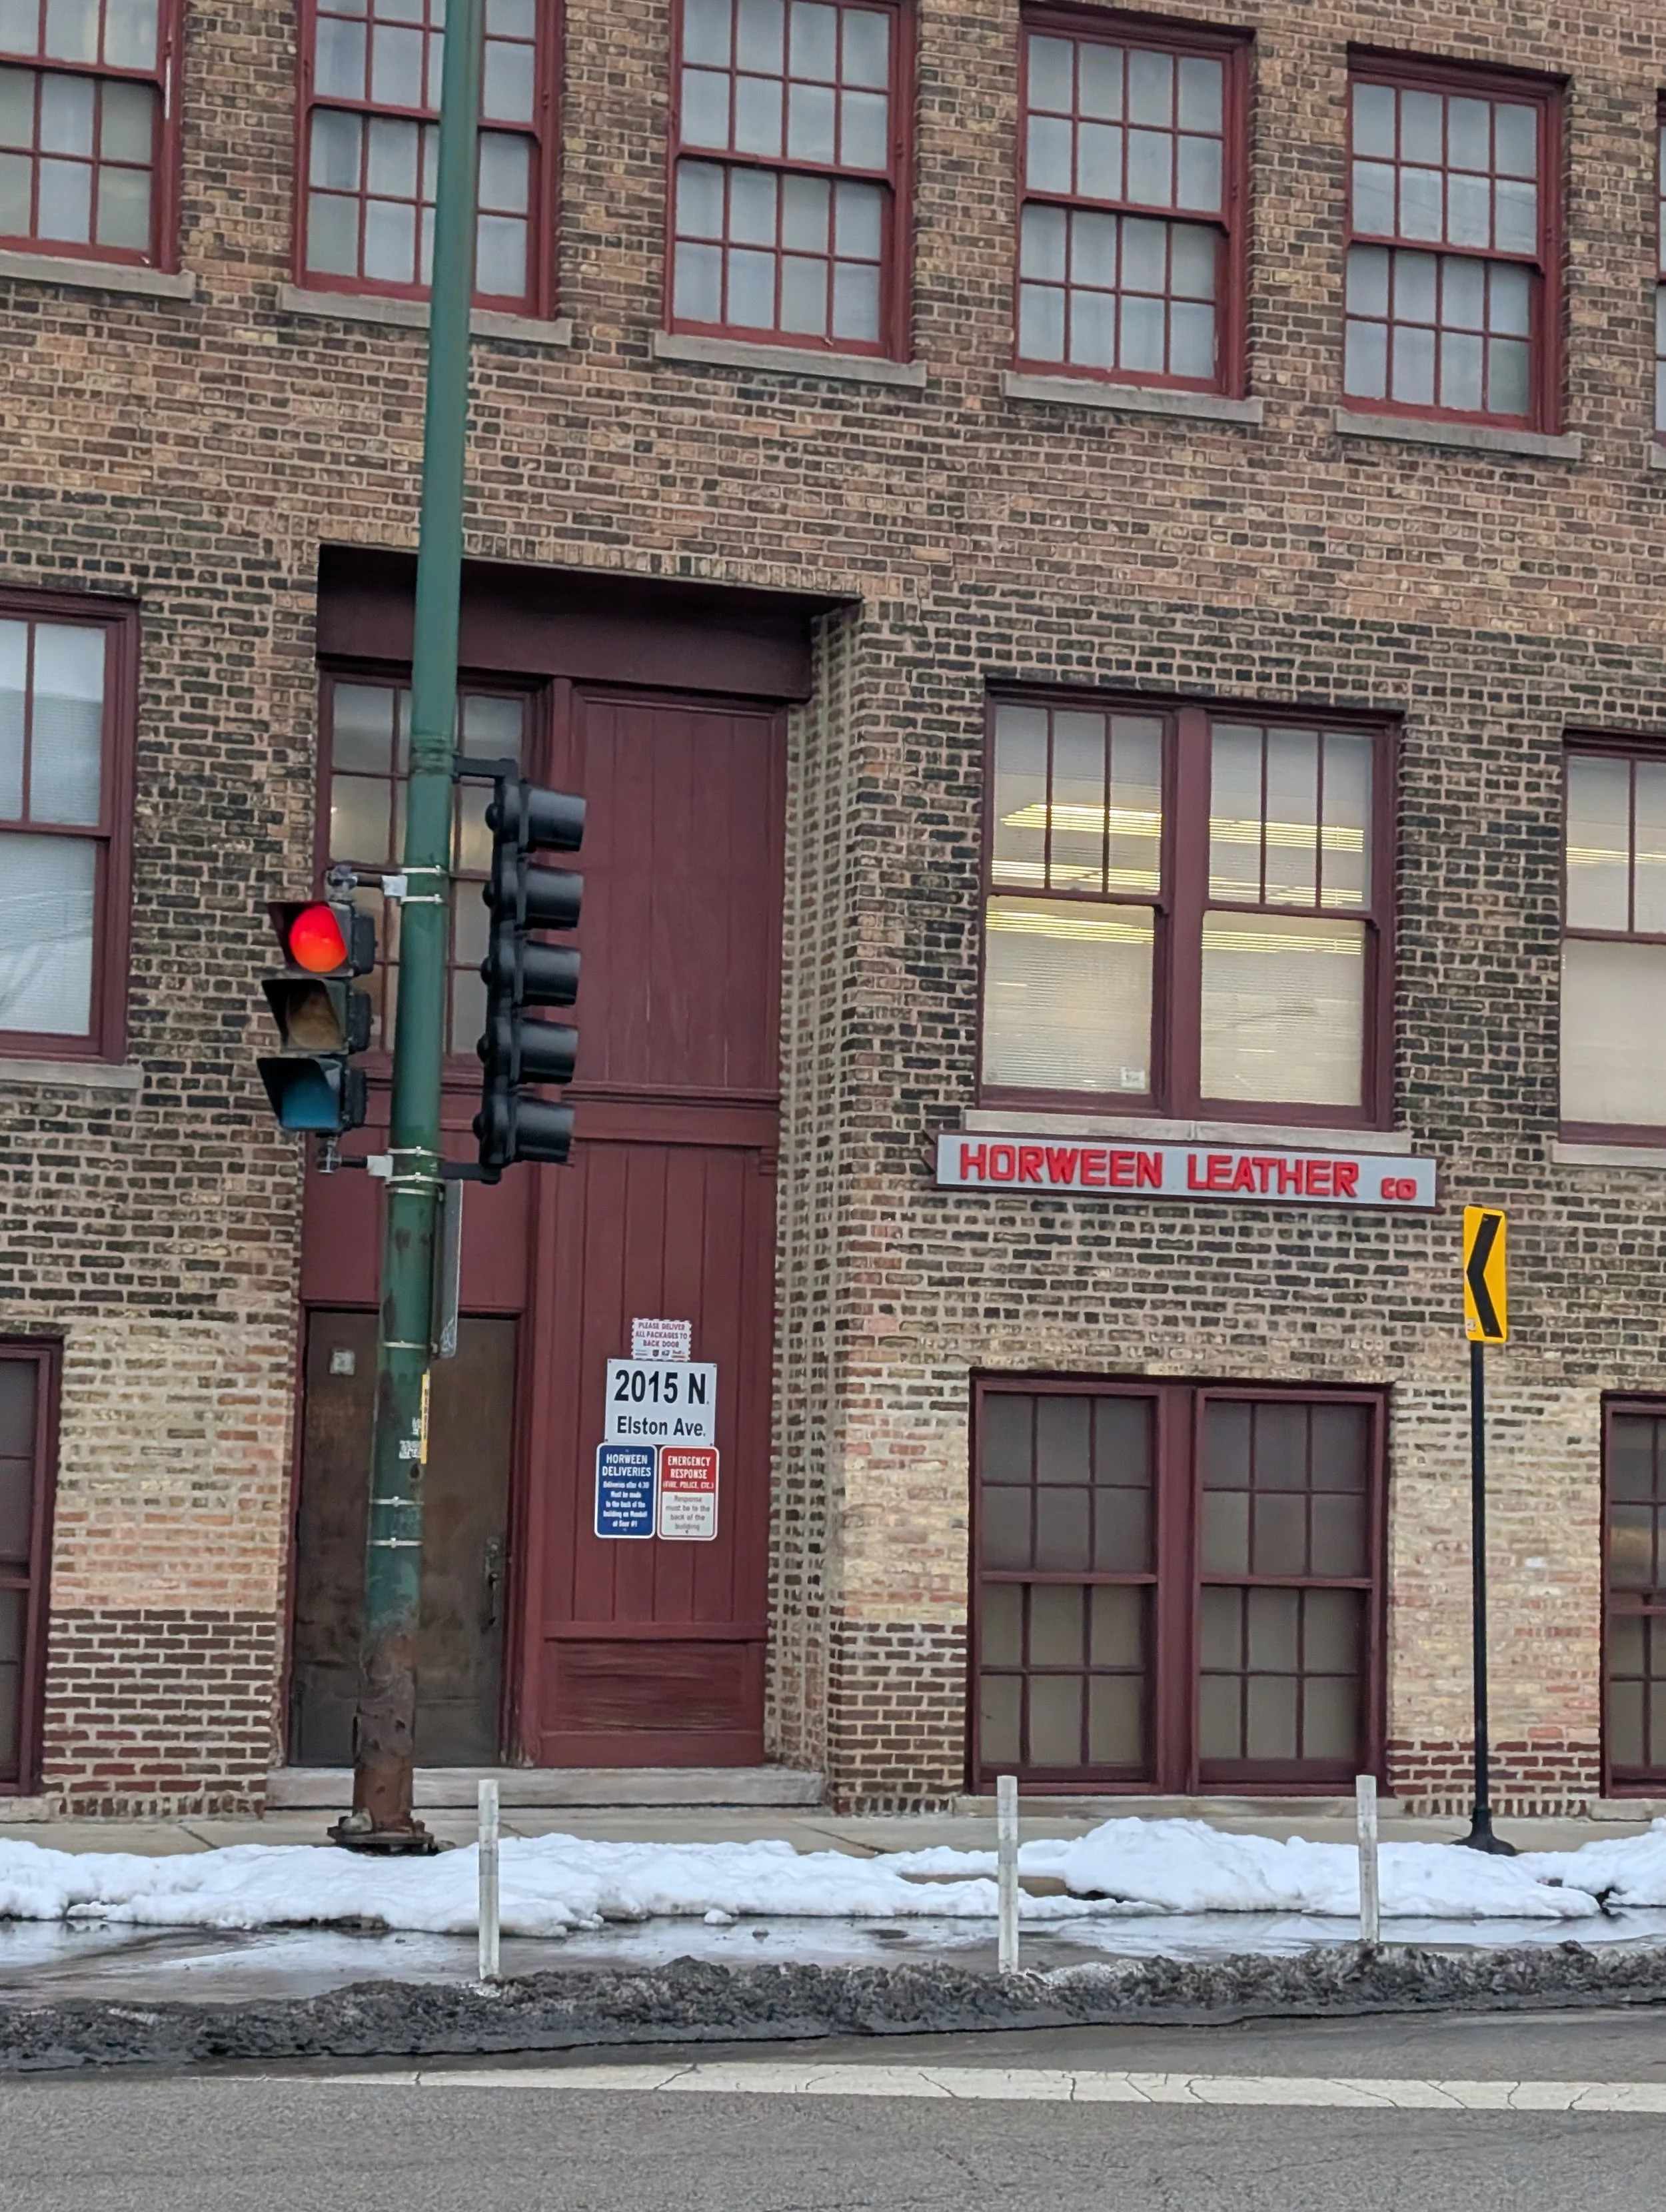
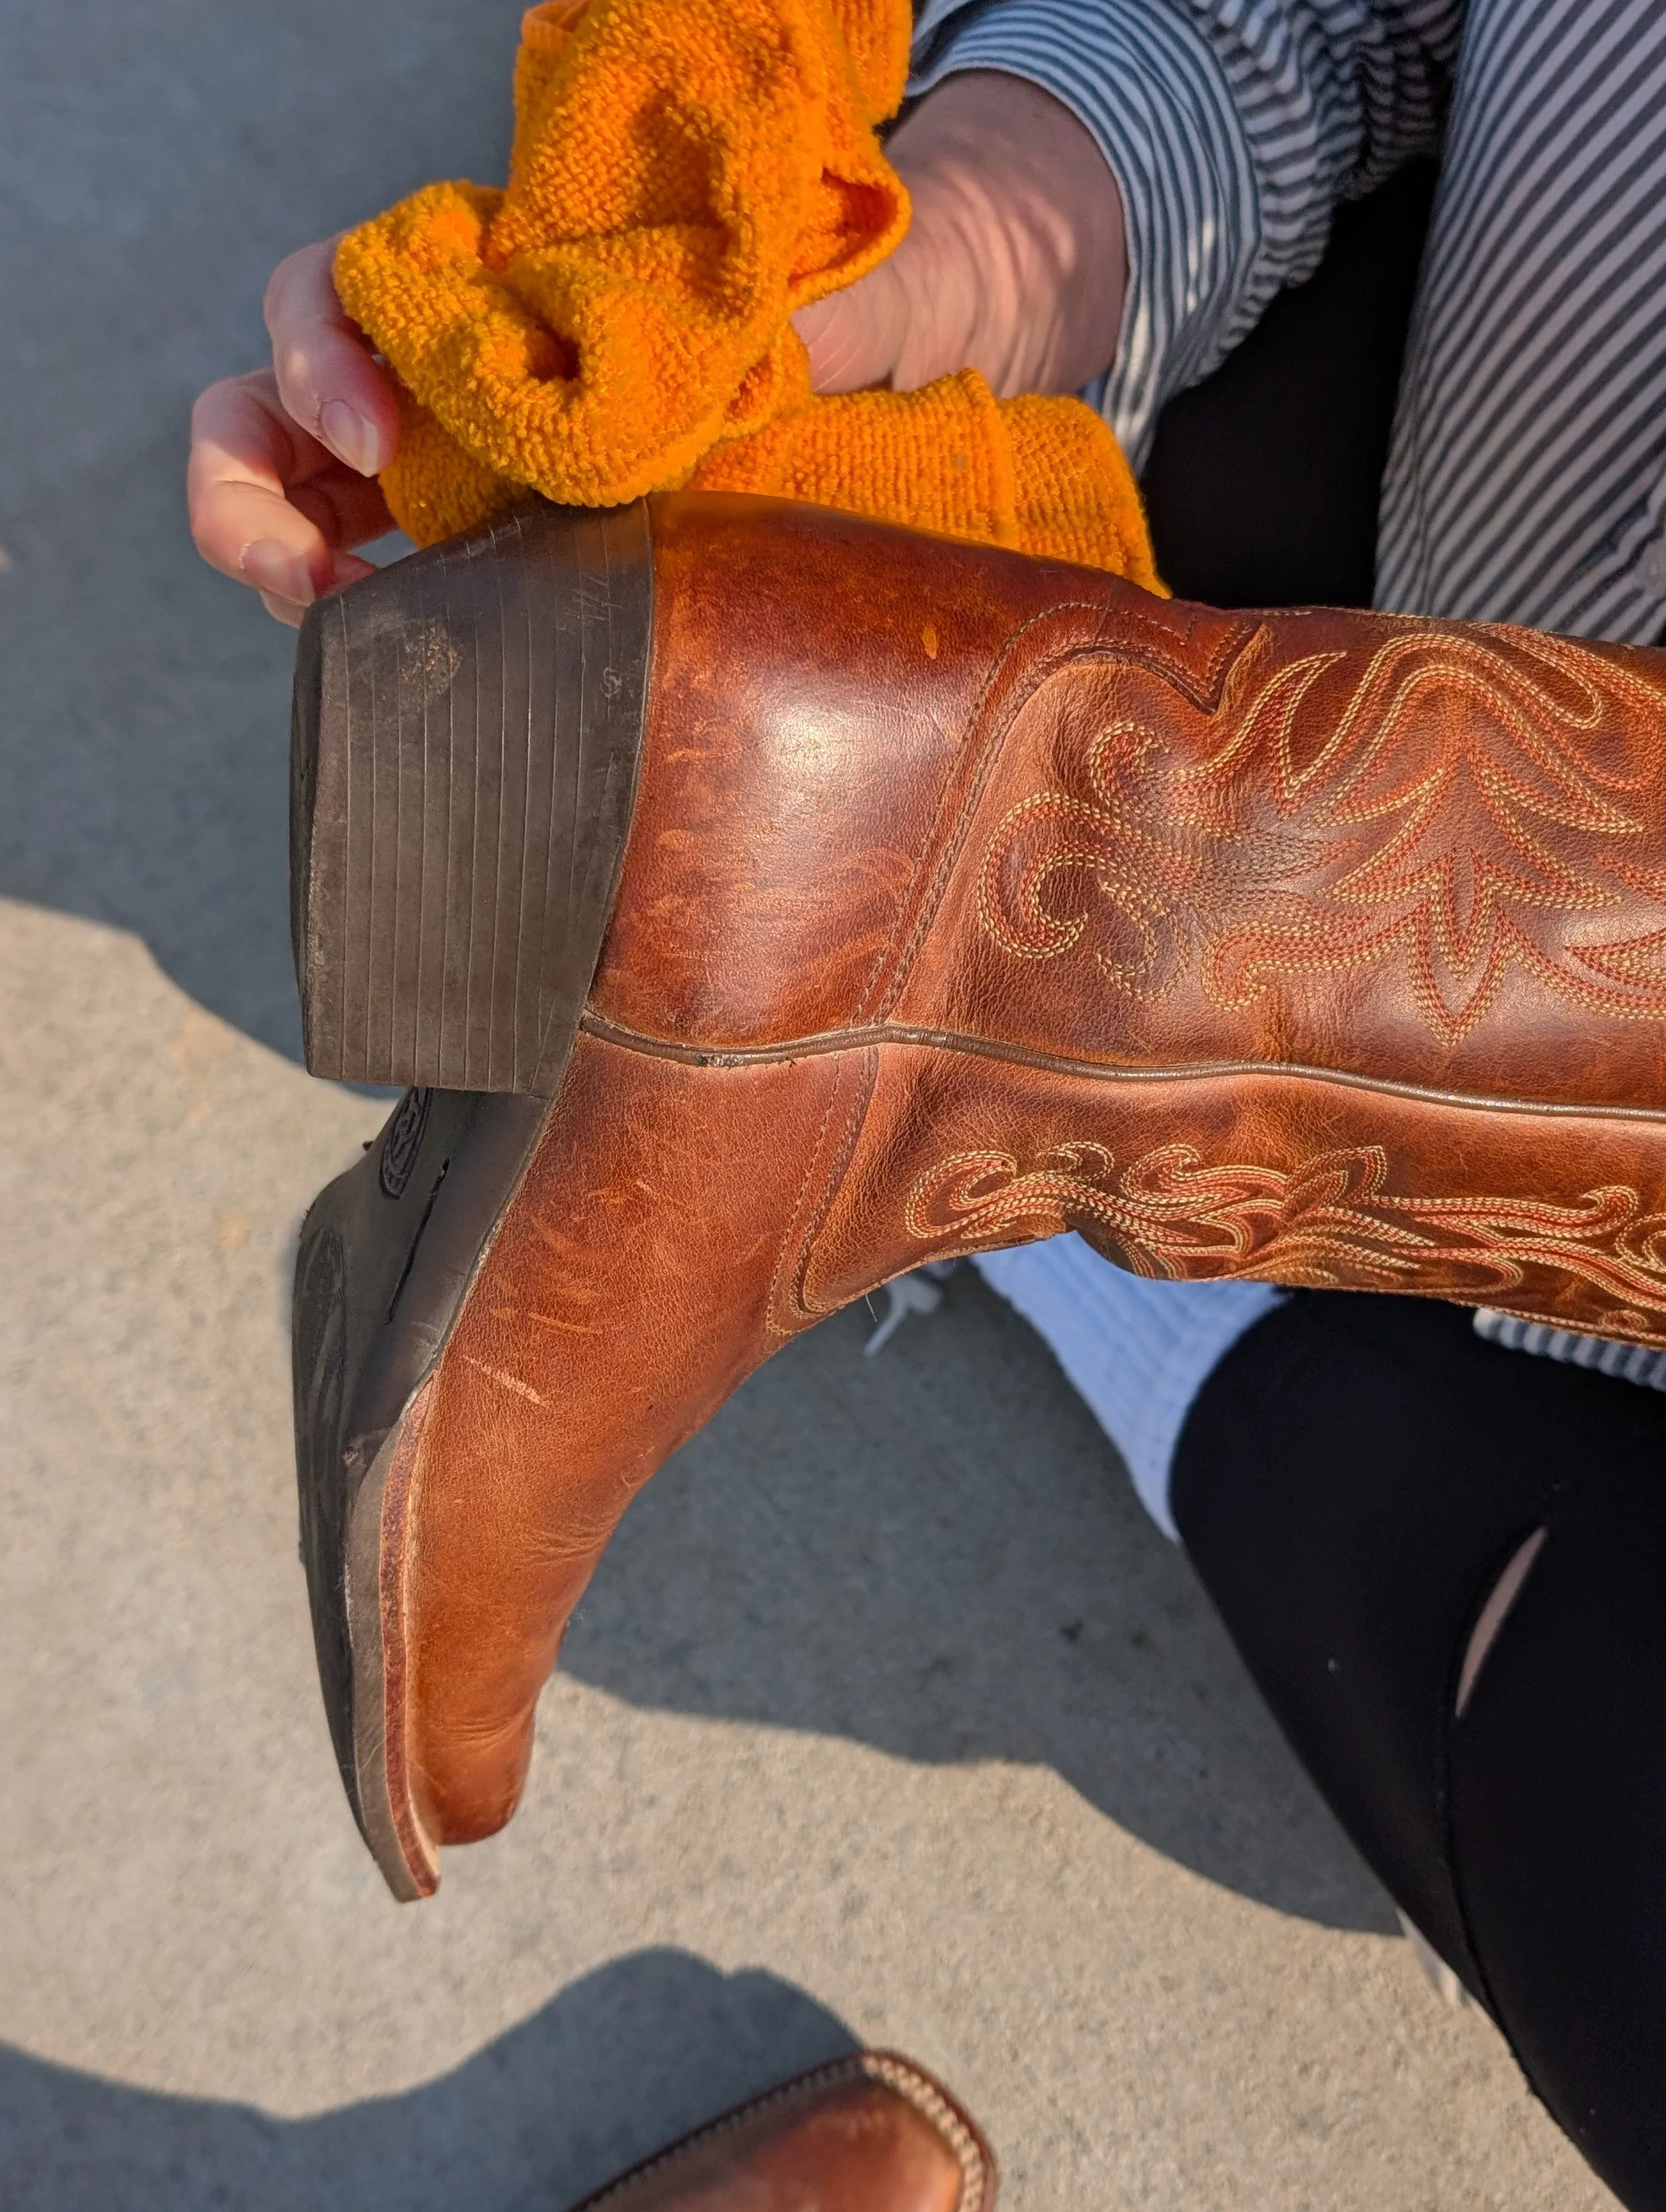
I have been lucky enough to see the ~200 step process to handcraft a pair of leather cowboy boots during my trips to Leon, Mexico (read more here). However, seeing is not the same as doing. To get a better understanding of exactly how our shoes are made, I took the Lasted Shoemaking 101 class at the Chicago School of Shoemaking and Leather Arts.
The pattern selected by our instructor is somewhat like a bowling shoe, with a teardrop opening. These shoes are giving 1950s at Sarah Lawrence. I need to make a swing dress to complete the look.
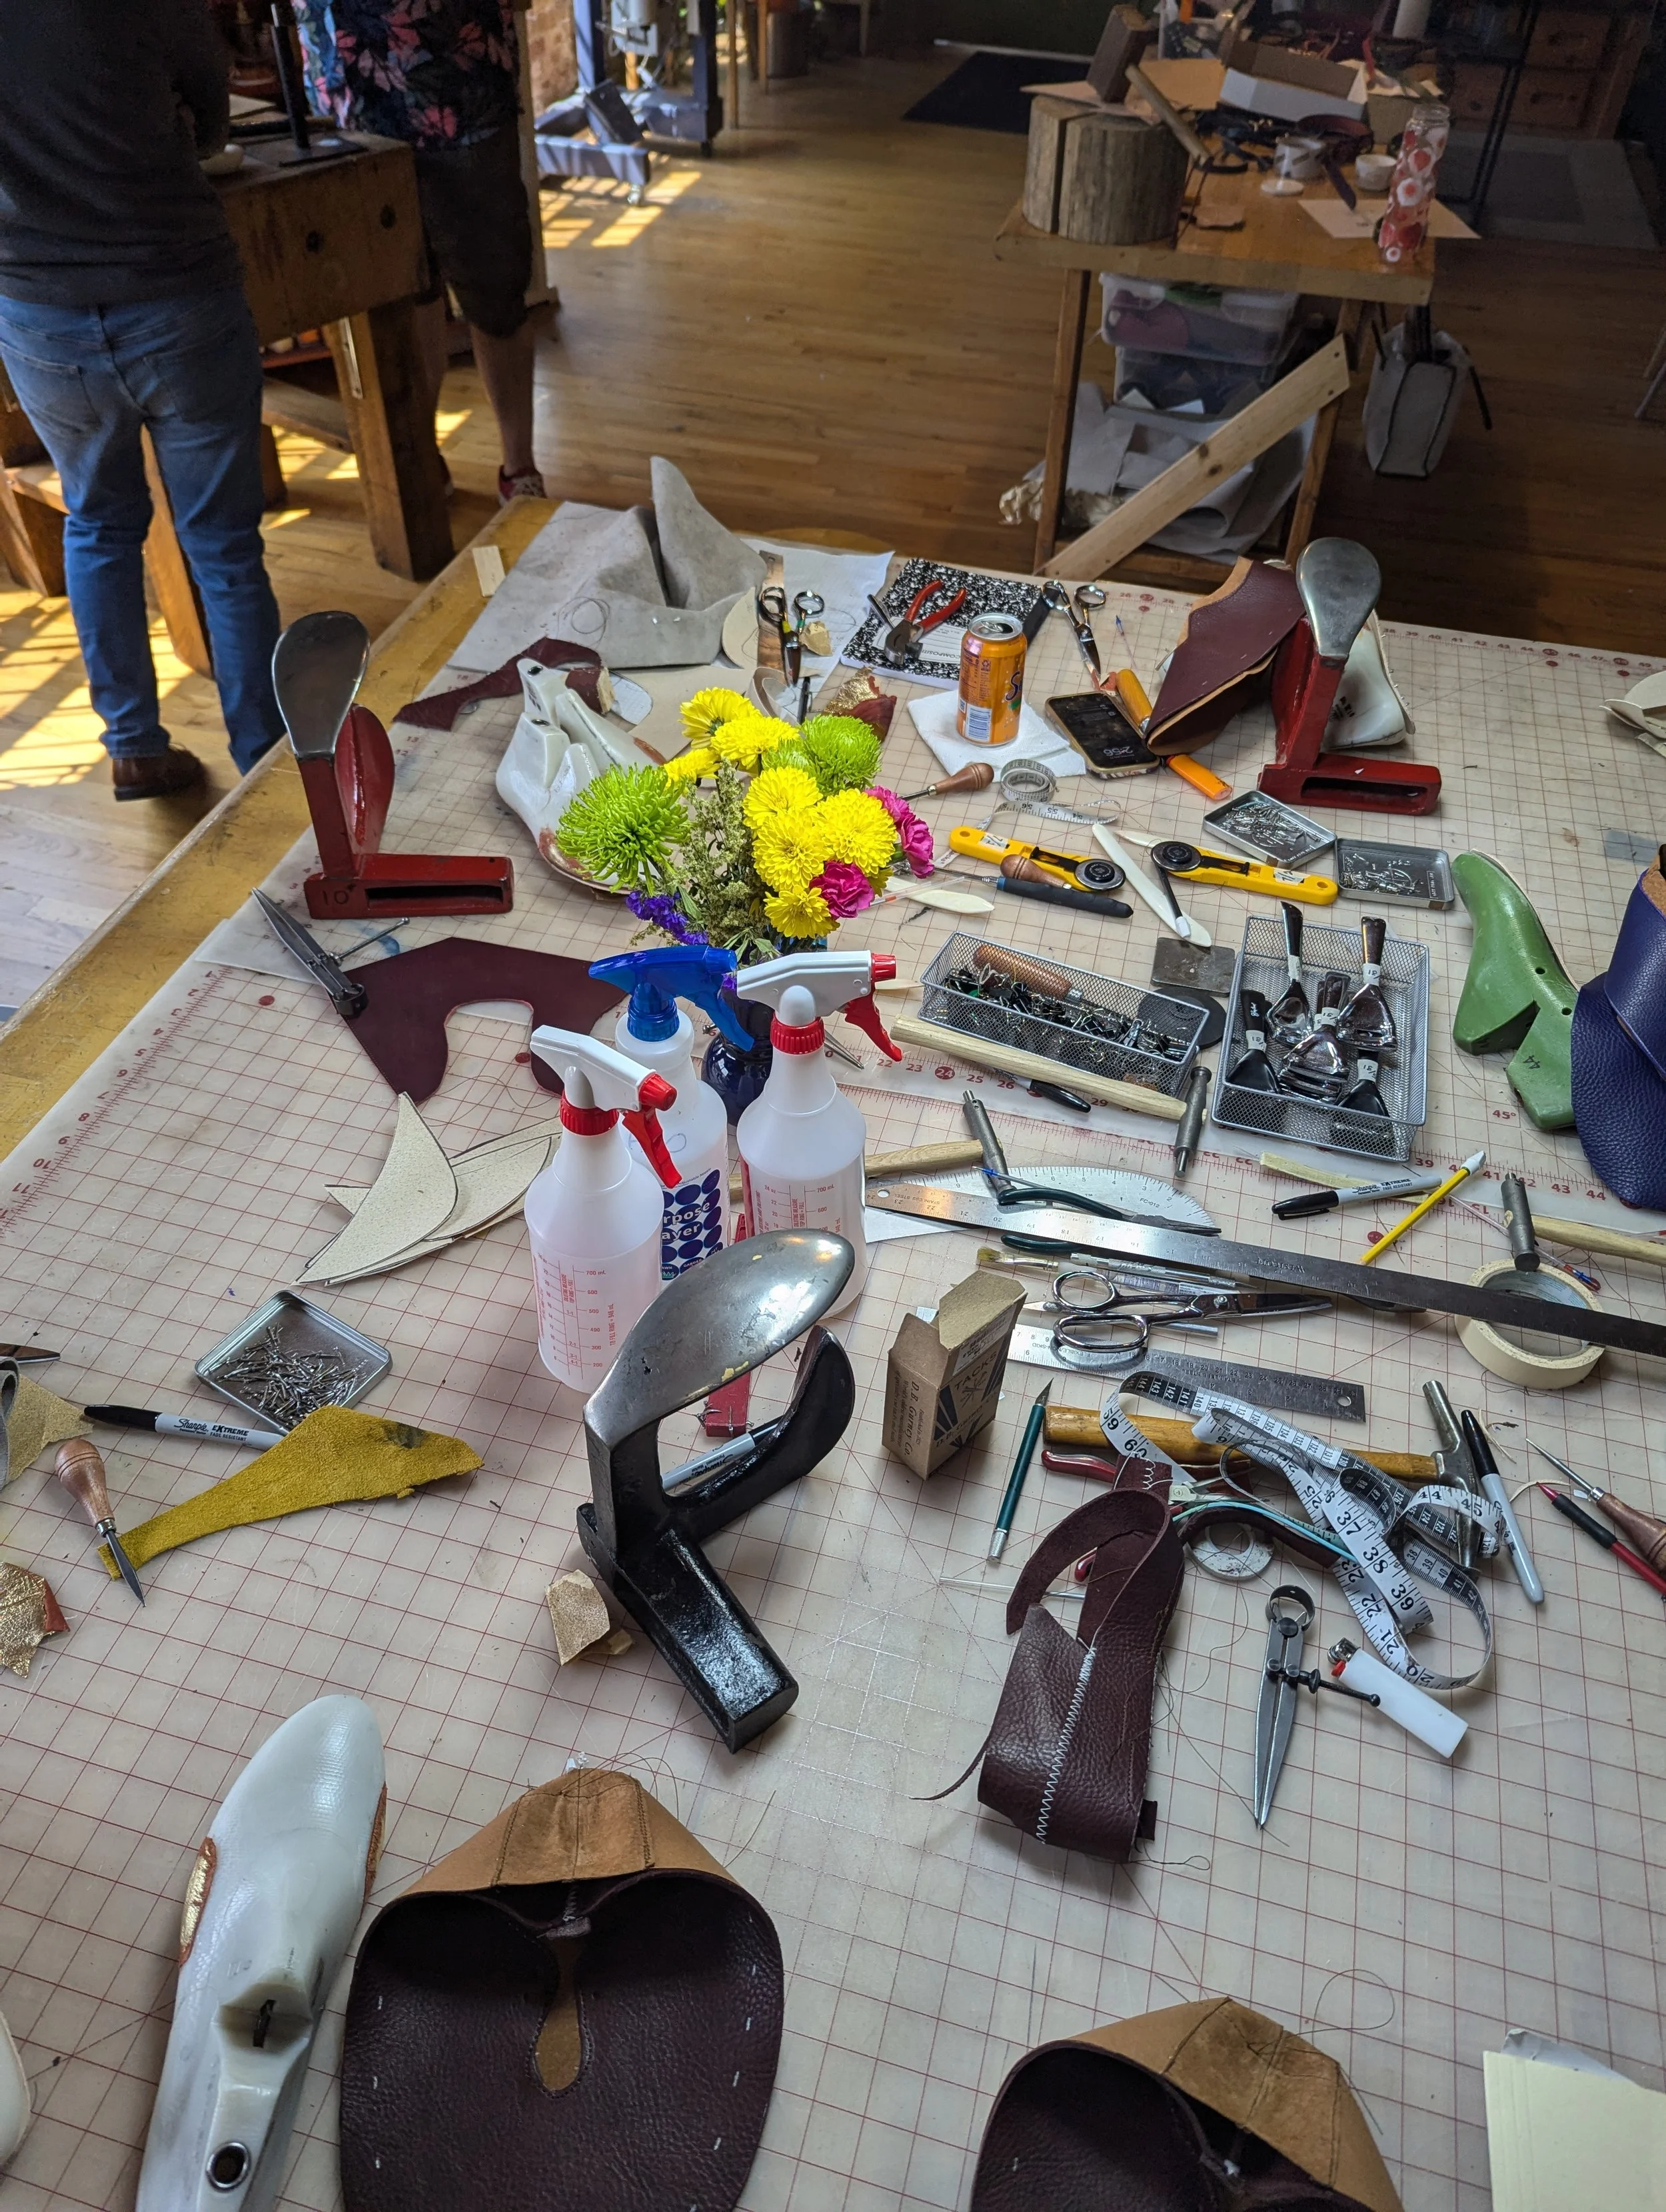
I’ve grouped a lot of steps together and no doubt forgetten a few, but below I’ve attempted to give a step by step overview of how our shoes are made.
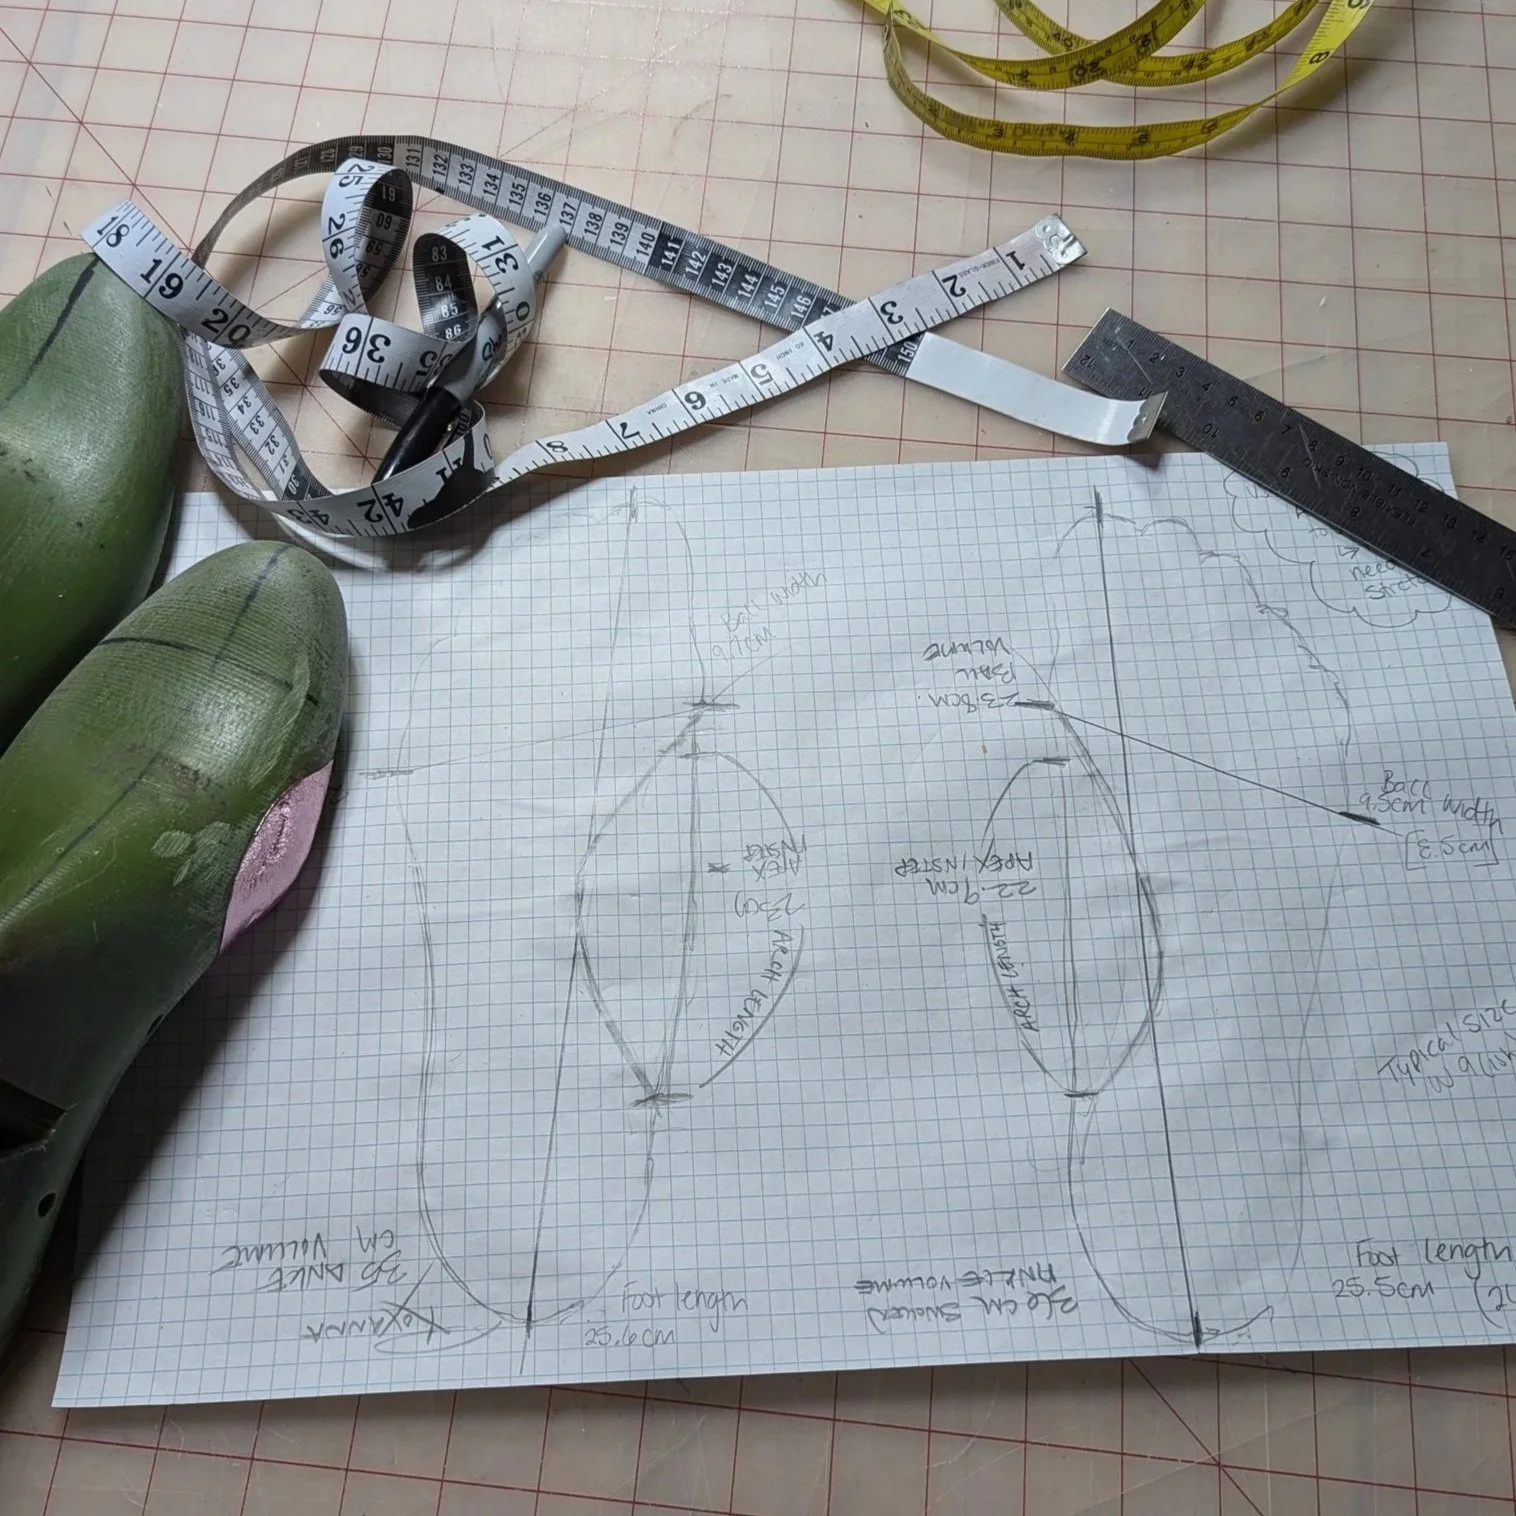
Foot Measurement & Last Adjustment
The class opened with a proper foot measurement. This allowed us to confirm which shoe last to use and any abnormalities that would require last adjustments. I am roughly a size 9, with both feet having a slightly larger ball of the foot. To accommodate this, I added adhesive foam padding to the sides of the size 9 last. I sanded the padding down to be exactly the right measurement for my foot. This should ensure my finished project fits perfectly.
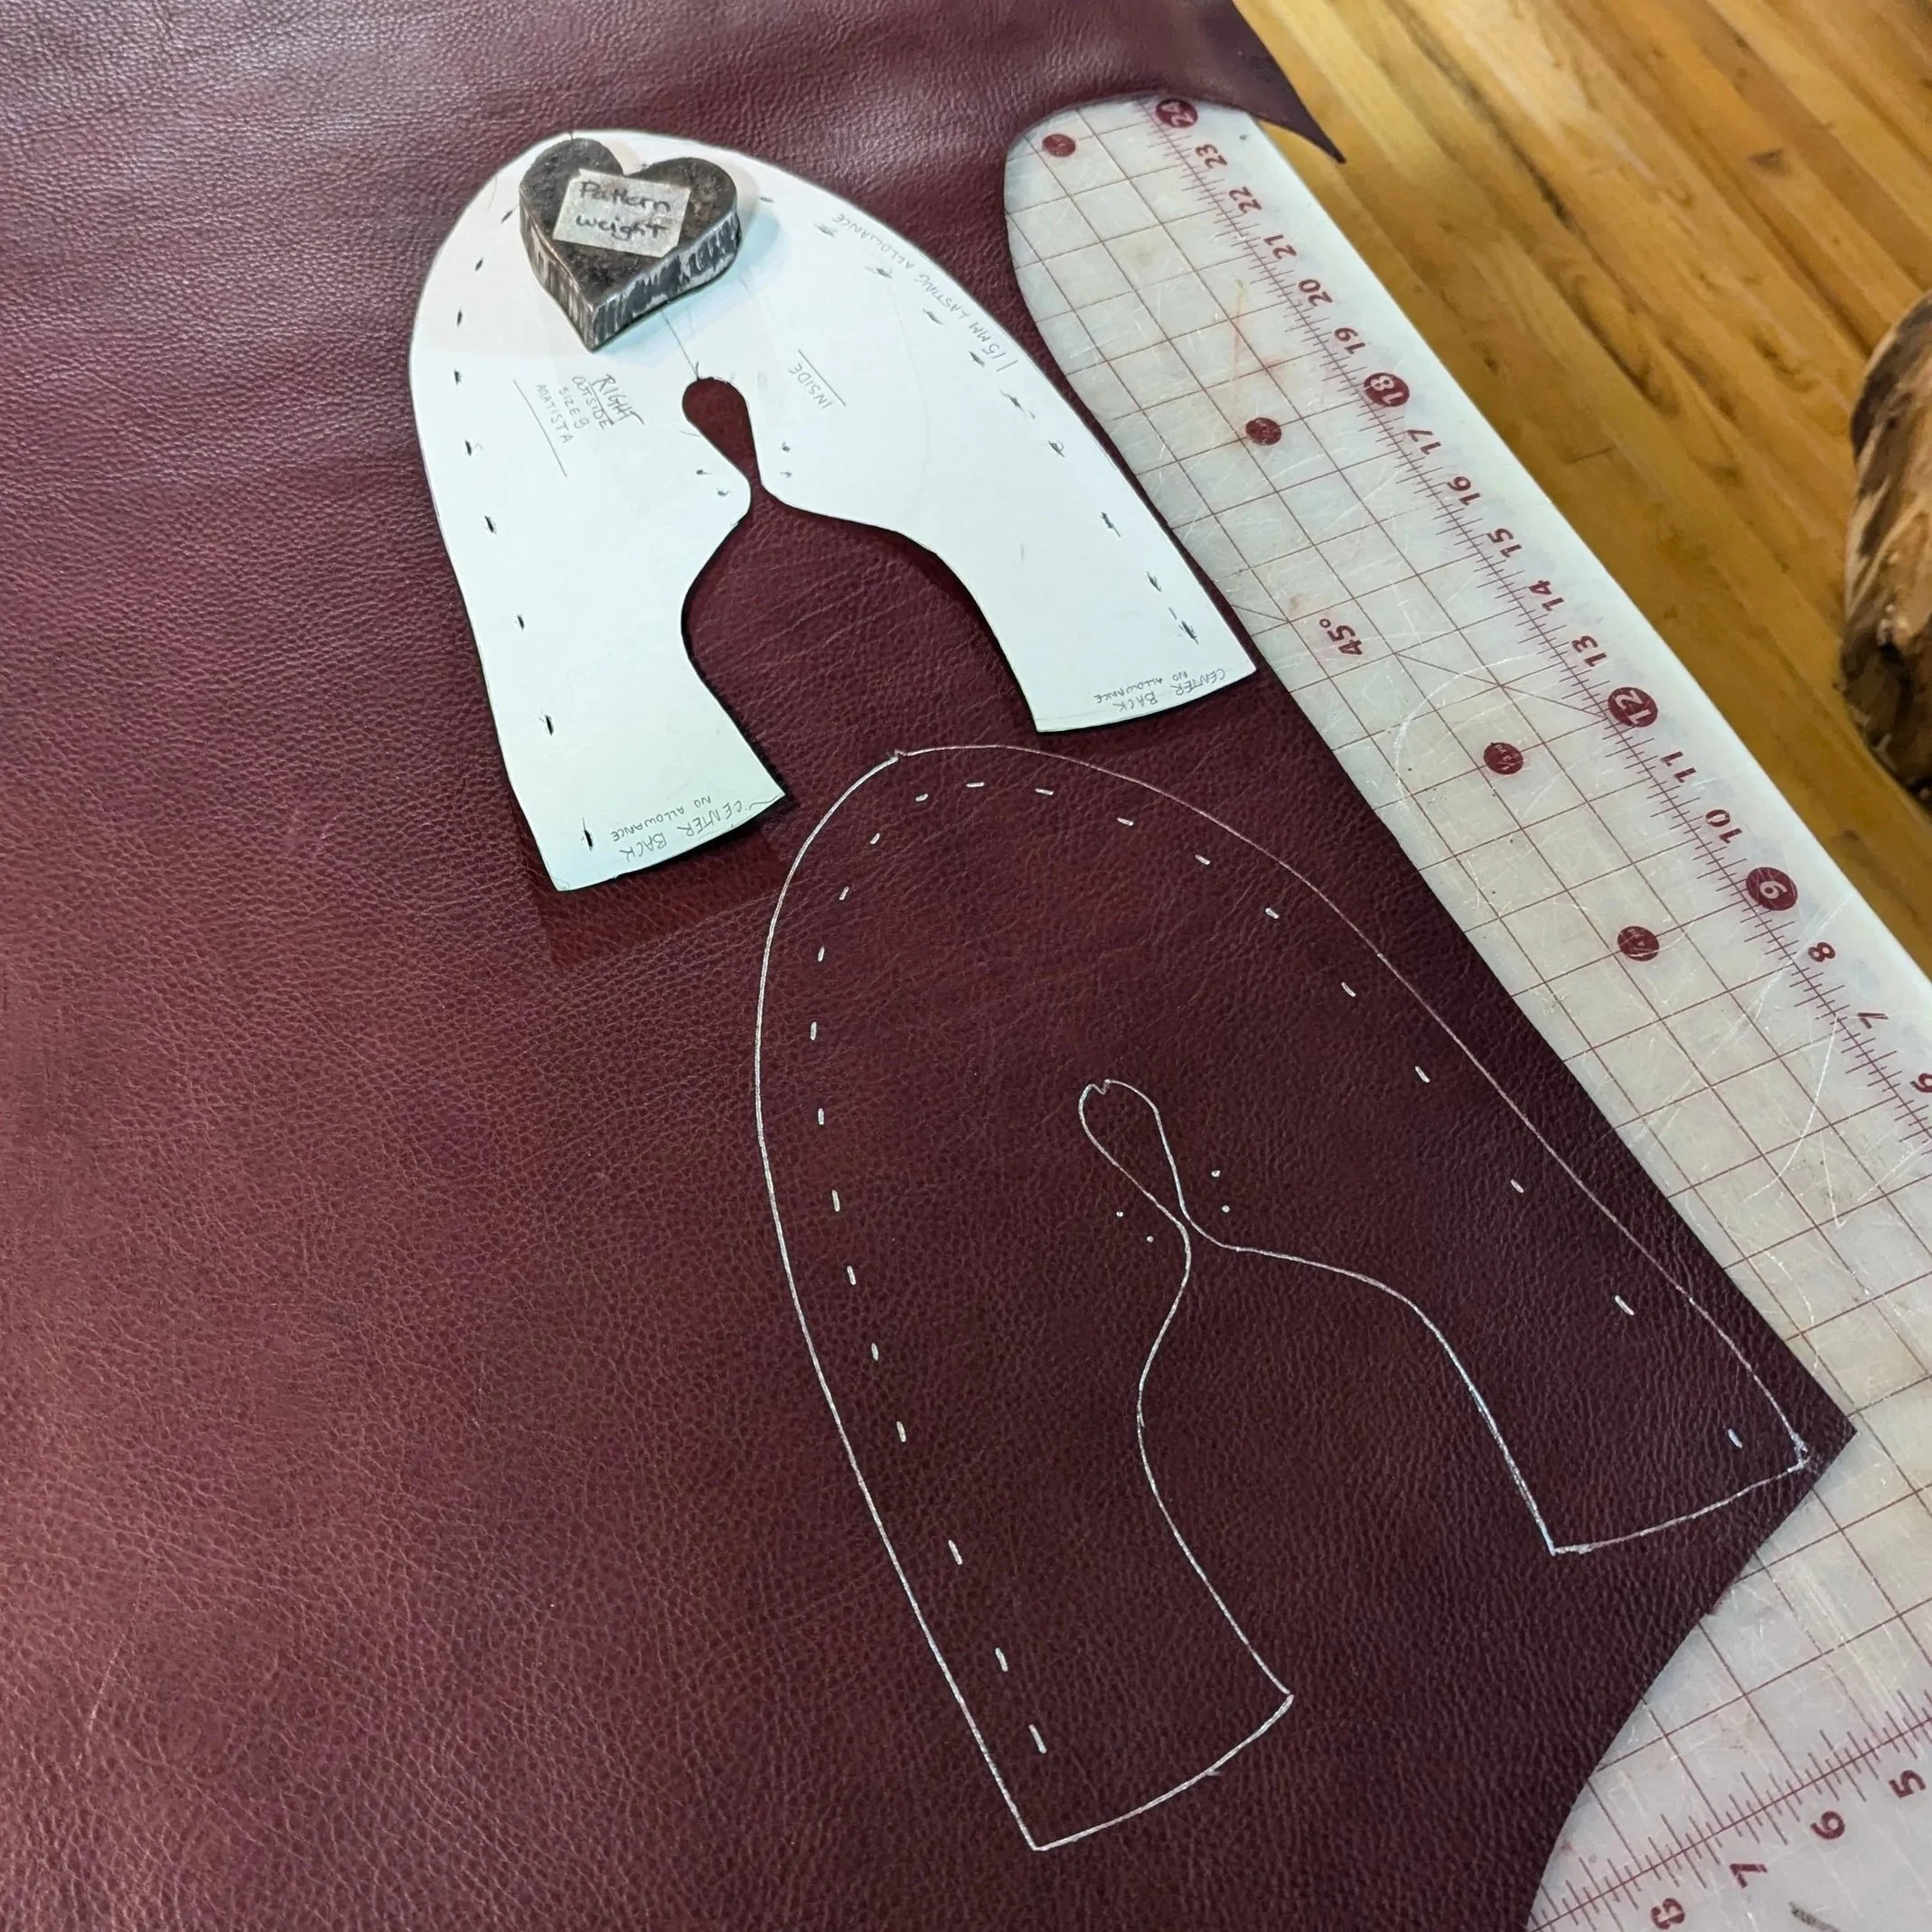
Material Selection & Pattern Cutting
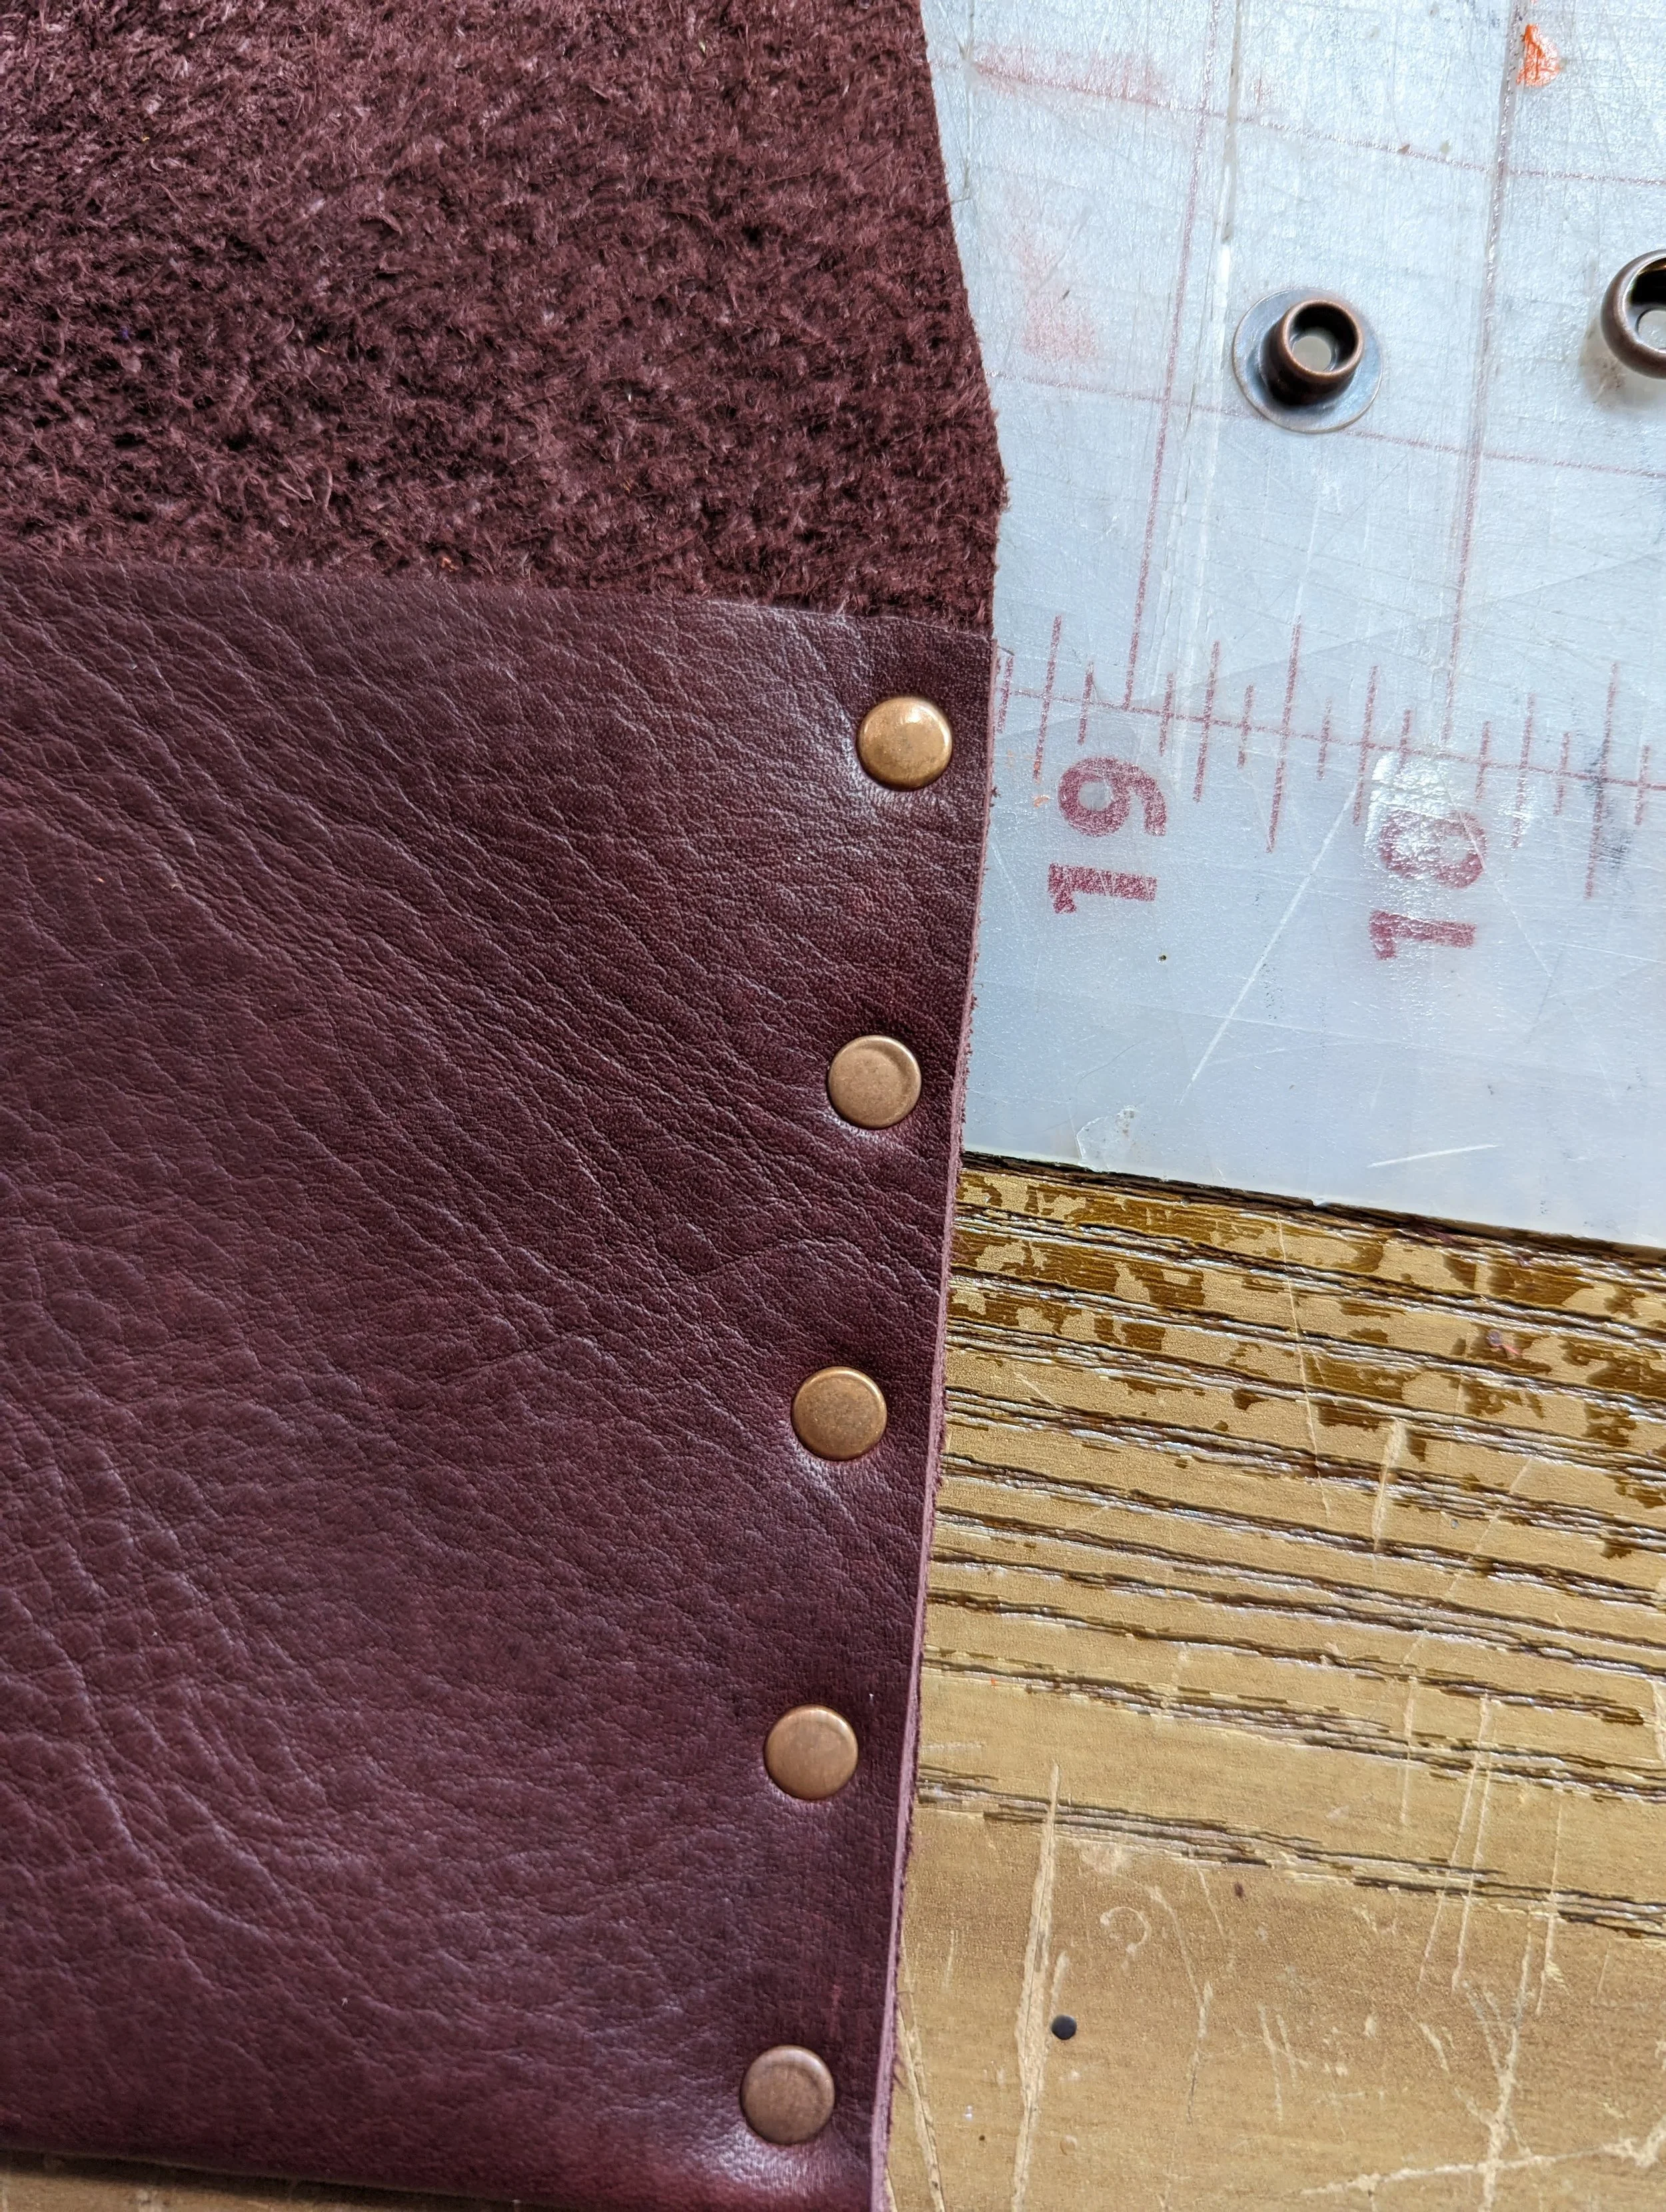
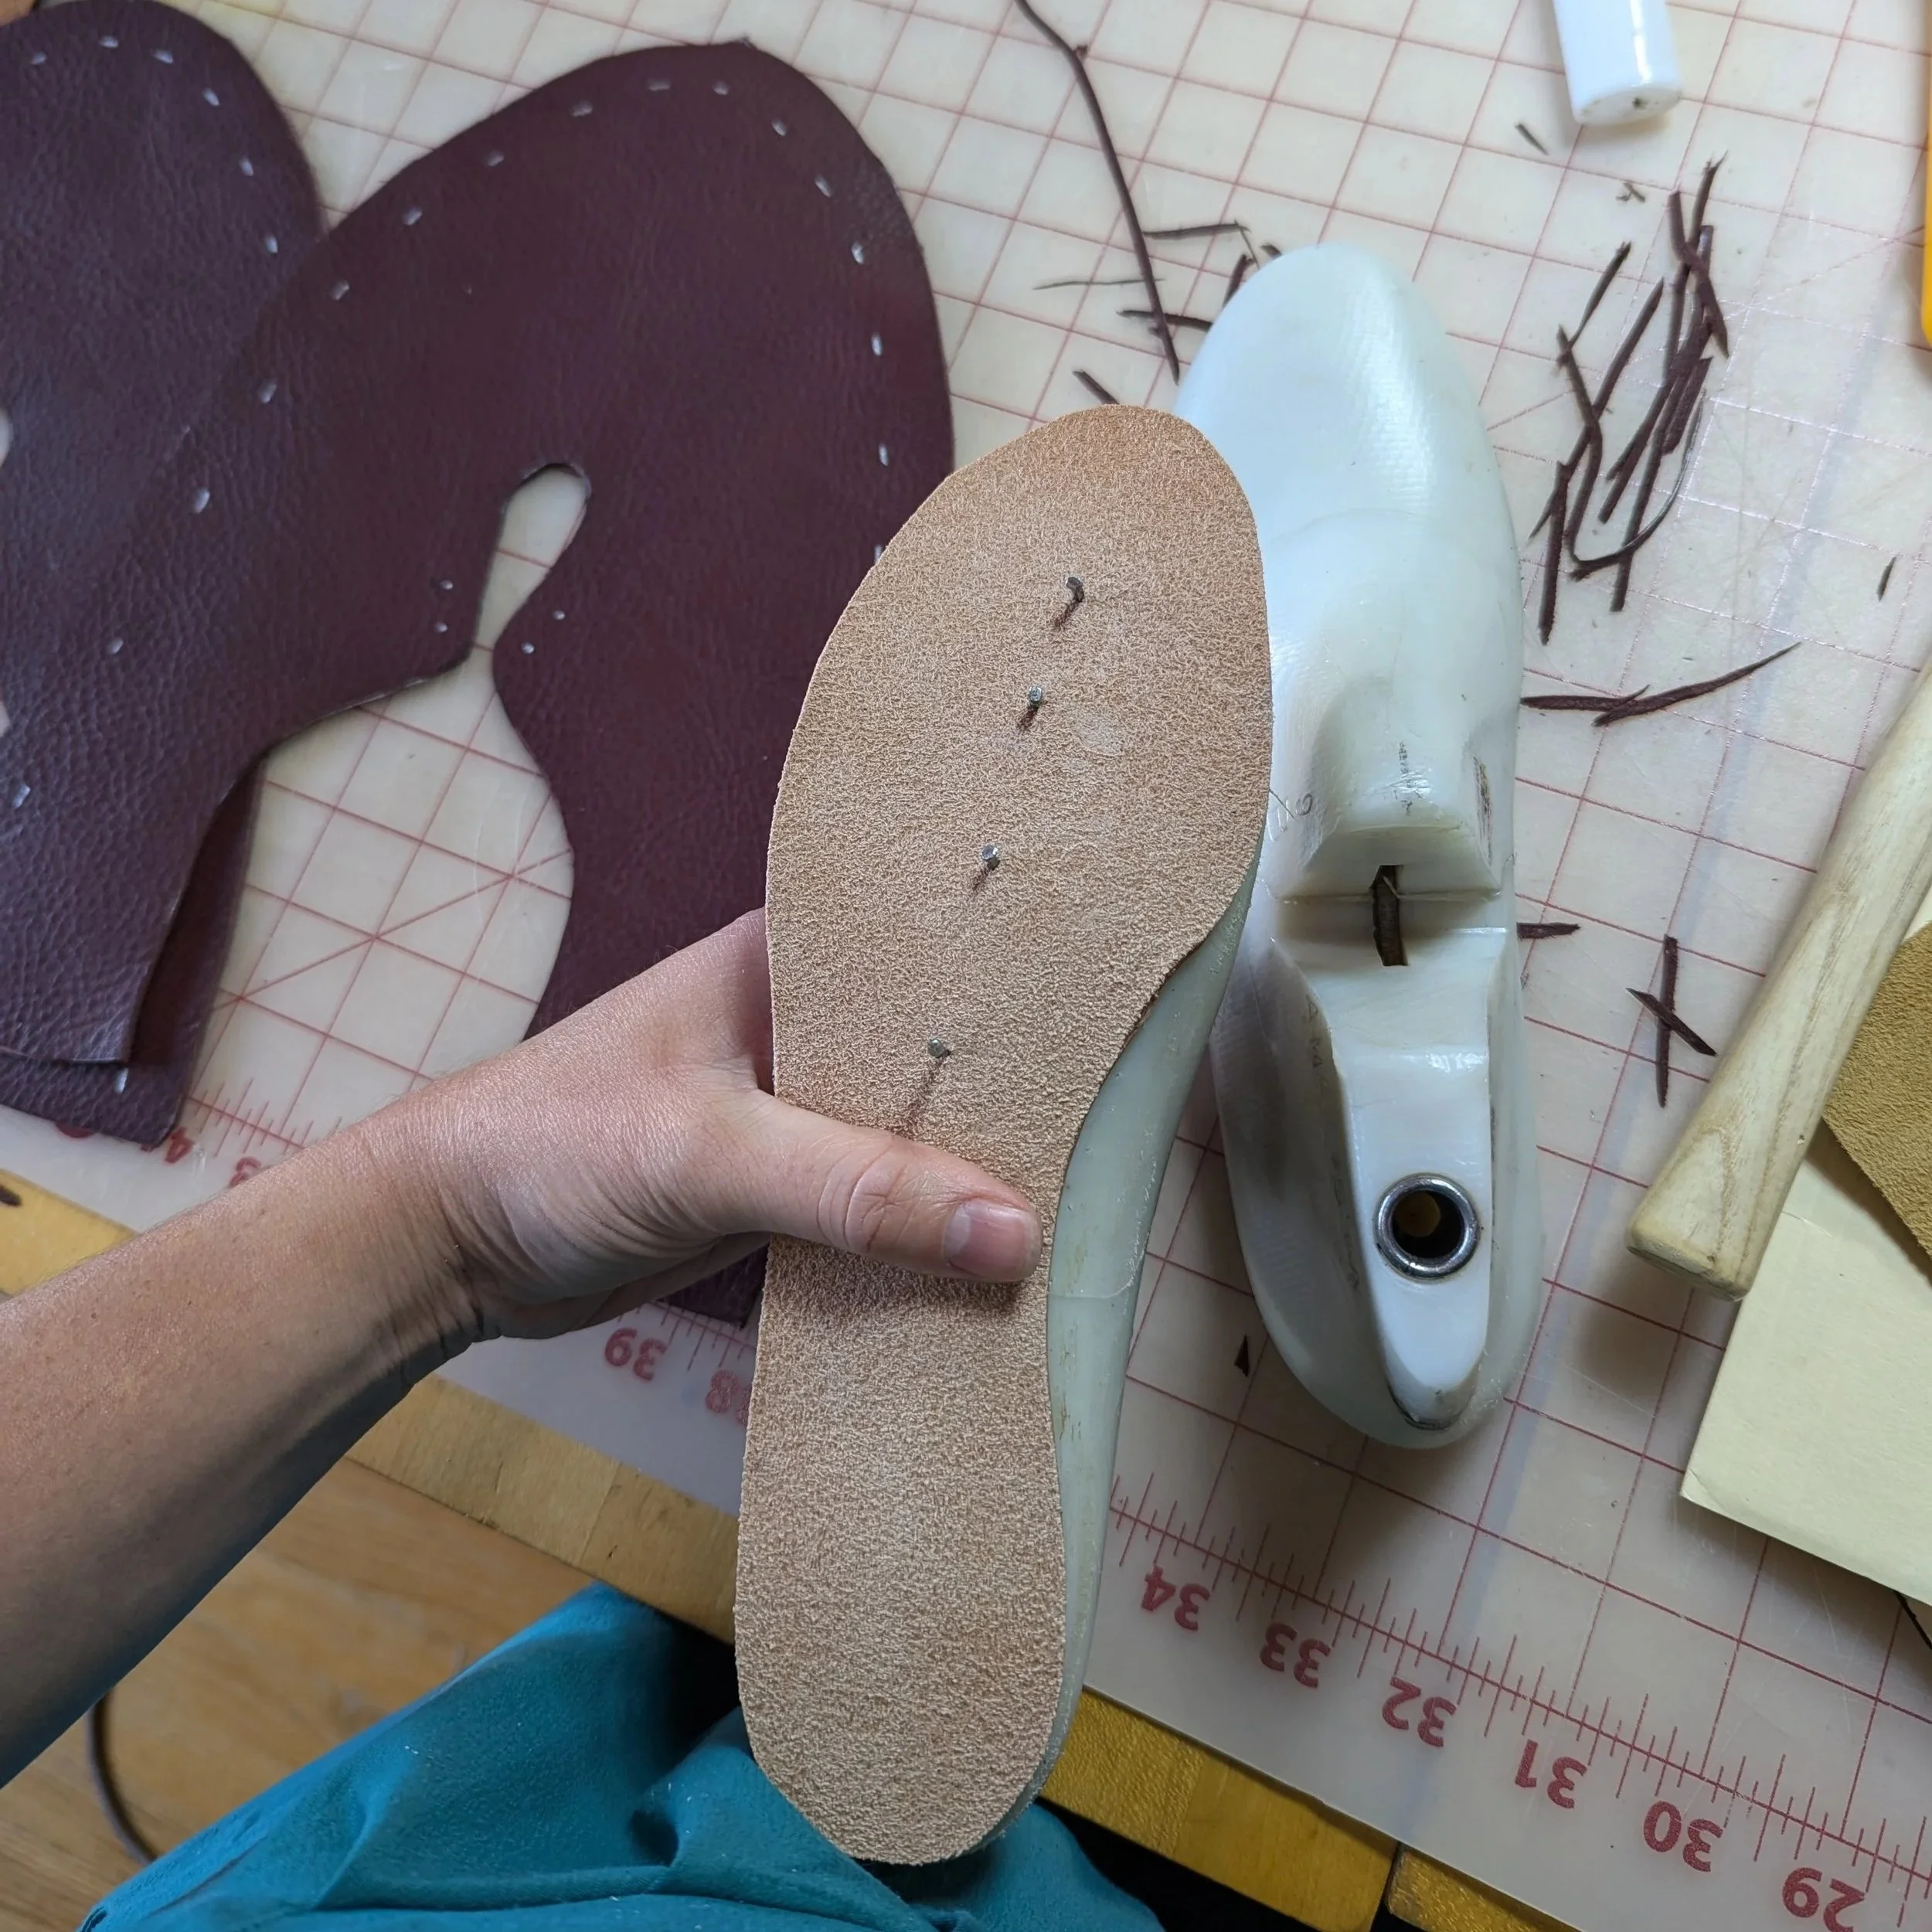
The first material on our last is the insole board, which is nailed to the bottom of the last. Next, we selected our material. I chose this veg tanned leather, because I am obsessed with this color right now!
Then, we cut our pattern pieces. In the photo, you can see how I’ve laid the upper pieces for cutting. My goal is to ensure I will have consistent color and grain pattern in my finished project. I’m also cutting as close to the spine as possible, to reduce excess wrinkles in my finished project.
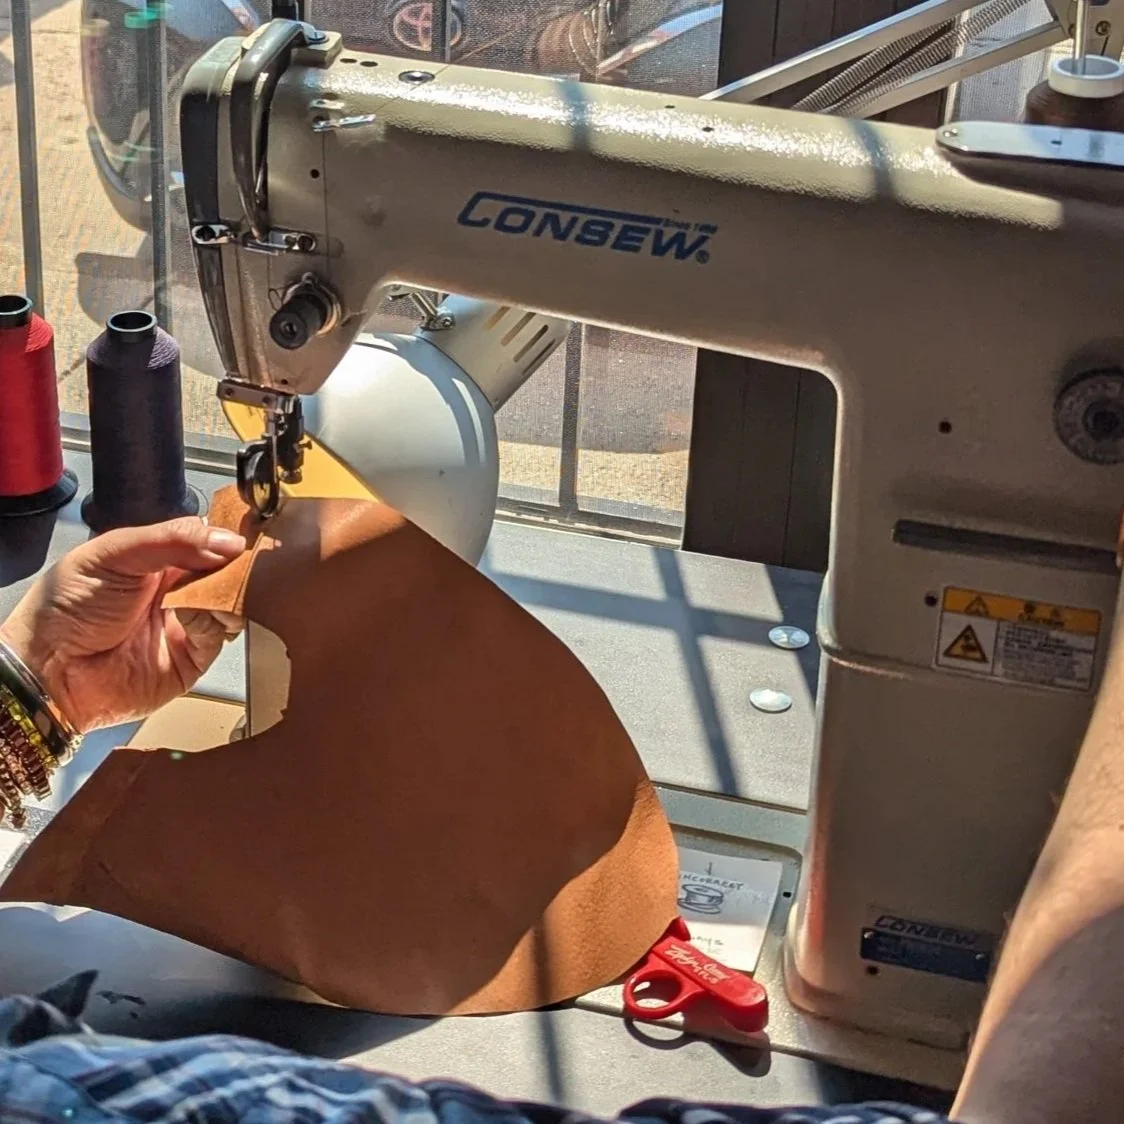
Stitch Uppers & Lining
Time to turn this project 3D! We start by sewing the heel line of the lining pieces and the upper pieces.
For the lining, we open the heel seam and glue/press it open. This reduces the bulk in the final project.
For the upper, we add an extra leather piece over the heel line. This serves as structural reinforcement and aesthetically covers the heel line stitch.

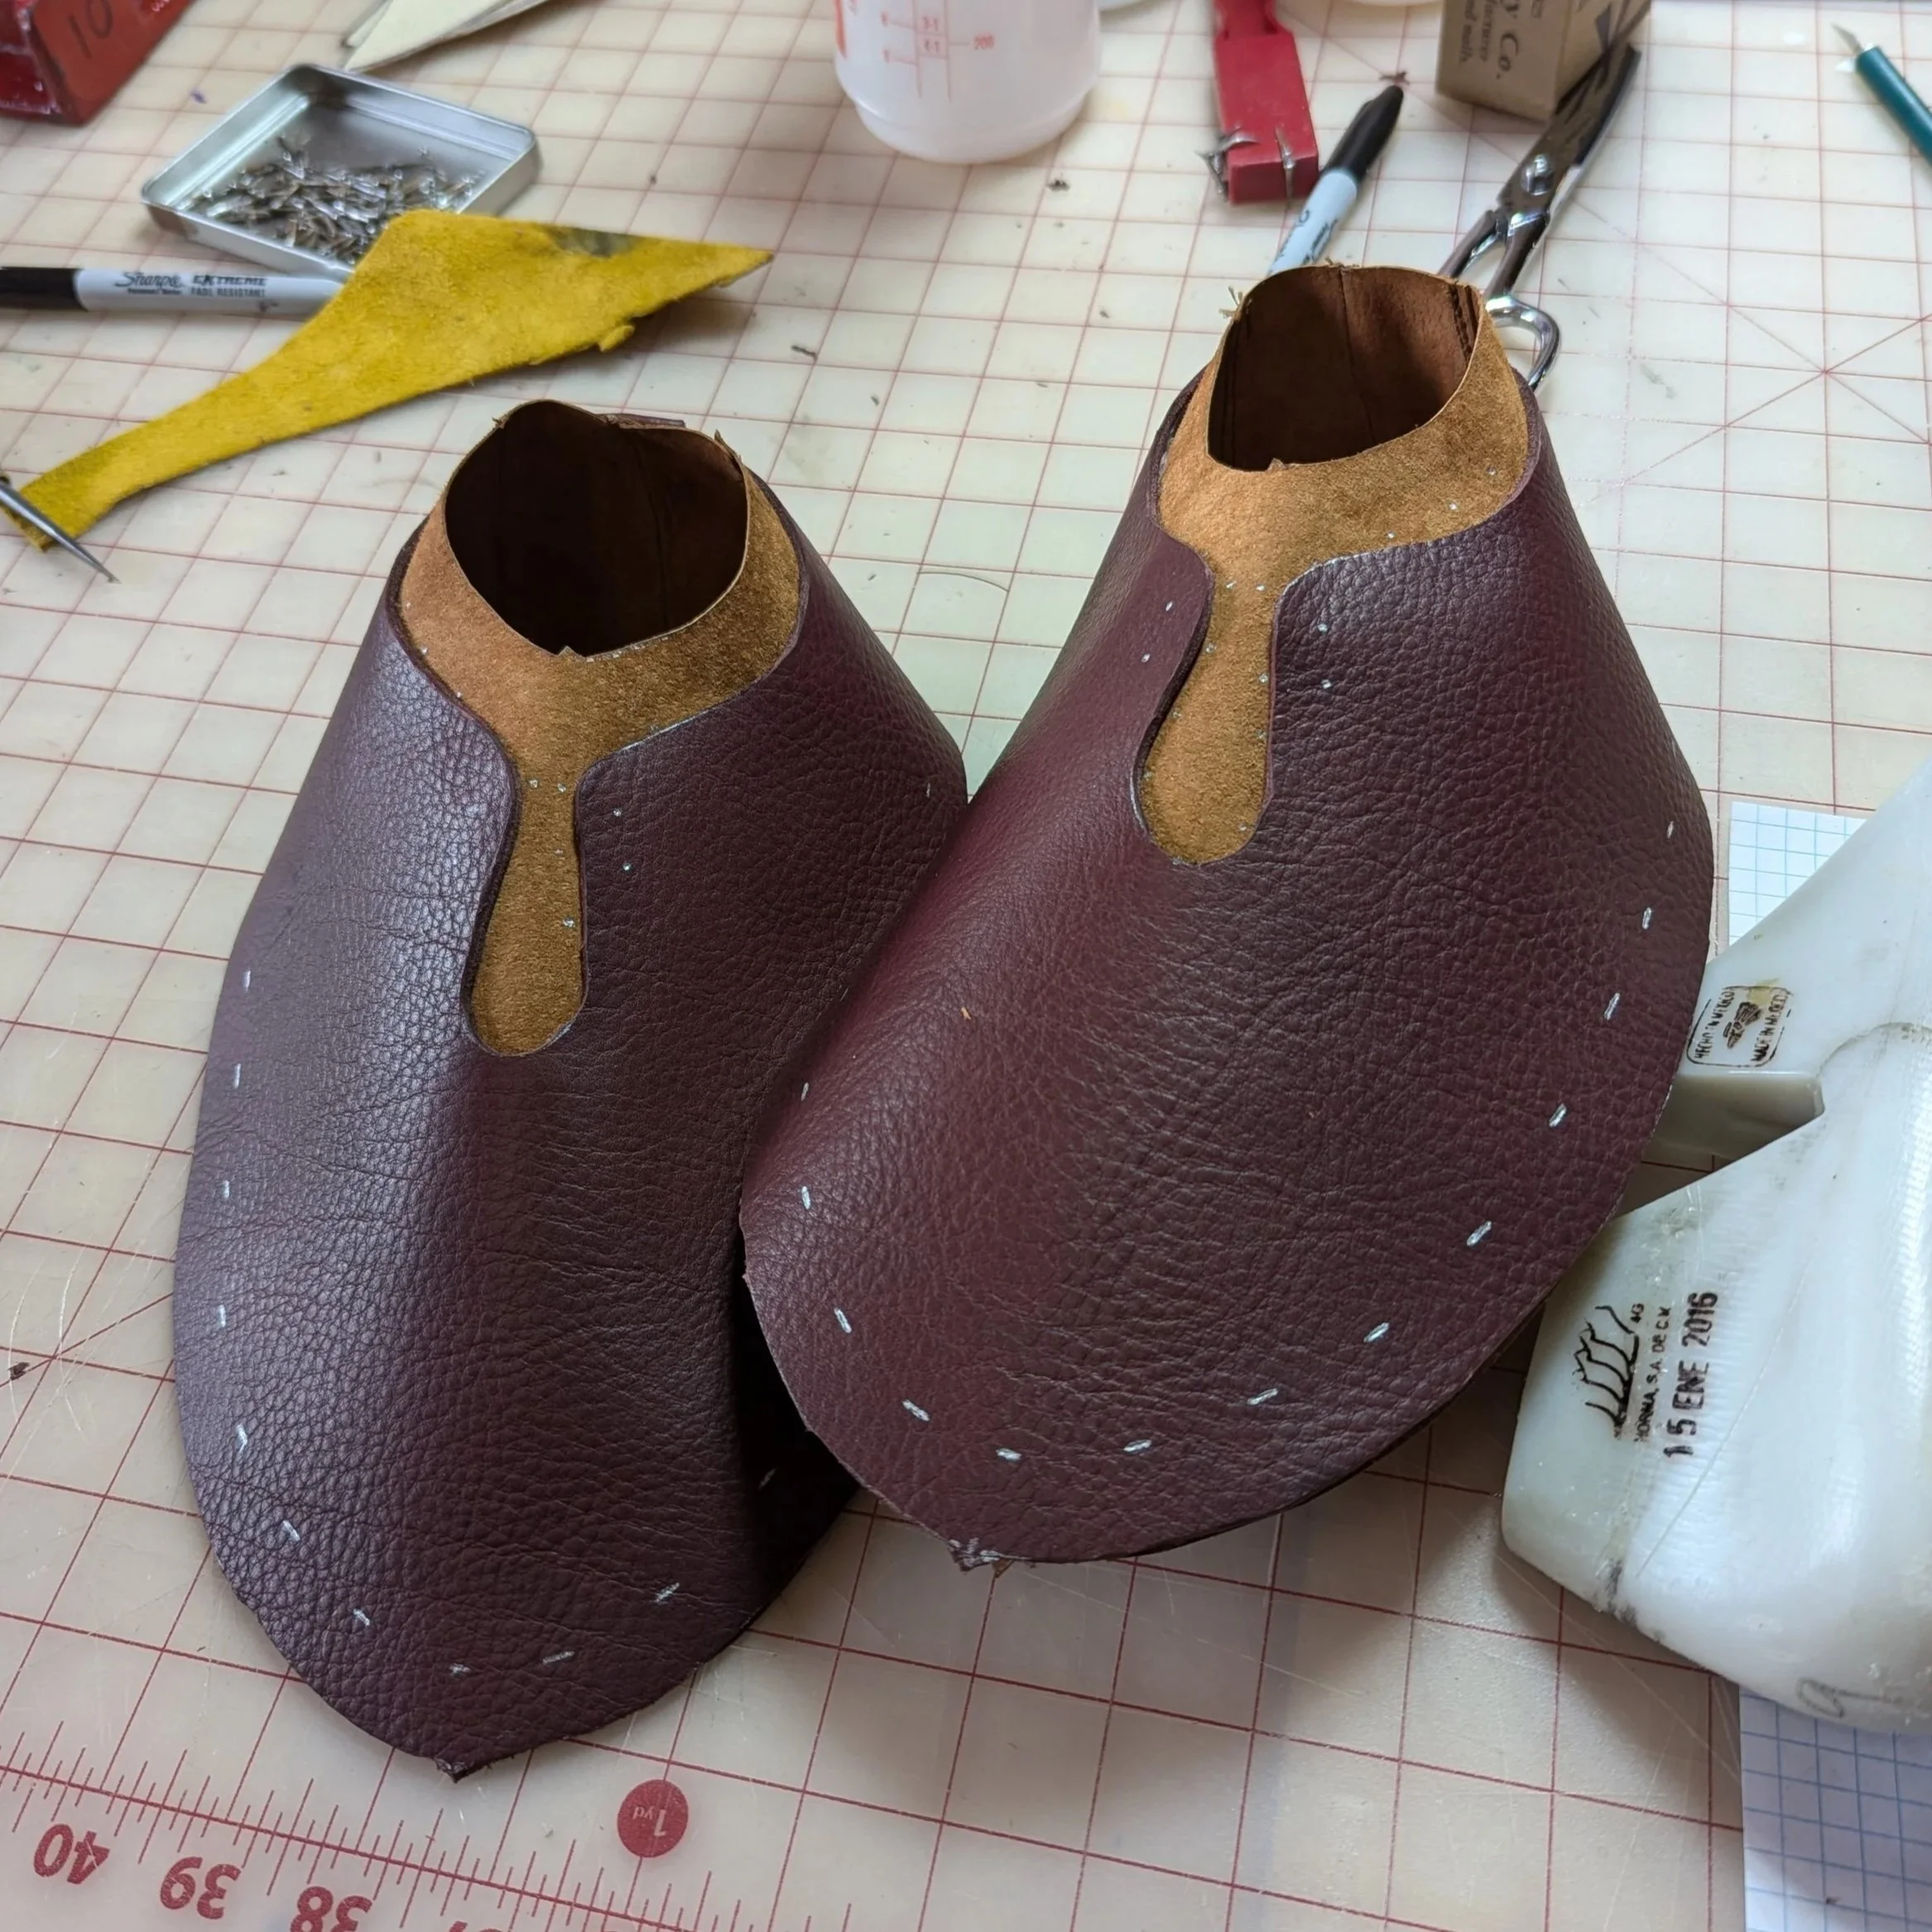
Attach Lining to Uppers
The lining is stitched to the upper, around the collar (ankle opening). We added seam tape around the collar to hold the two pieces in place, while sewing. In the photo you can see how we cut the seam tape to allow us to bend around the curves.
Tip: be sure to line up the center points of your lining and upper materials at both the toe and heel, before stitching. This will prevent your finished project from being twisted.
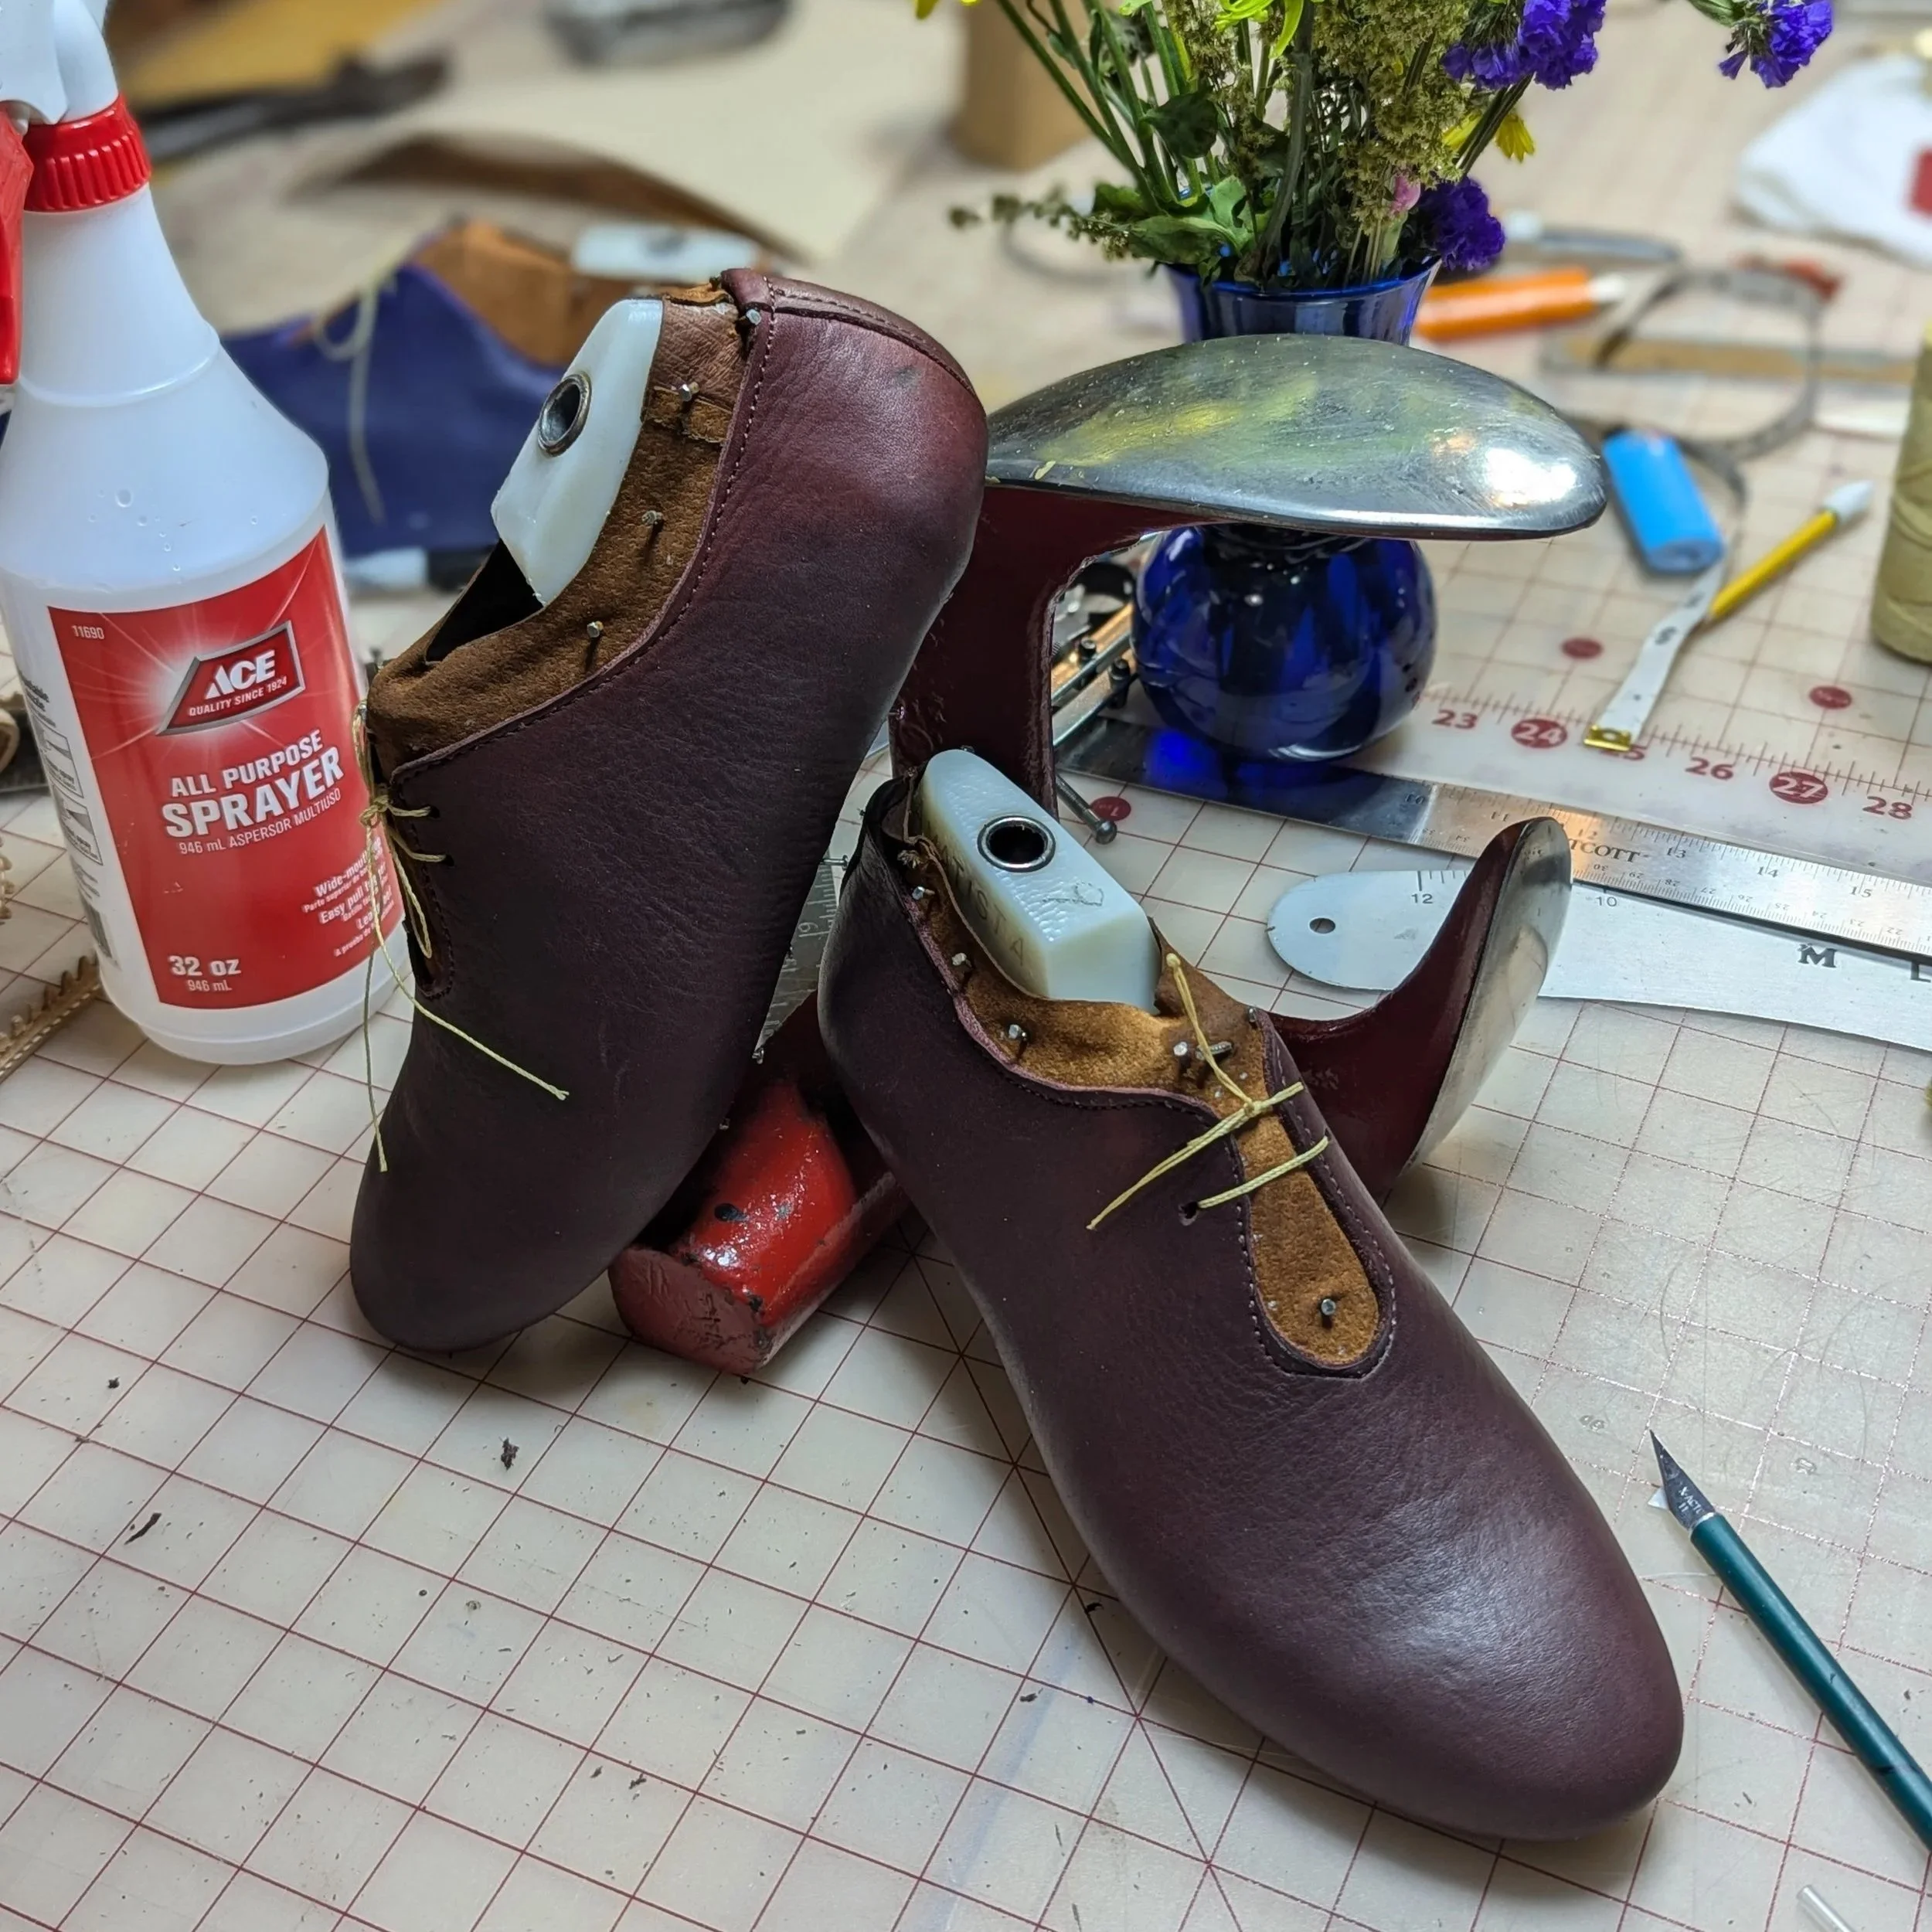
Last Lining
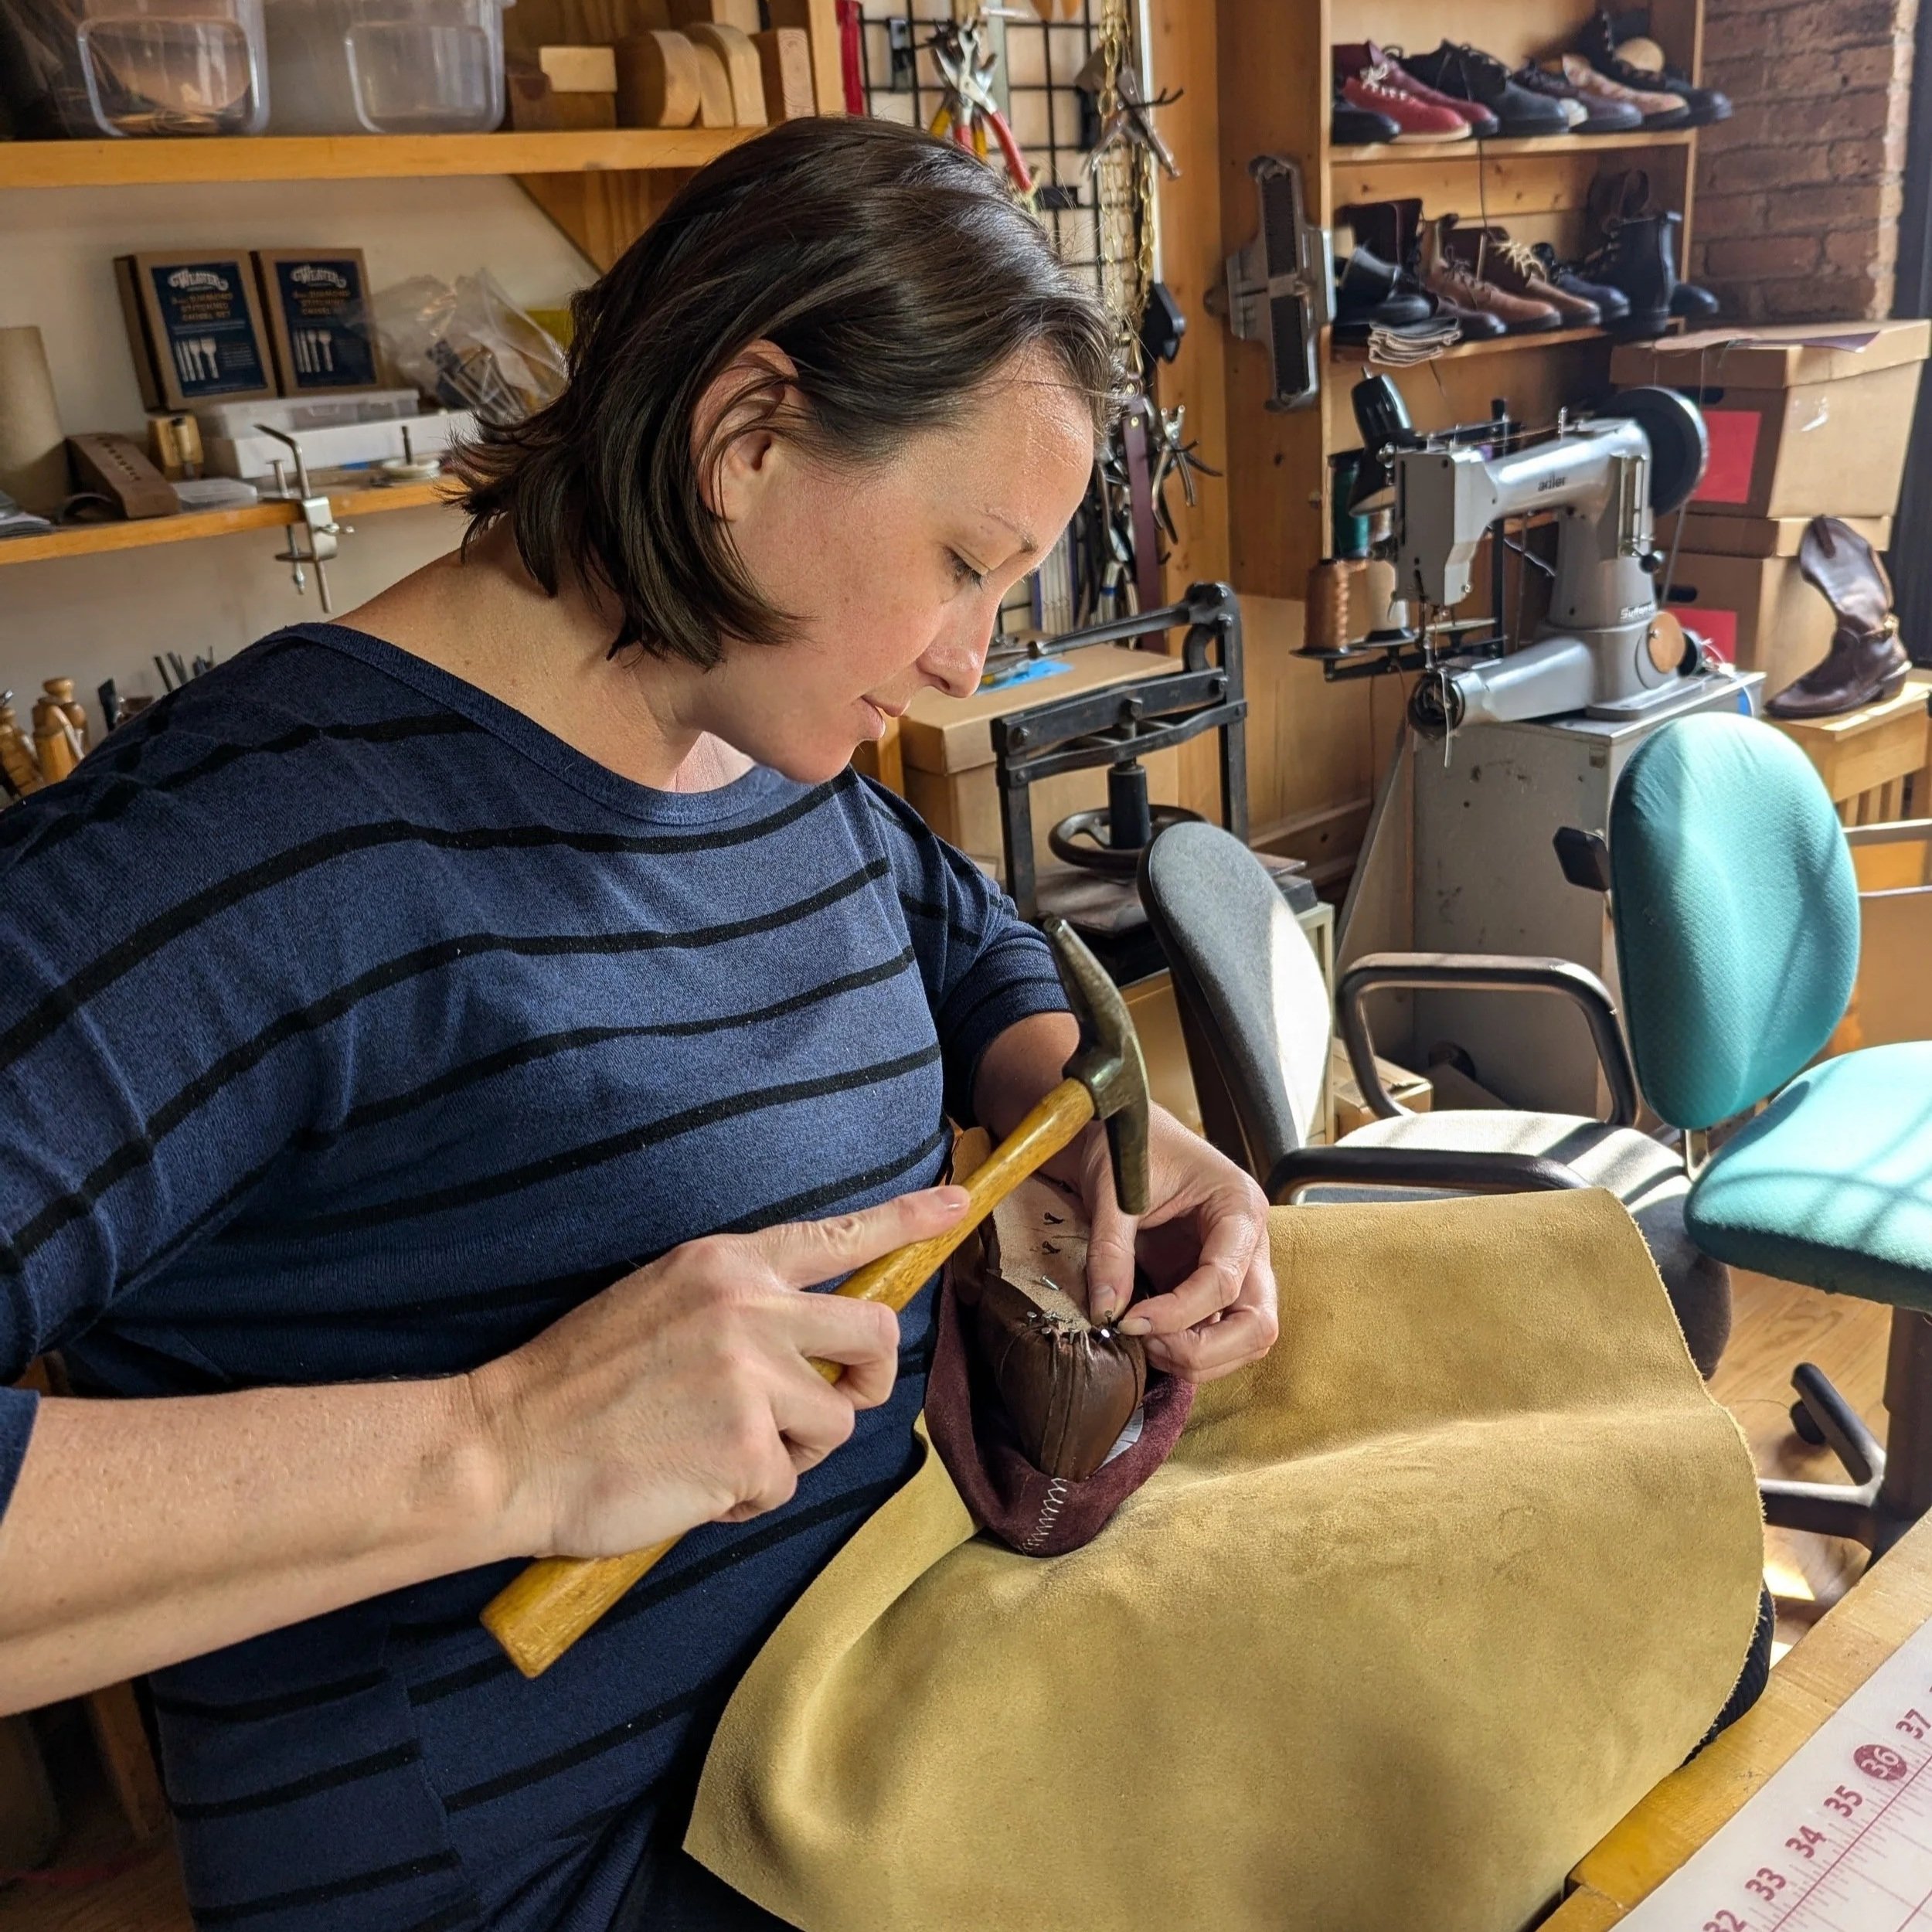
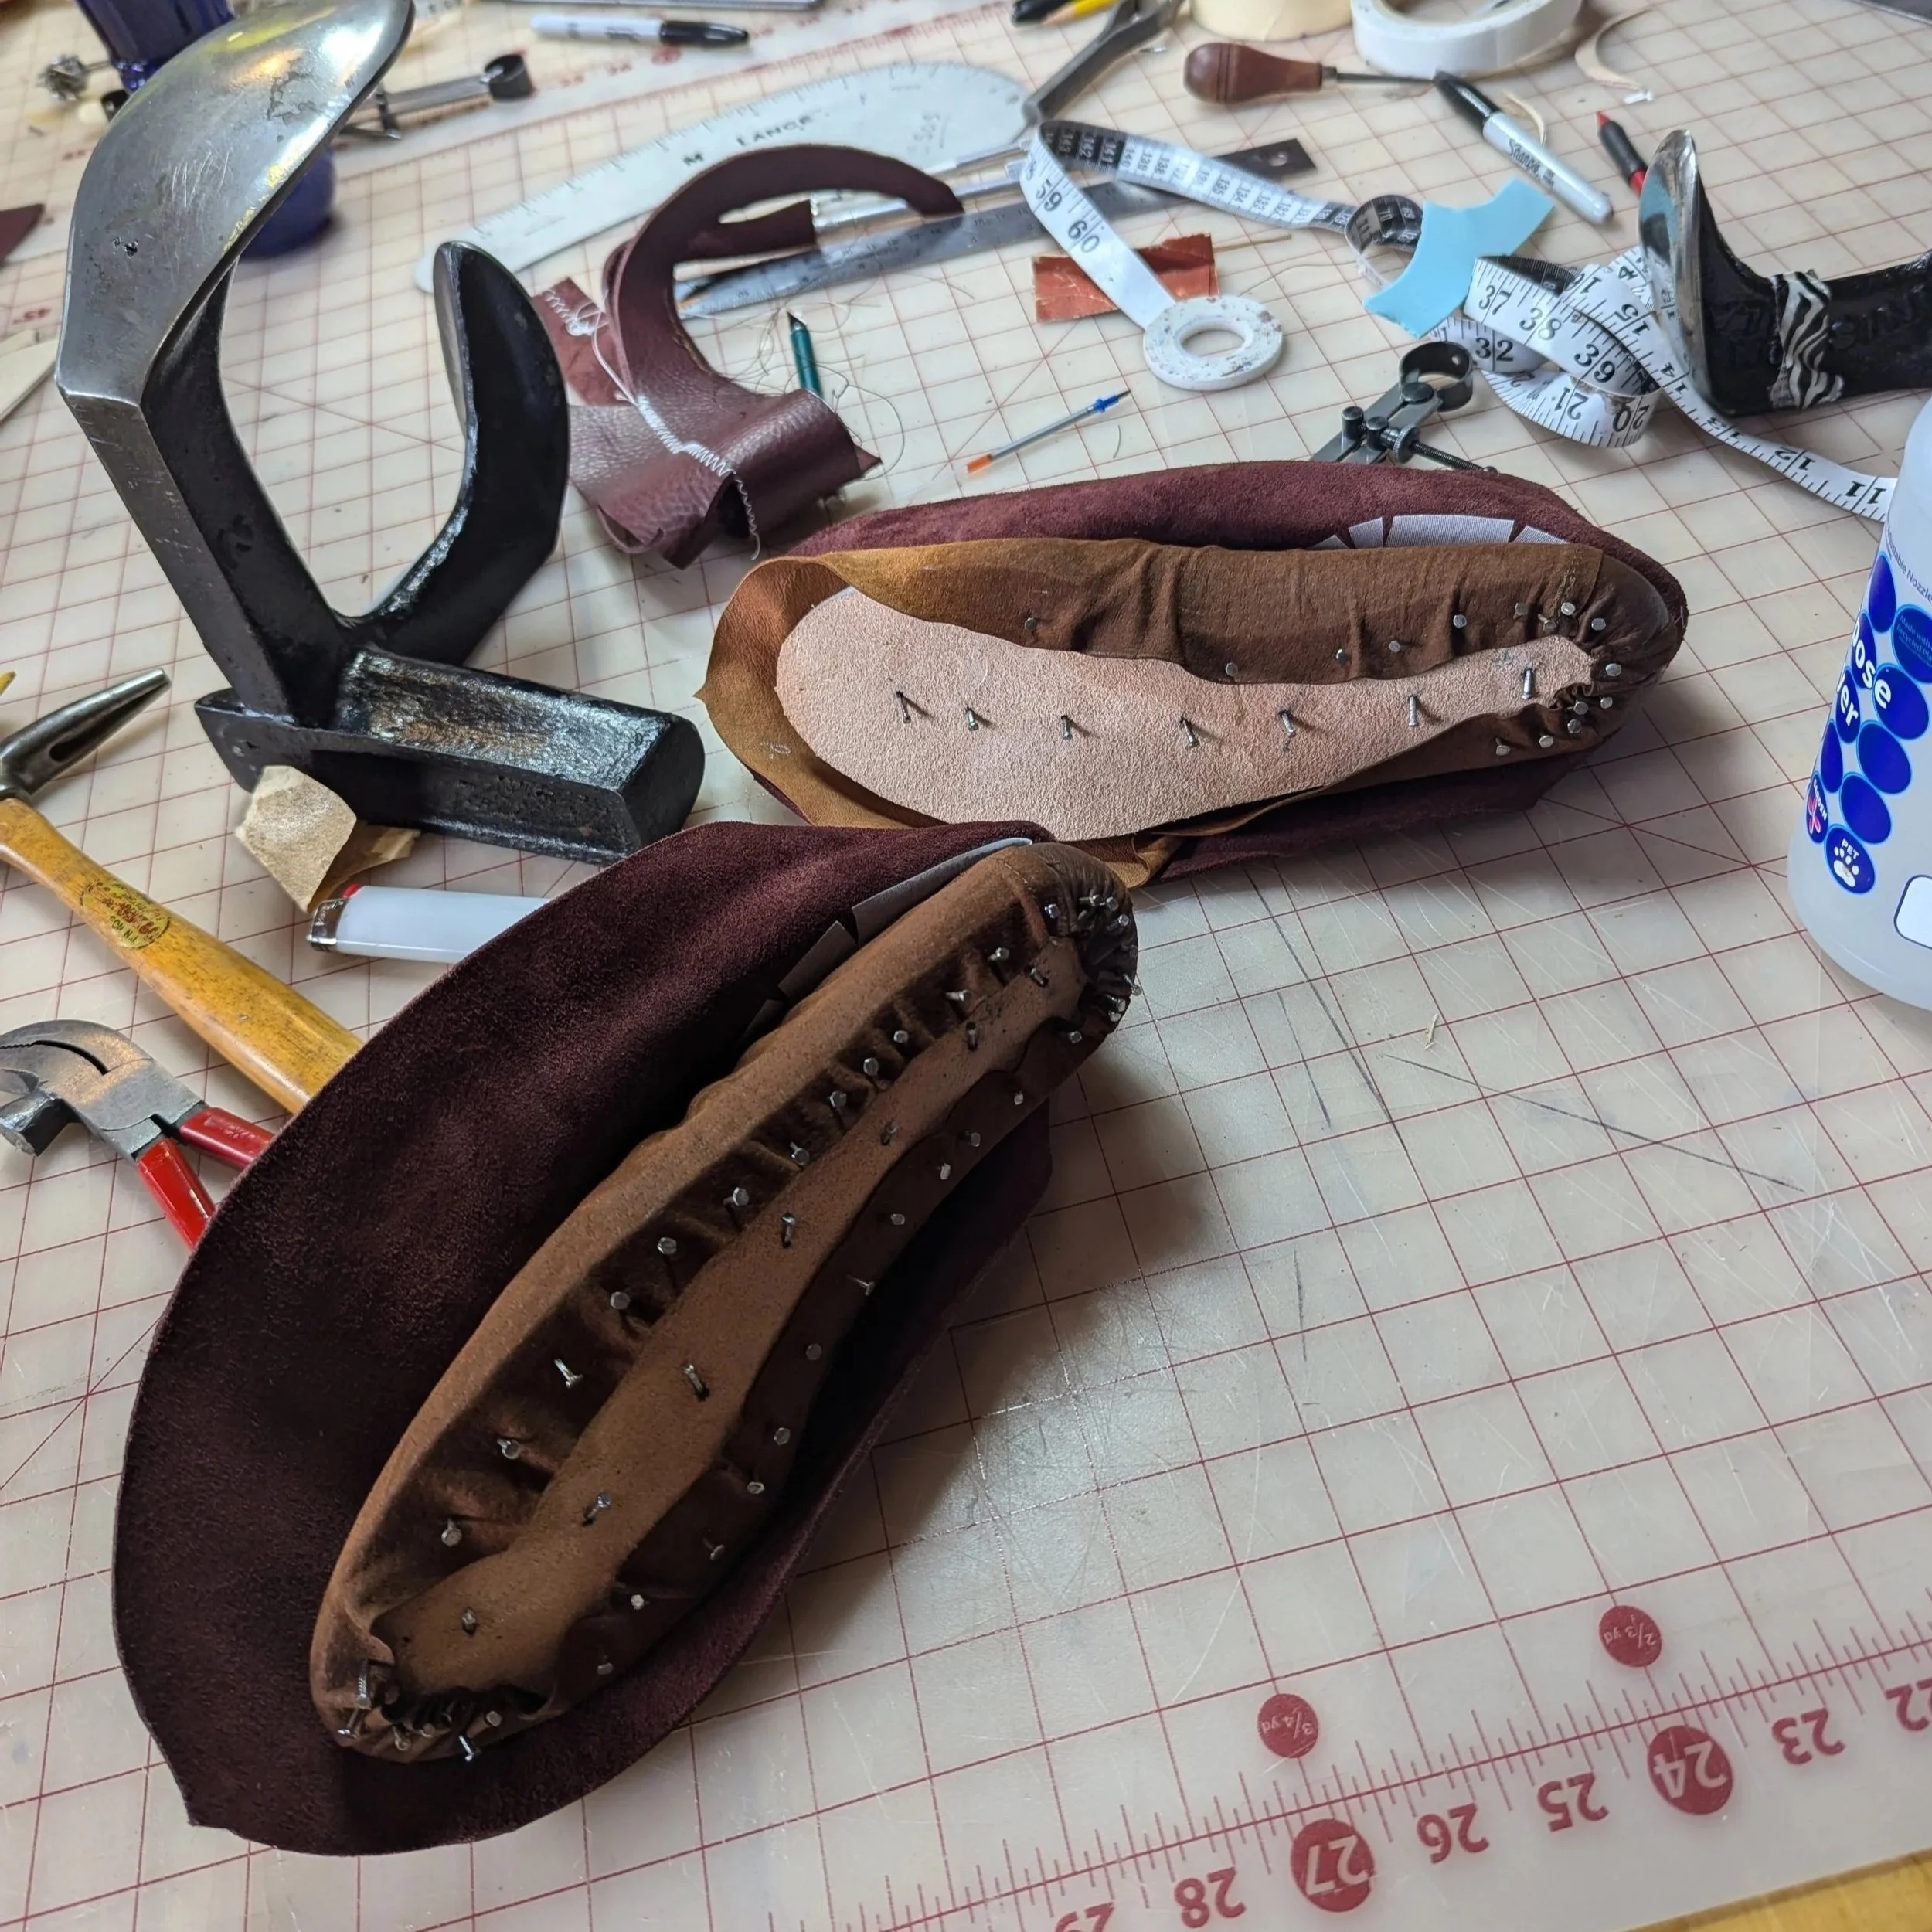
Humans have been hand lasting shoes for thousands of years. I was thrilled to experience this work first hand. The idea is to wet the leather and pull it into shape, over the last. Then use nails to hold it in place until it dries. First we secured the lining collar to the last, to ensure the material doesn’t move too much during the lasting process. Tip: be sure the lining is centered, else your finished project will be twisted. First we pulled the heel into place, with a single nail. Then we pulled the toe into place, with a single nail. Then we worked heel to ball on both sides, then ball to toe on both sides.

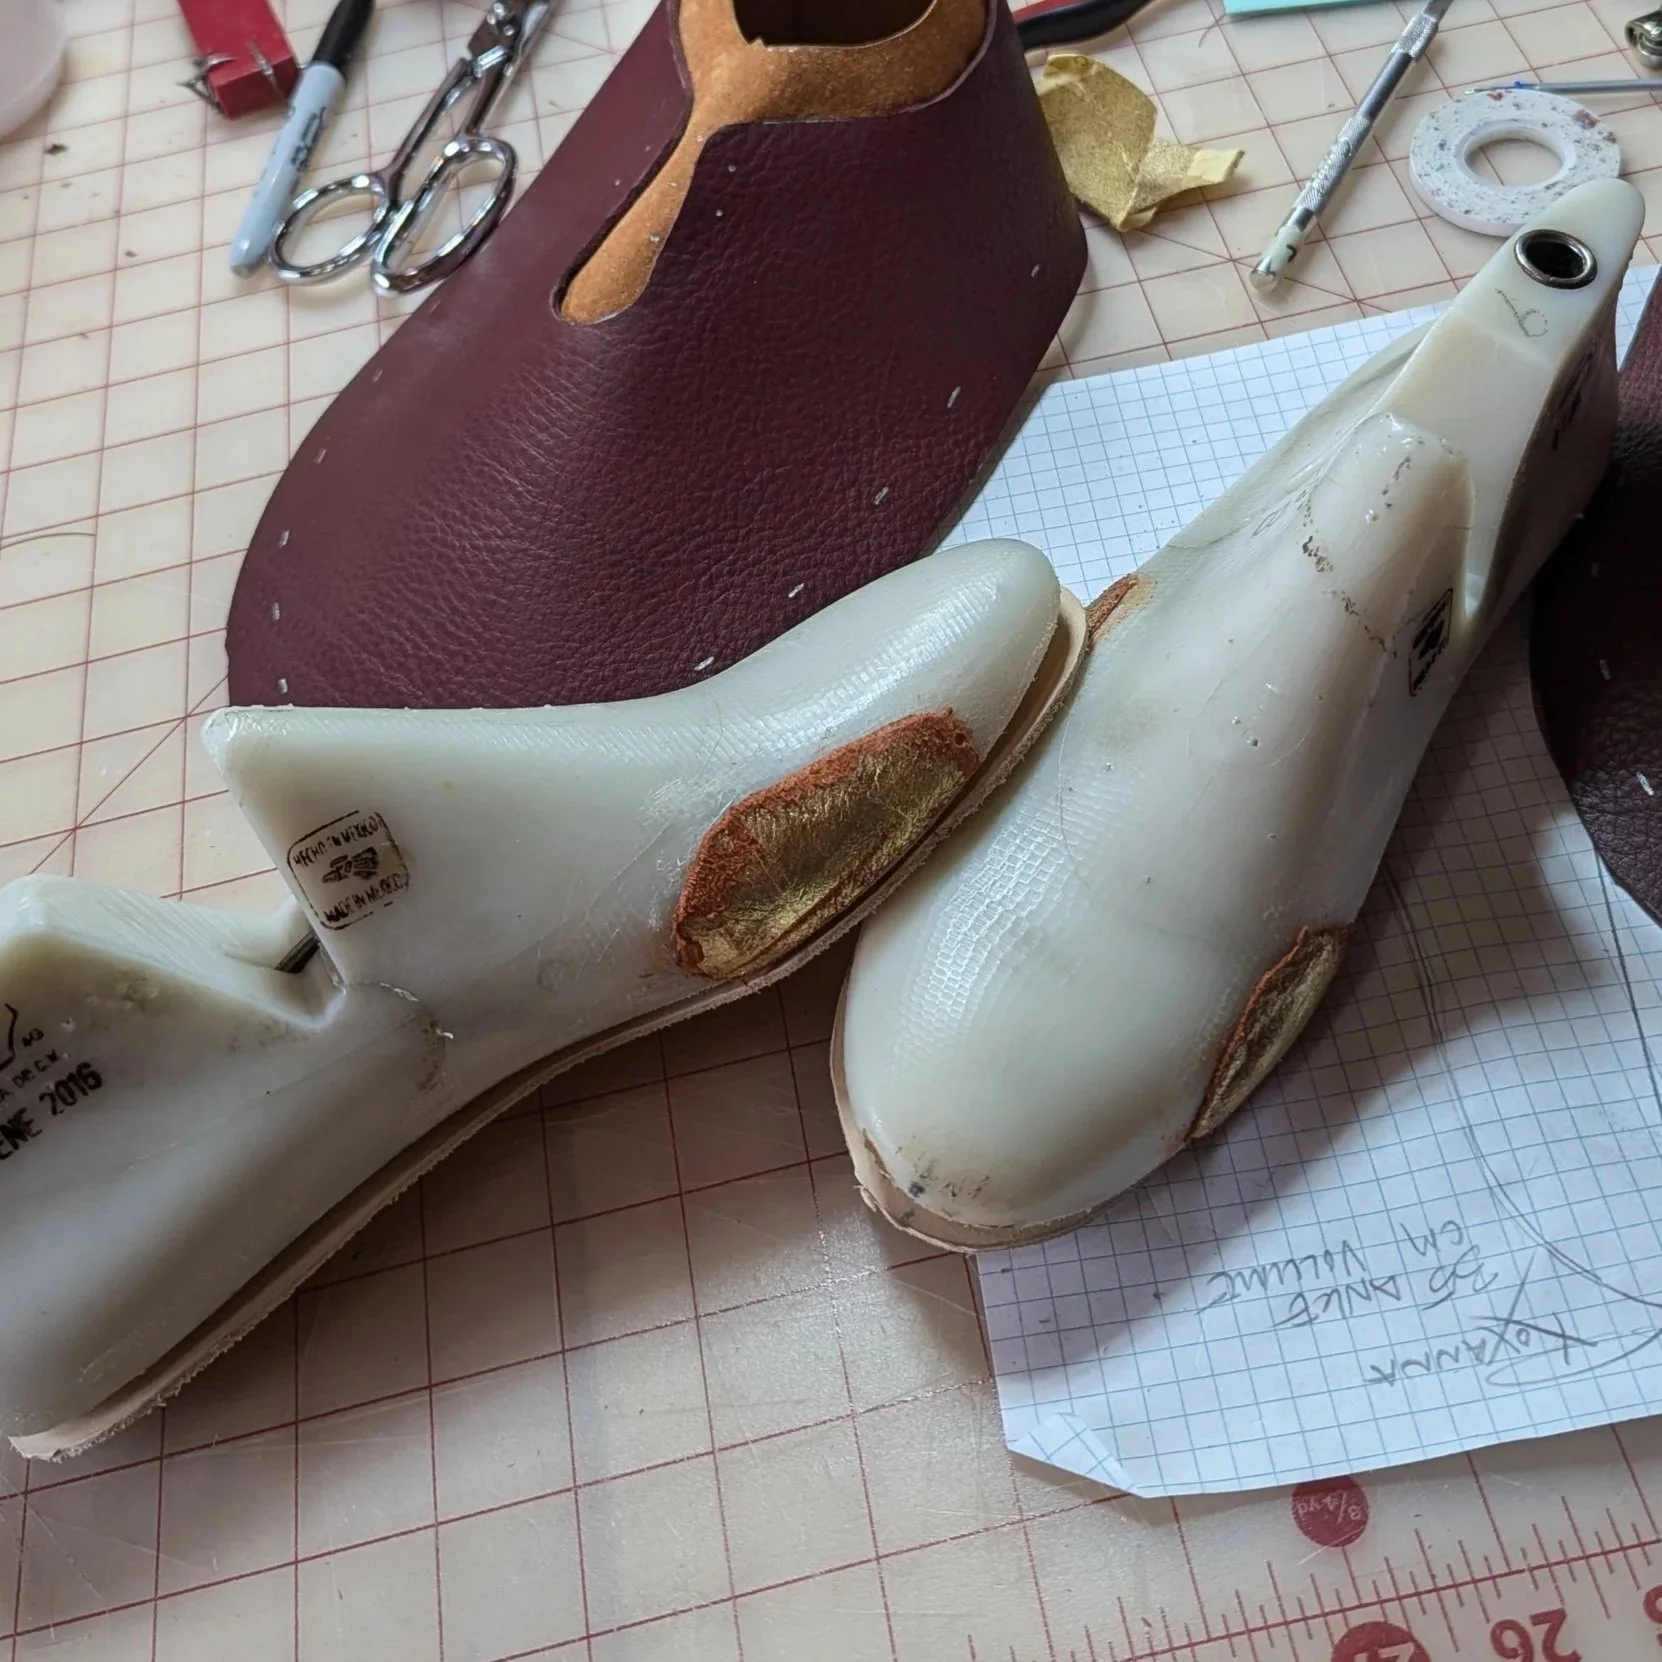
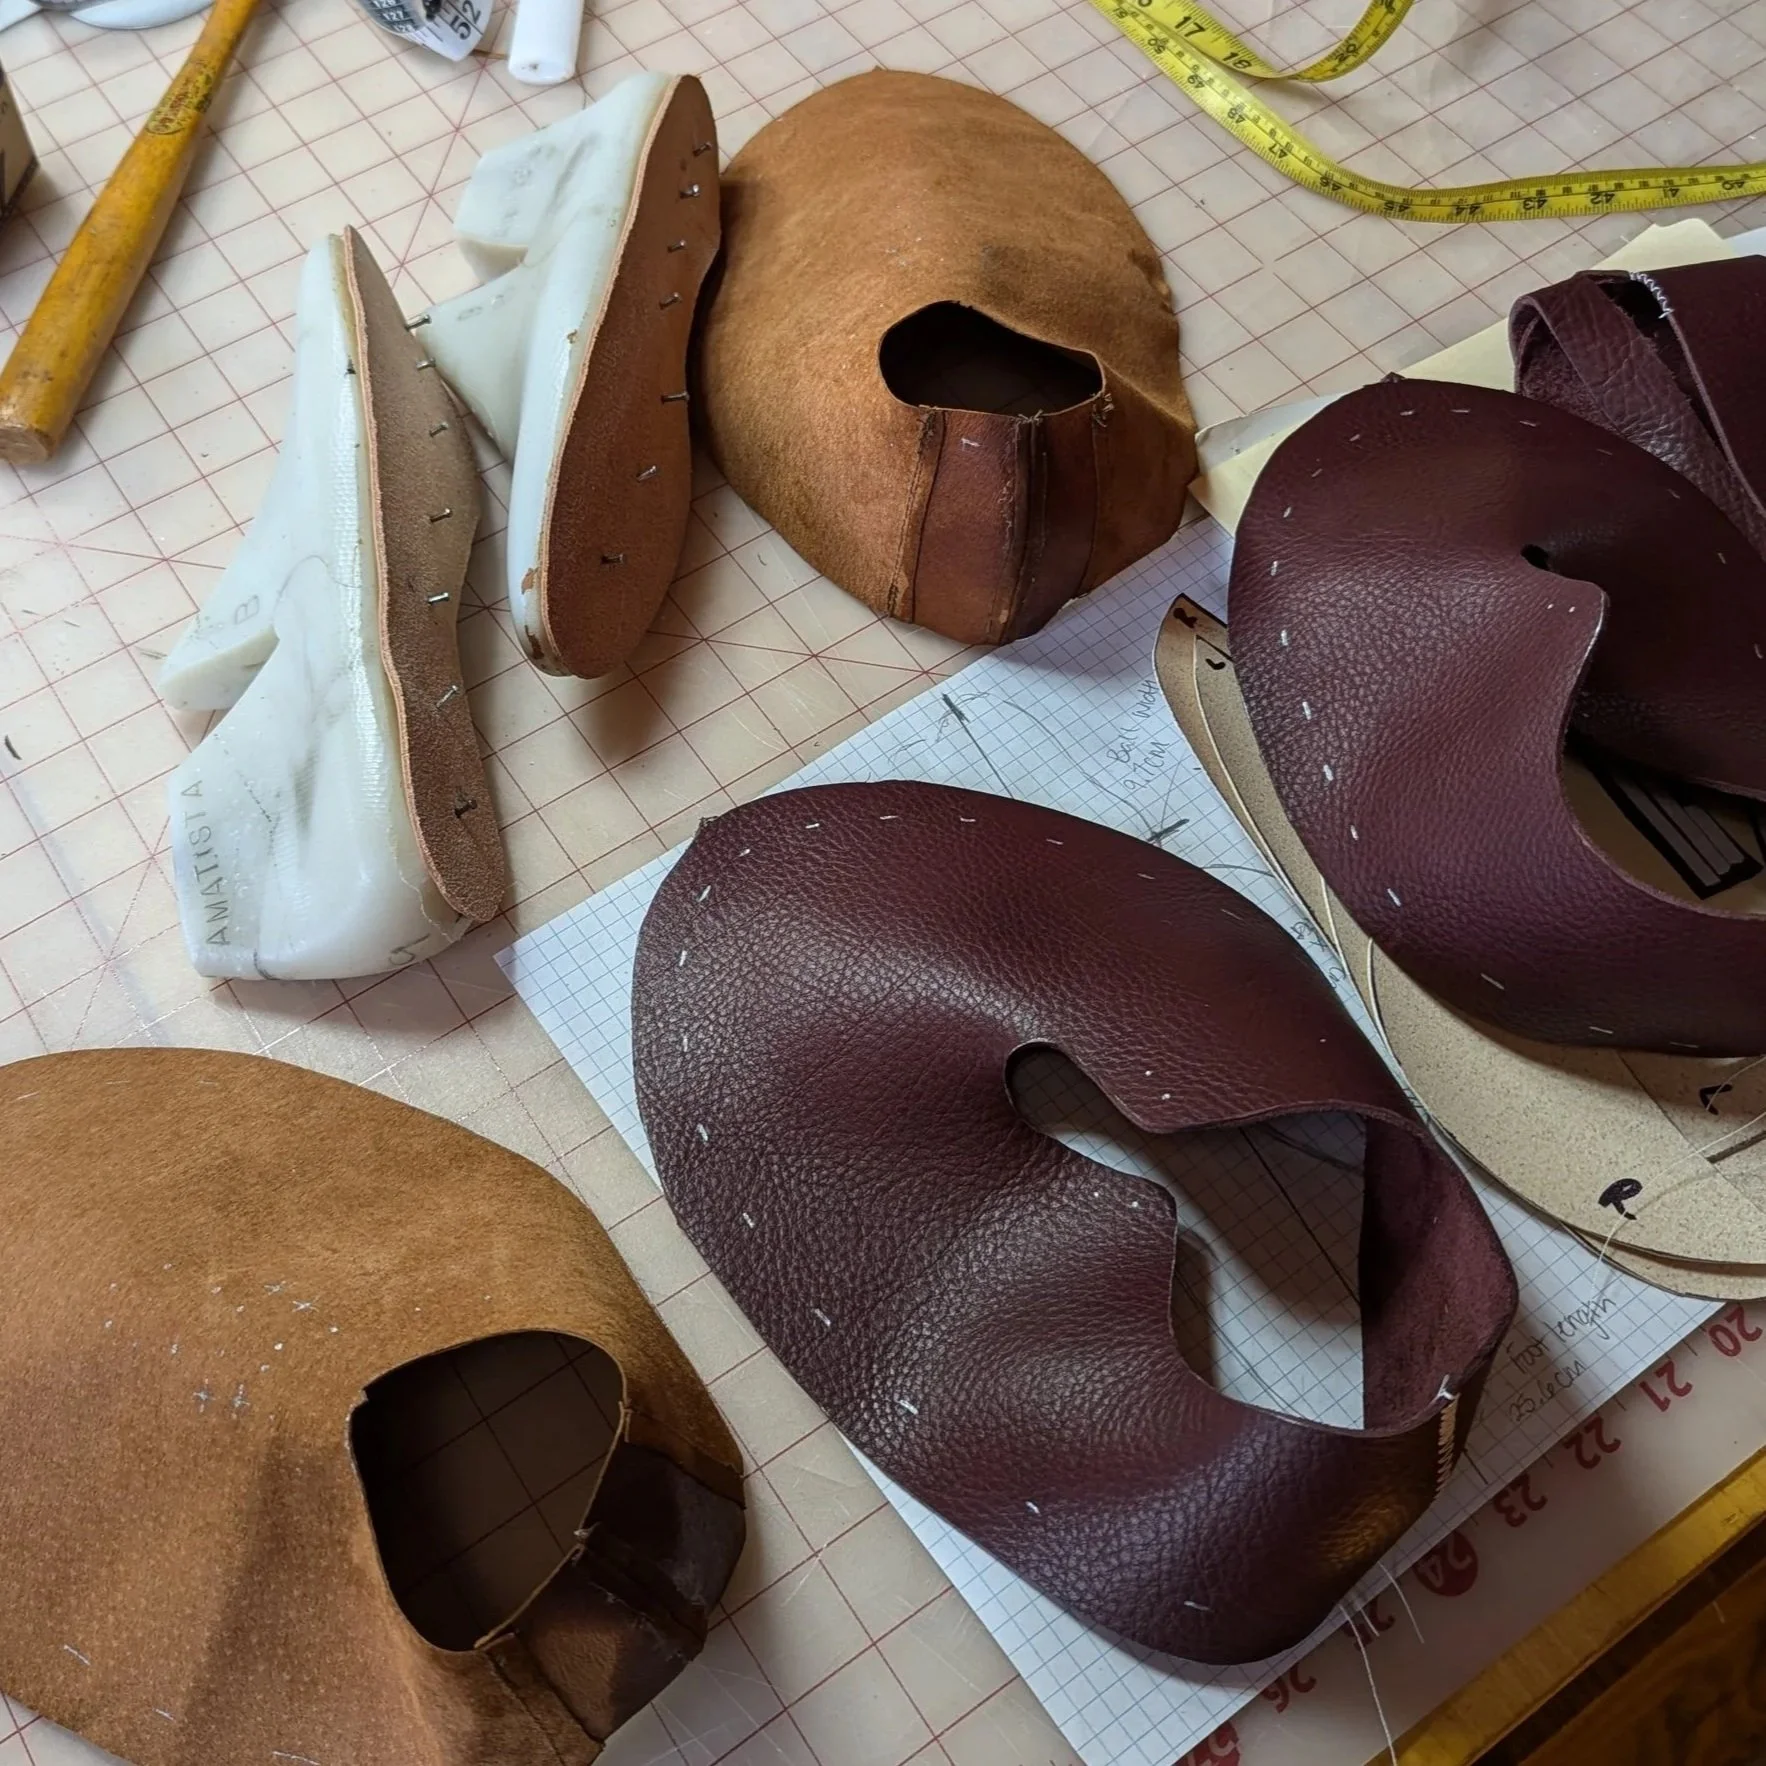
Add Toe Boxes & Heel Counters
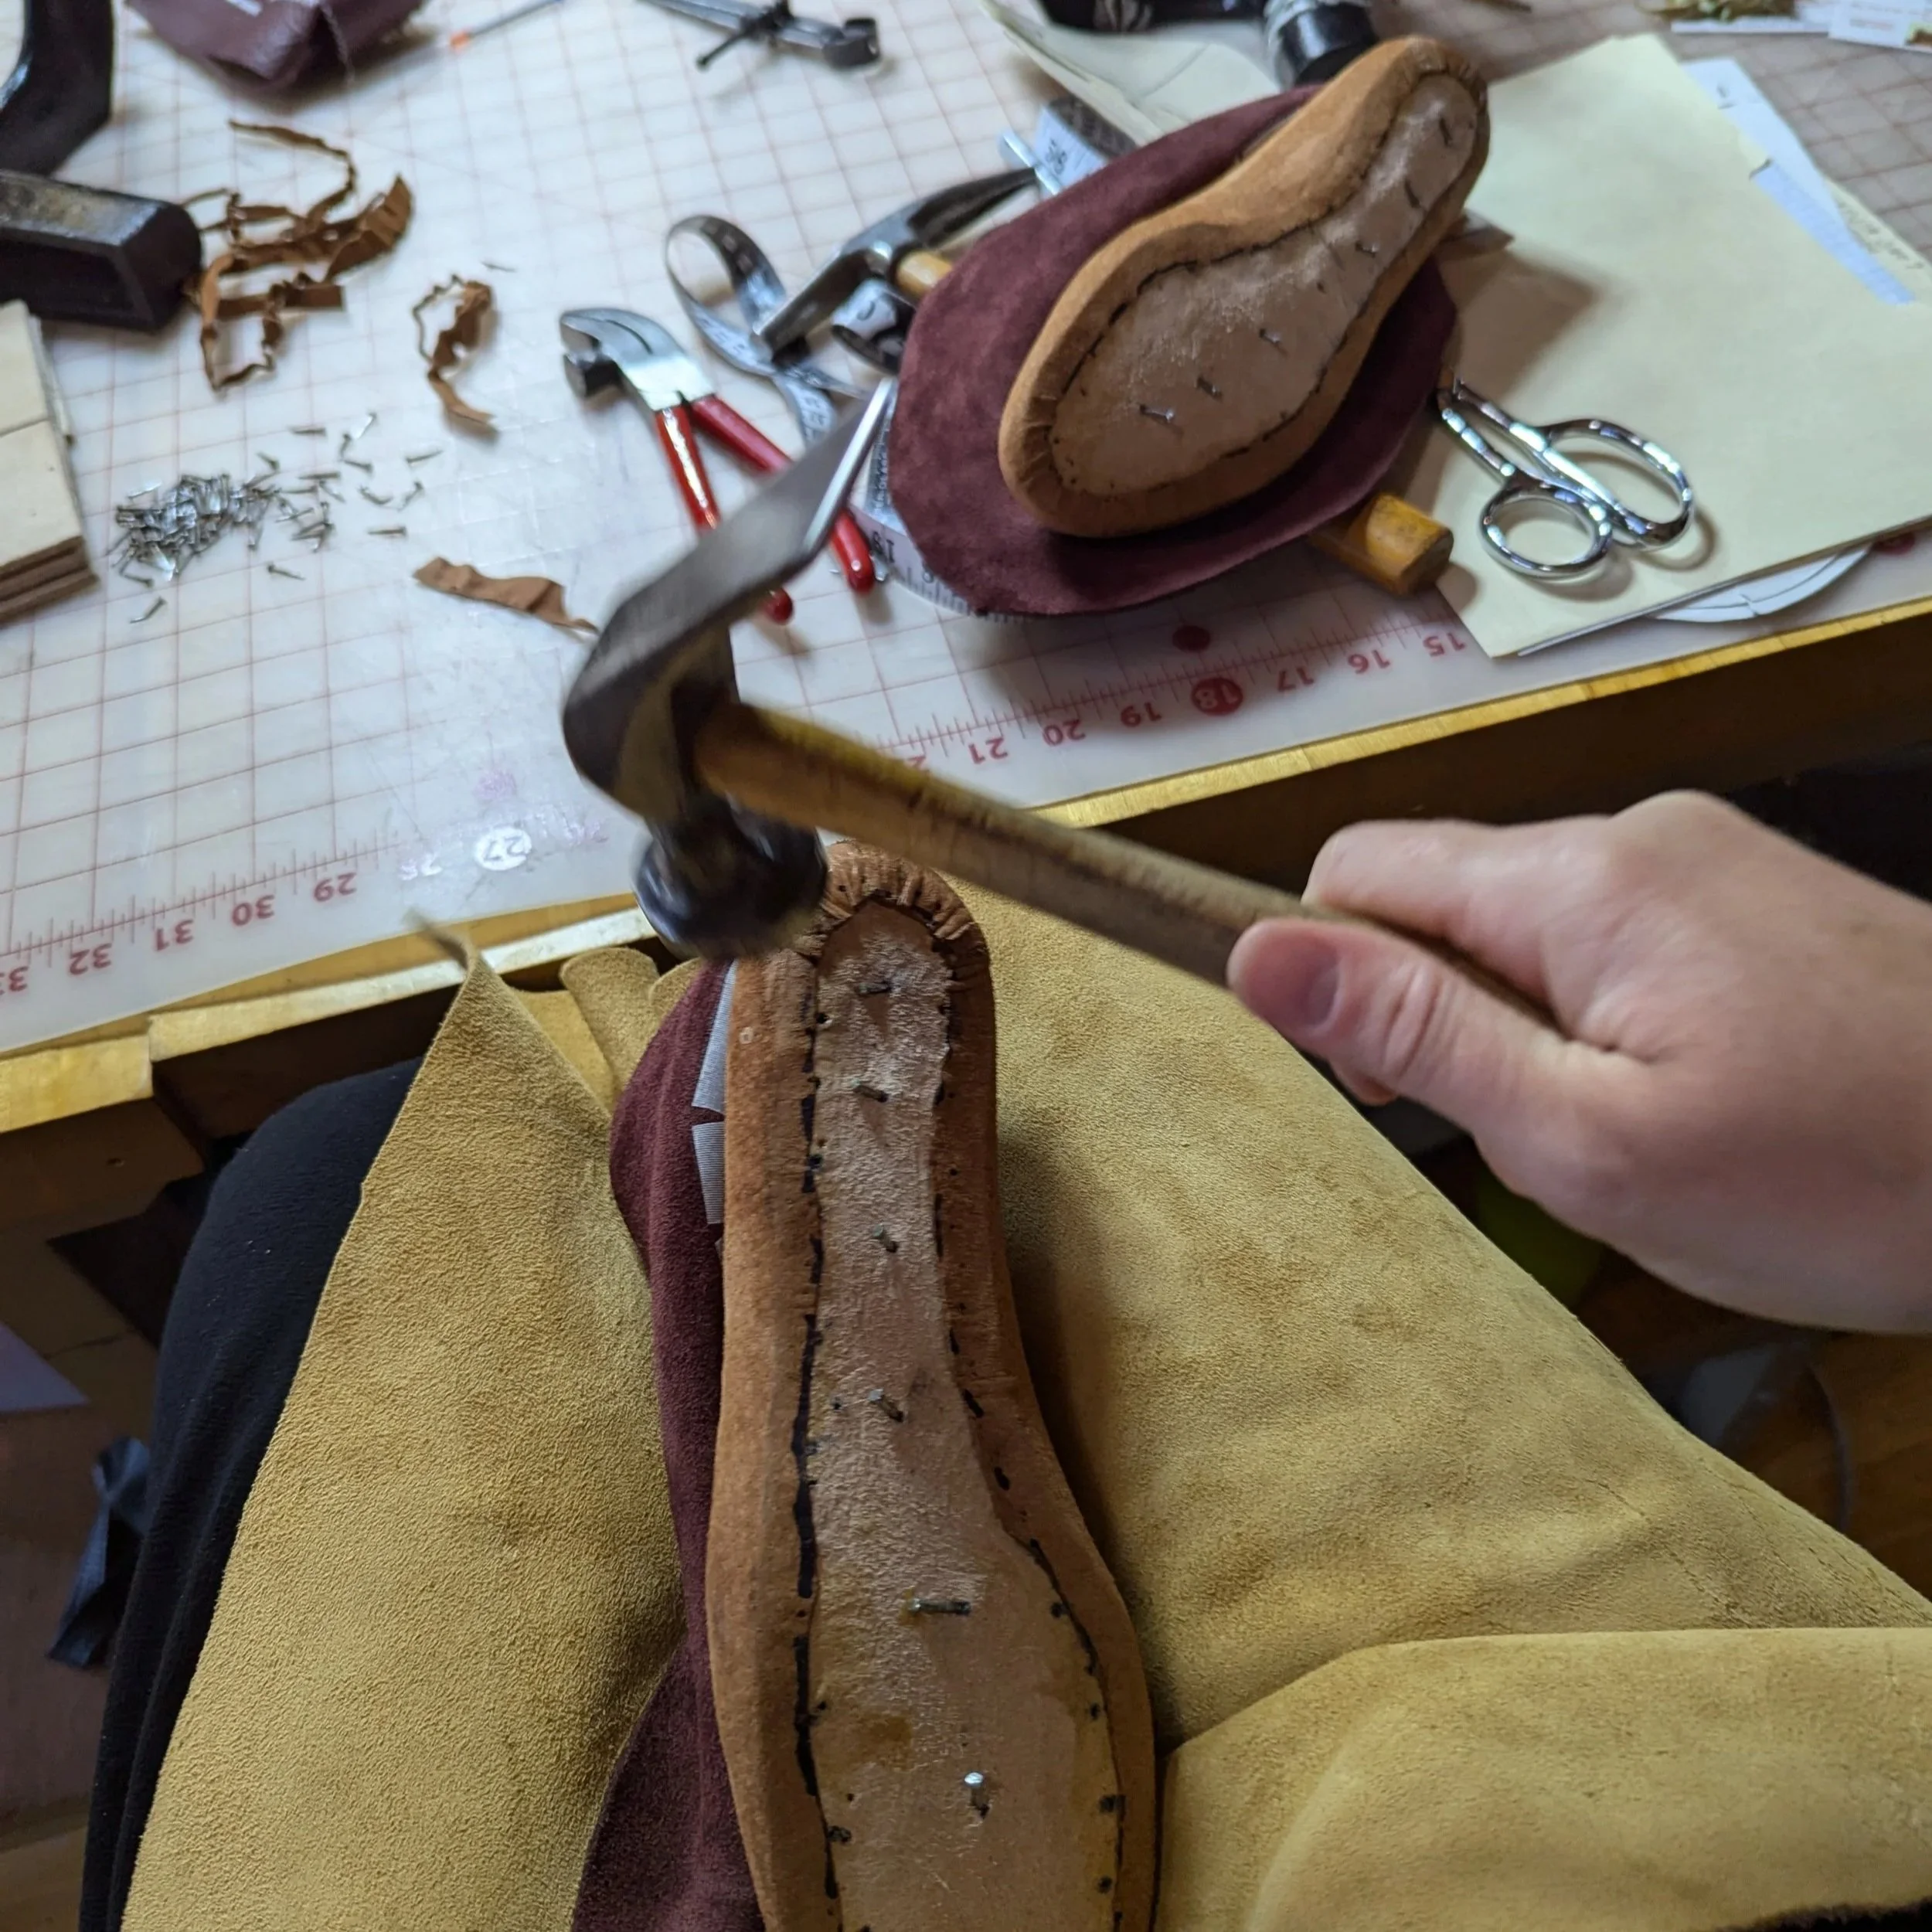
Once the lining dries completely, we removed the nails. I was pleasantly surprised to see the lining held its shape. This ancient process truly amazes me. Next, we used a hammer to smooth any excess bulk around the edge of the last. This allows the heel counter and toe box to attach properly.
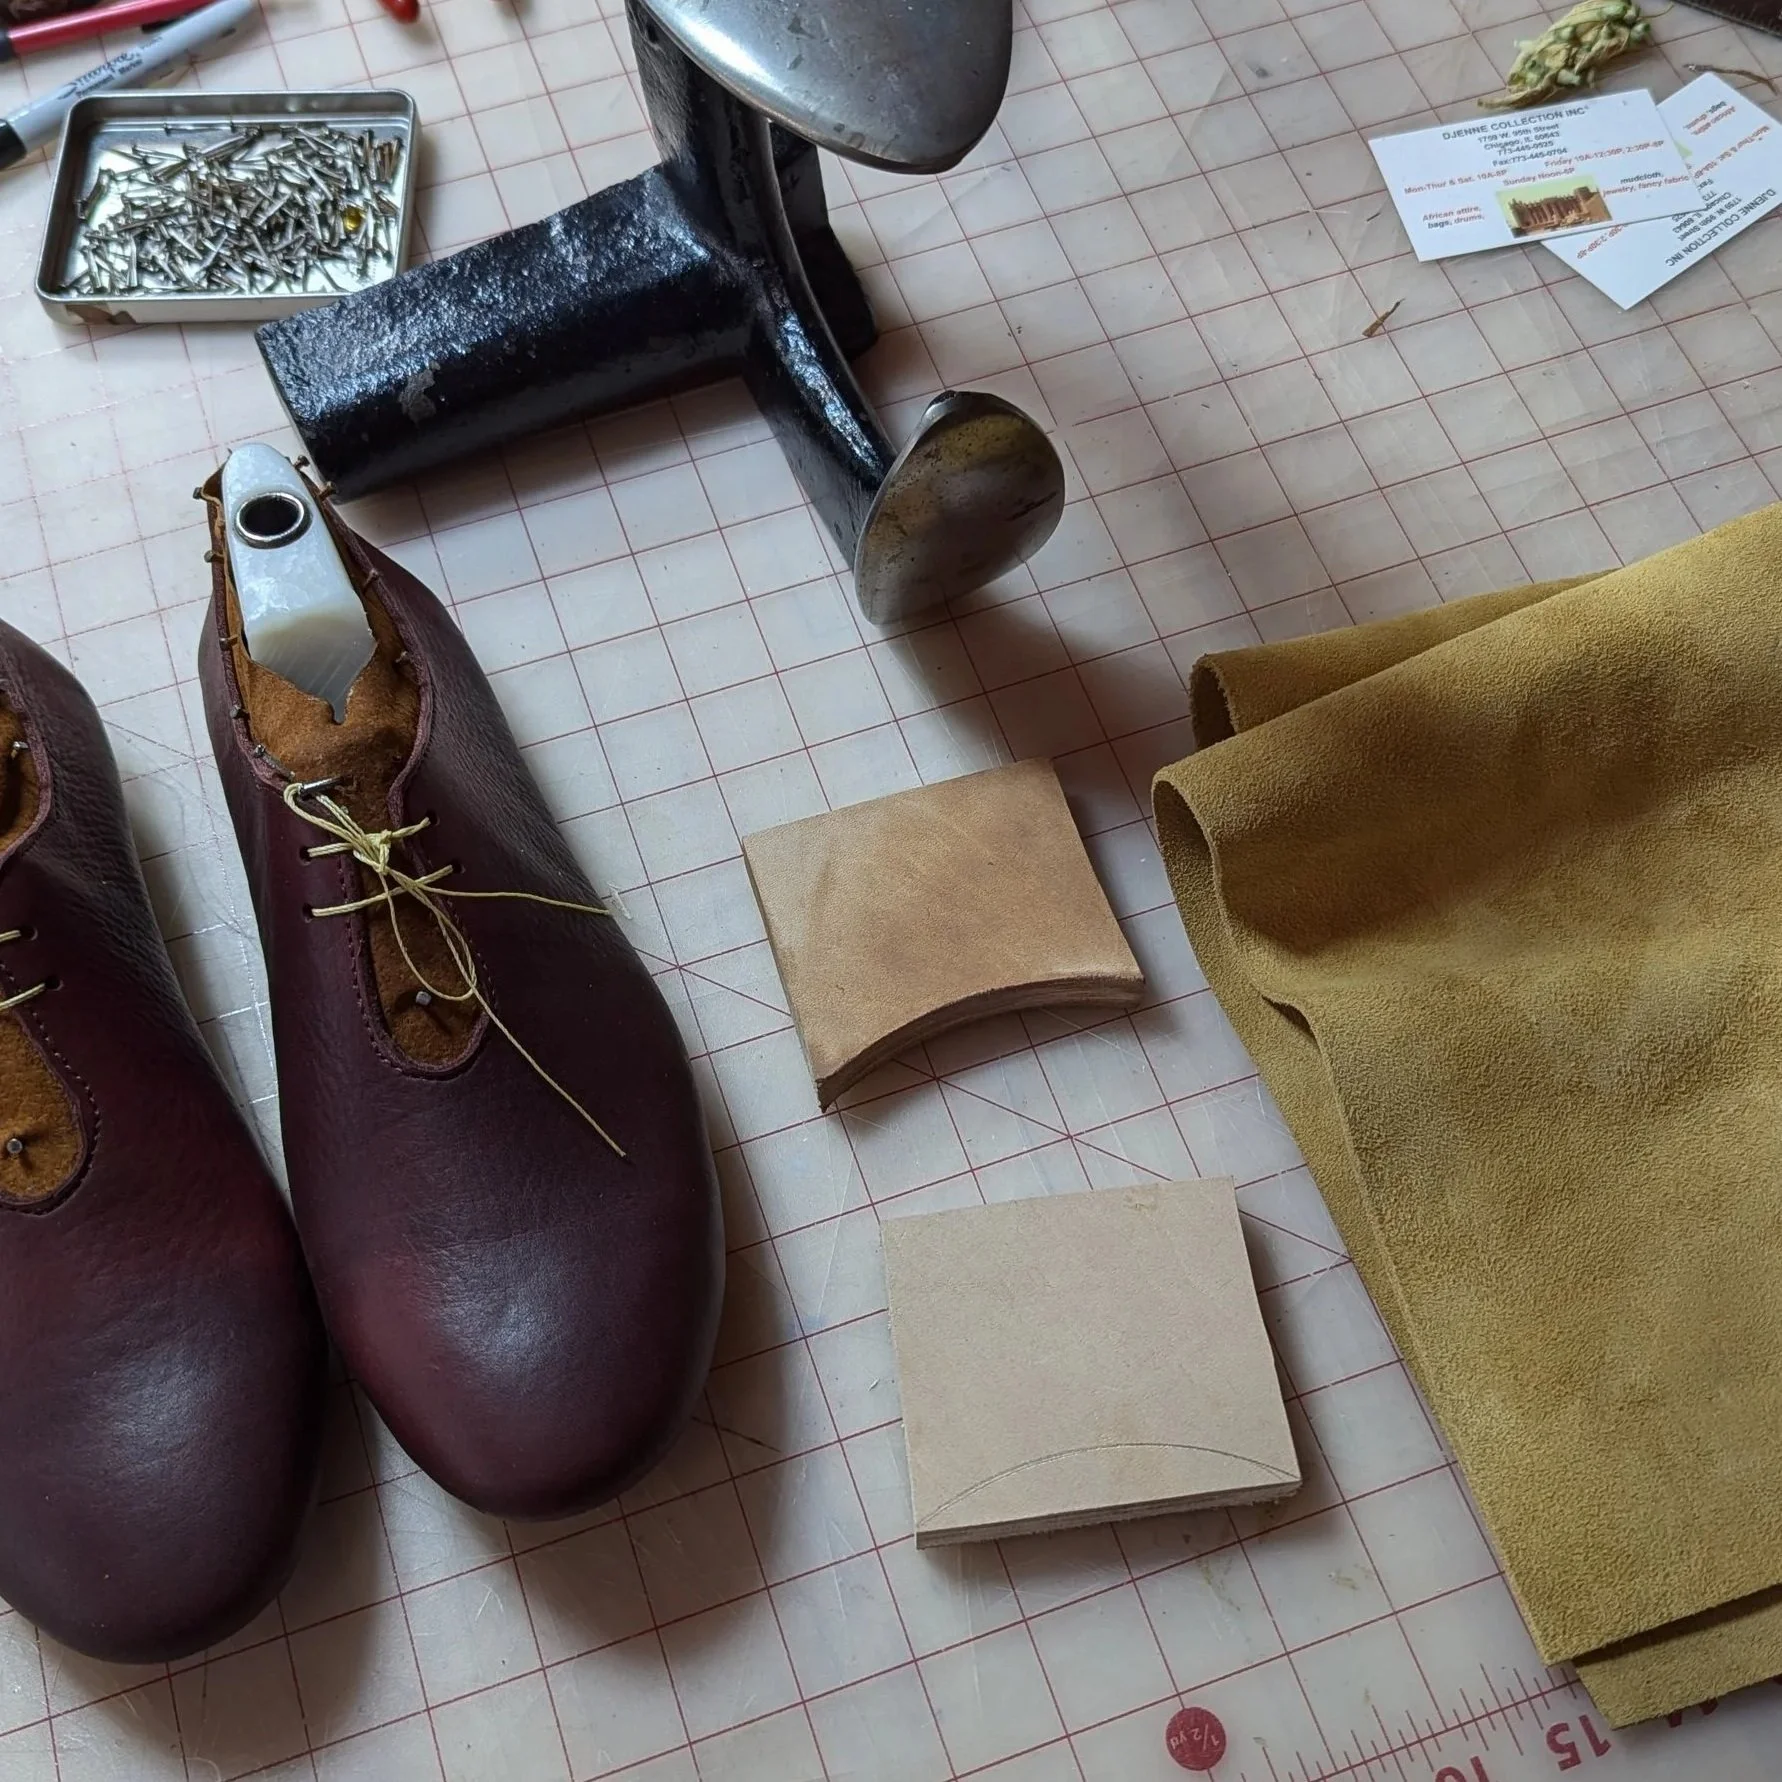
The heel counter and toe box are thermoform plastics, that are pliable when heated and harden when cooled. These add structural integrity to the project.
Last the Upper
The process to last the upper is the same as the lining. You wet the leather, pull it over the last, and nail it into place. We let the uppers dry overnight. The next morning, we removed all the nails from the bottom of the last and again used a hammer to smooth any excess material at the bottom edge. Tip: be extra careful when hammering the edge, as any scuffs will be visible in your finished project.
To start our bottoms, we cut & glued 3 leather squares together. Then machined these into our heel stack.
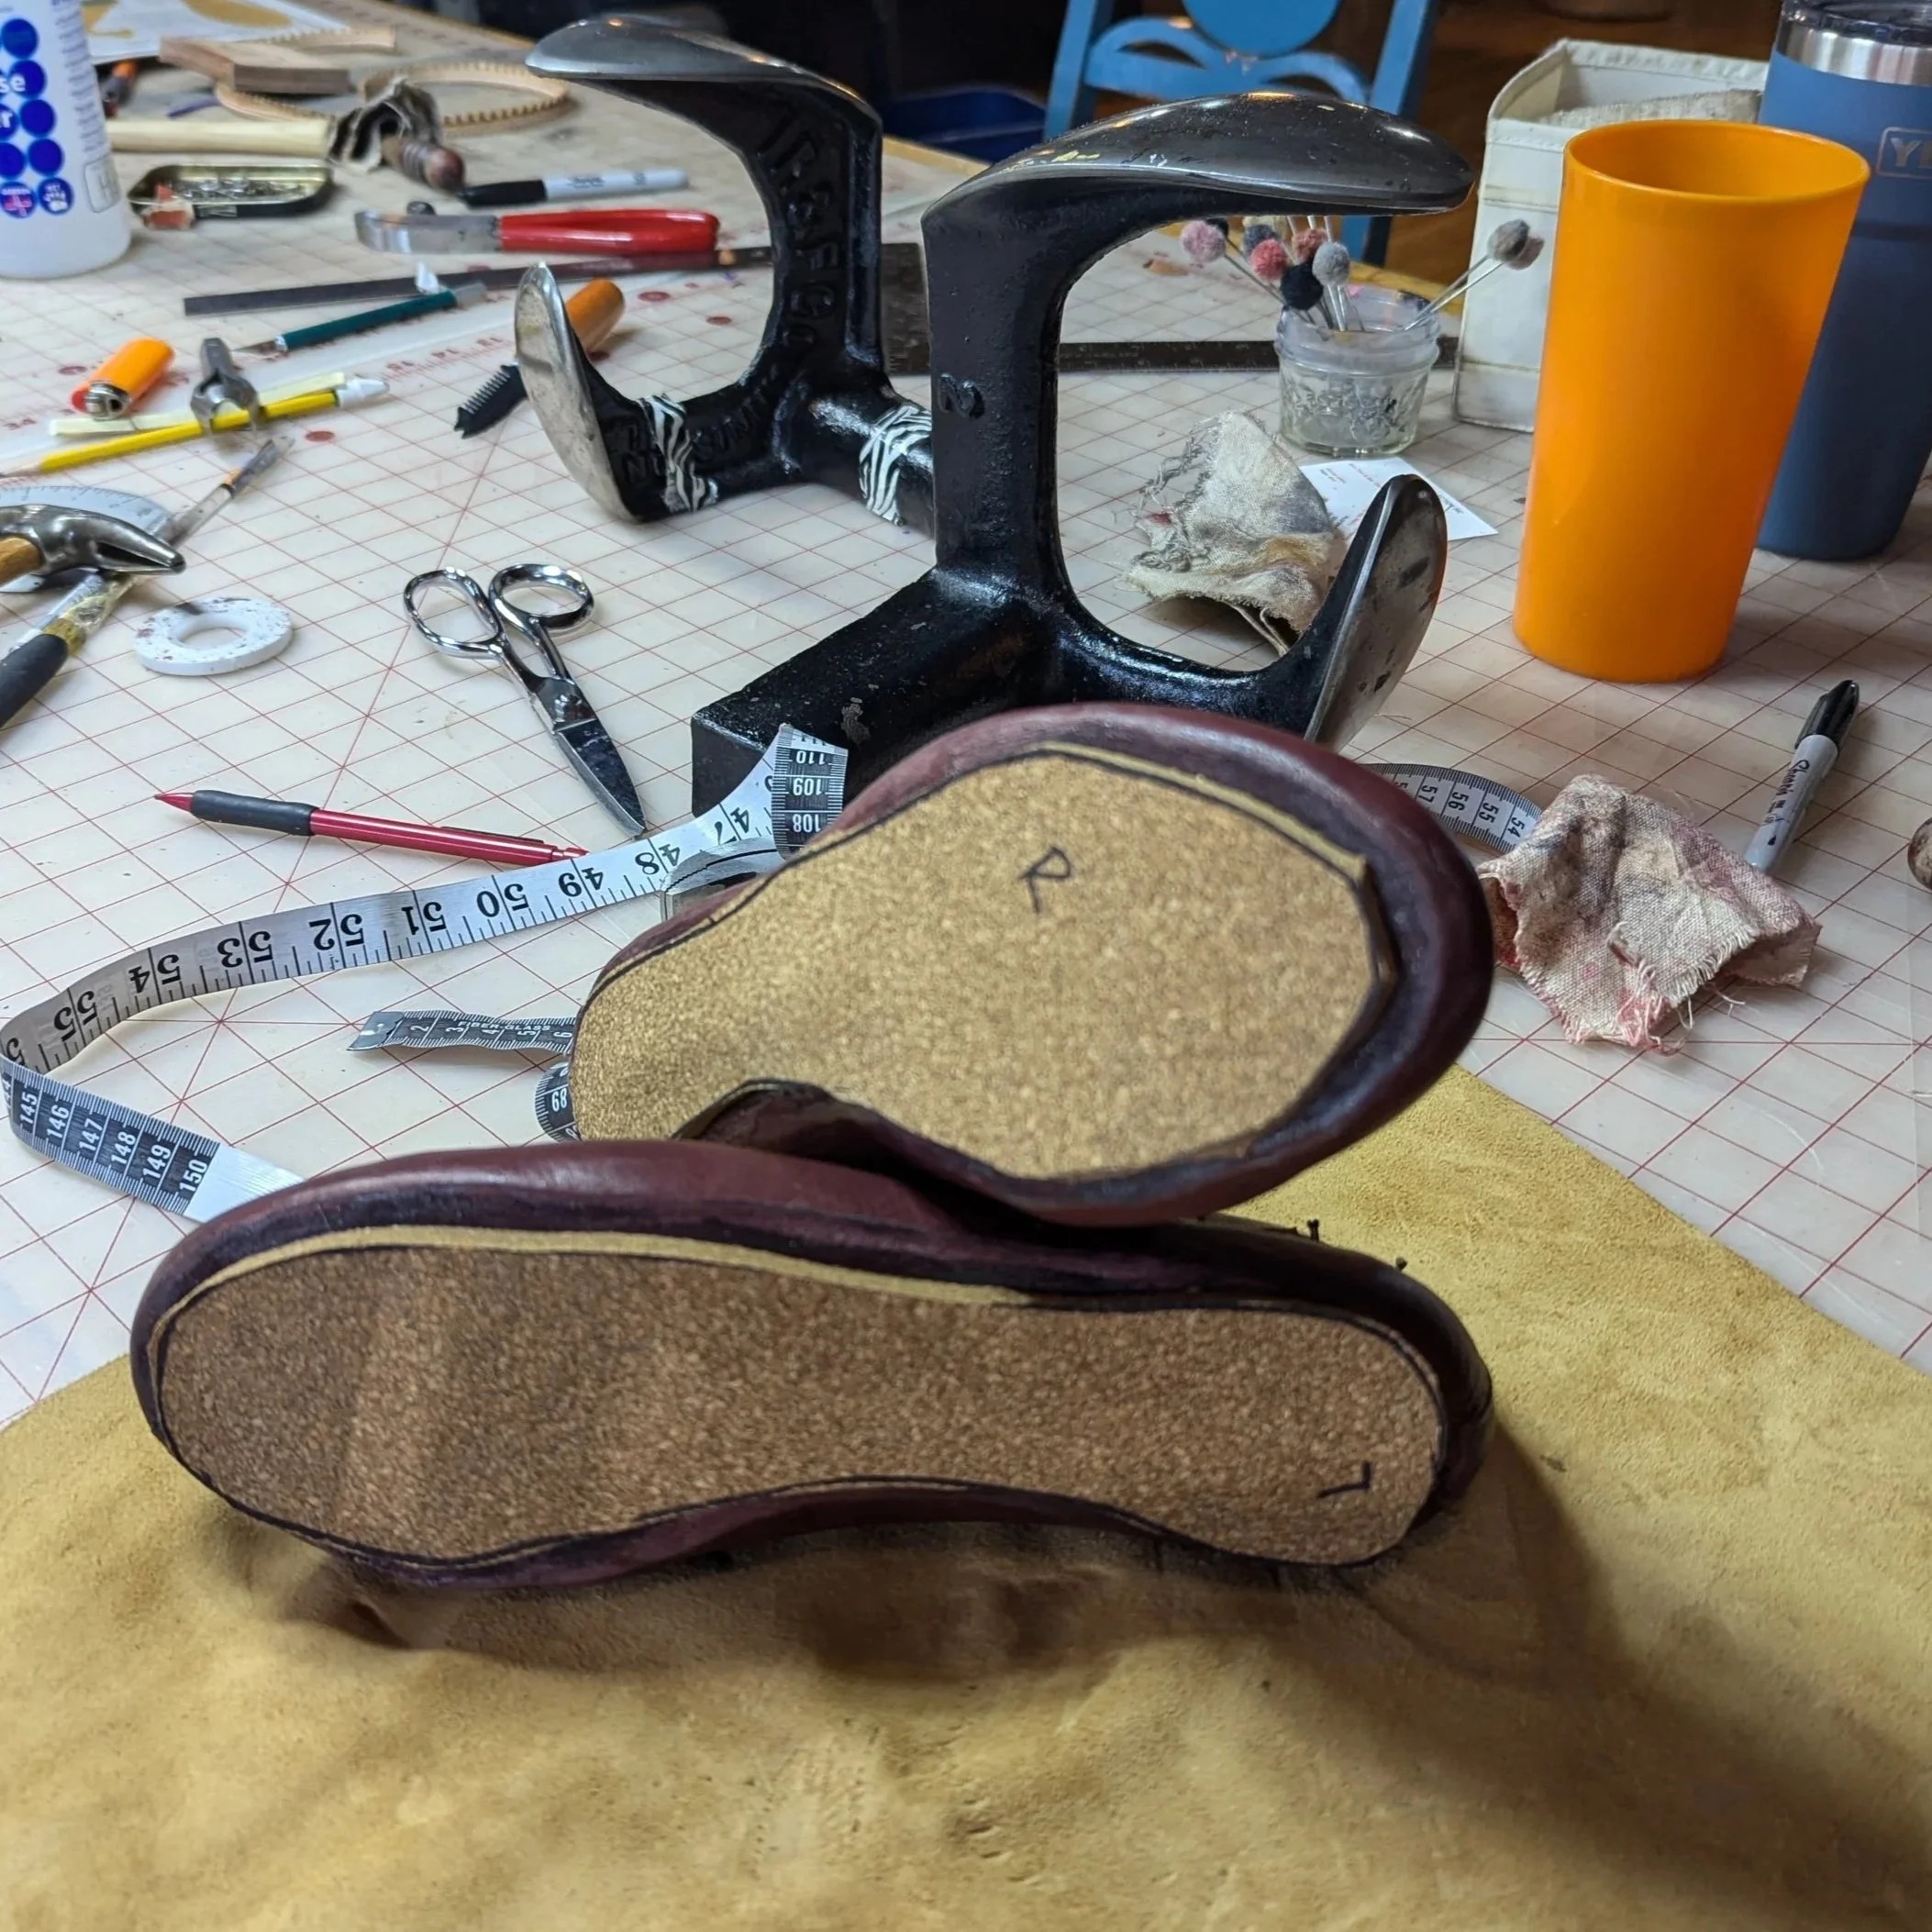
Add Shank & Outsole
Next we glued our shank onto the insole board and covered it with a cork midsole. Every shoe has a shank, which is a metal (or composit) piece that absorbs and disperses the force of your foot hitting the ground.
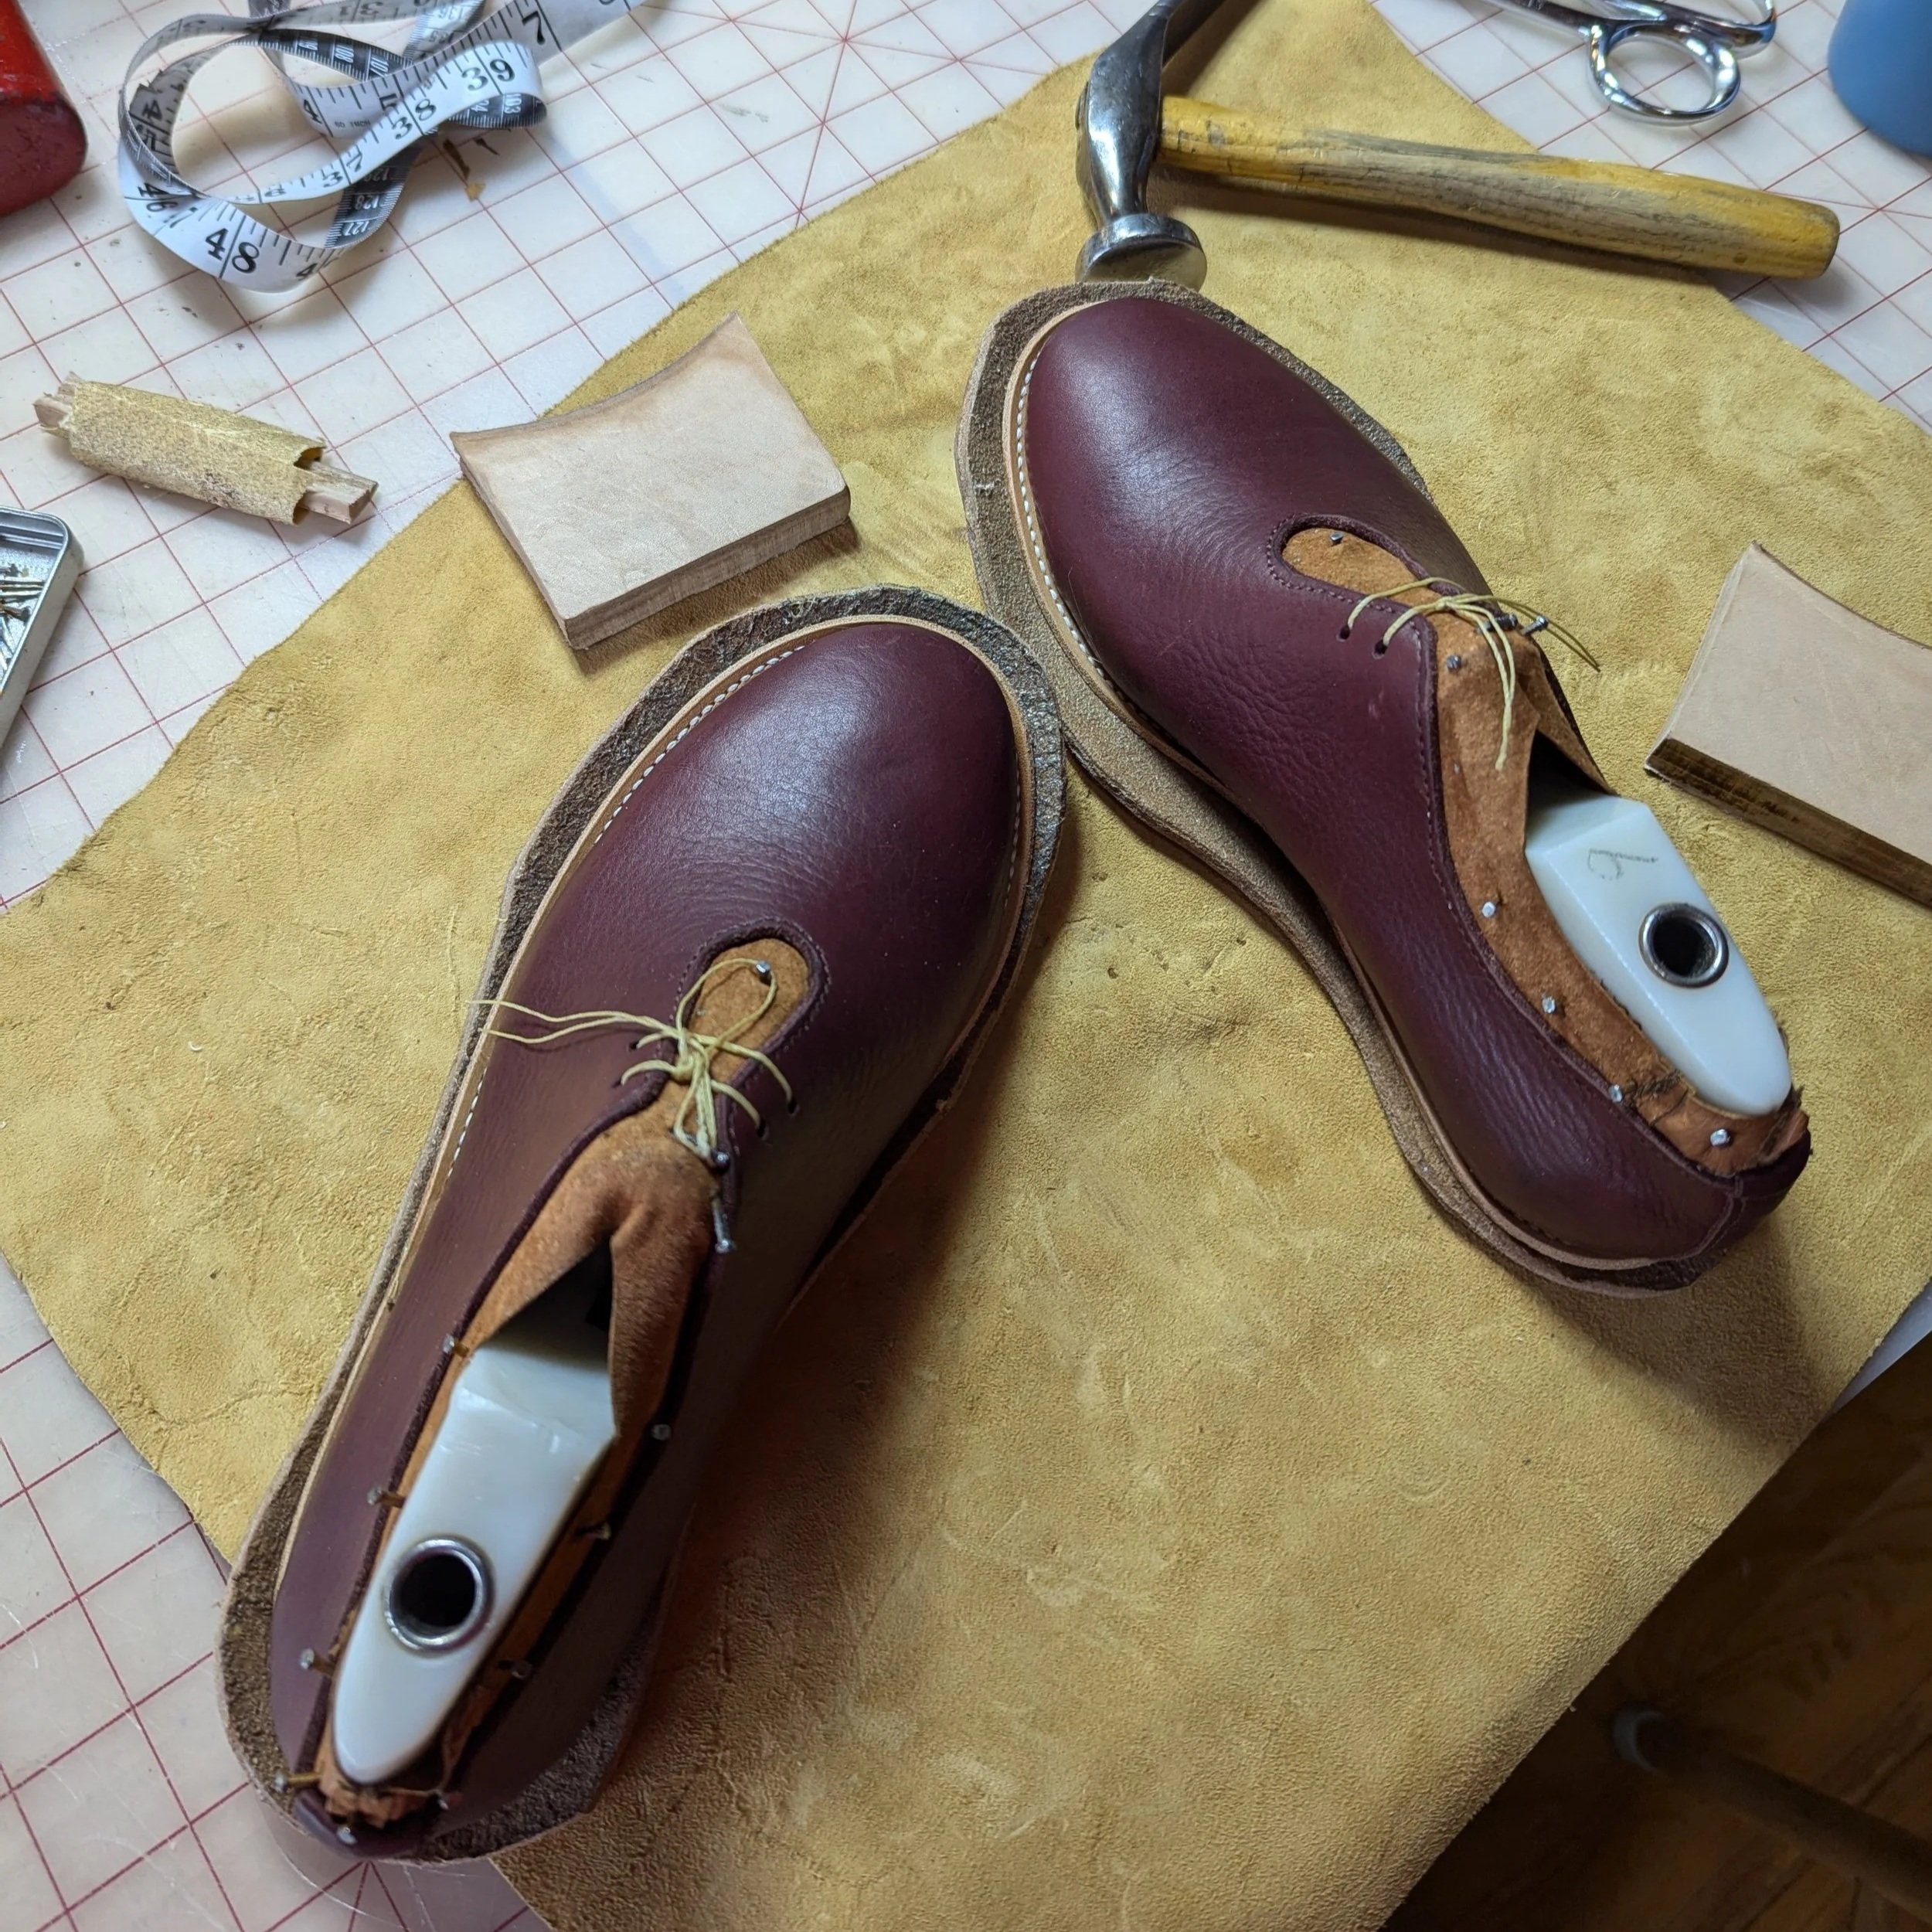
This style has a faux welt. In a proper Goodyear welted shoe, the welt is how the upper is attached (sewn) to the bottom. For this style, the bottom is cemented (glued) to the upper and the welt is decorative.
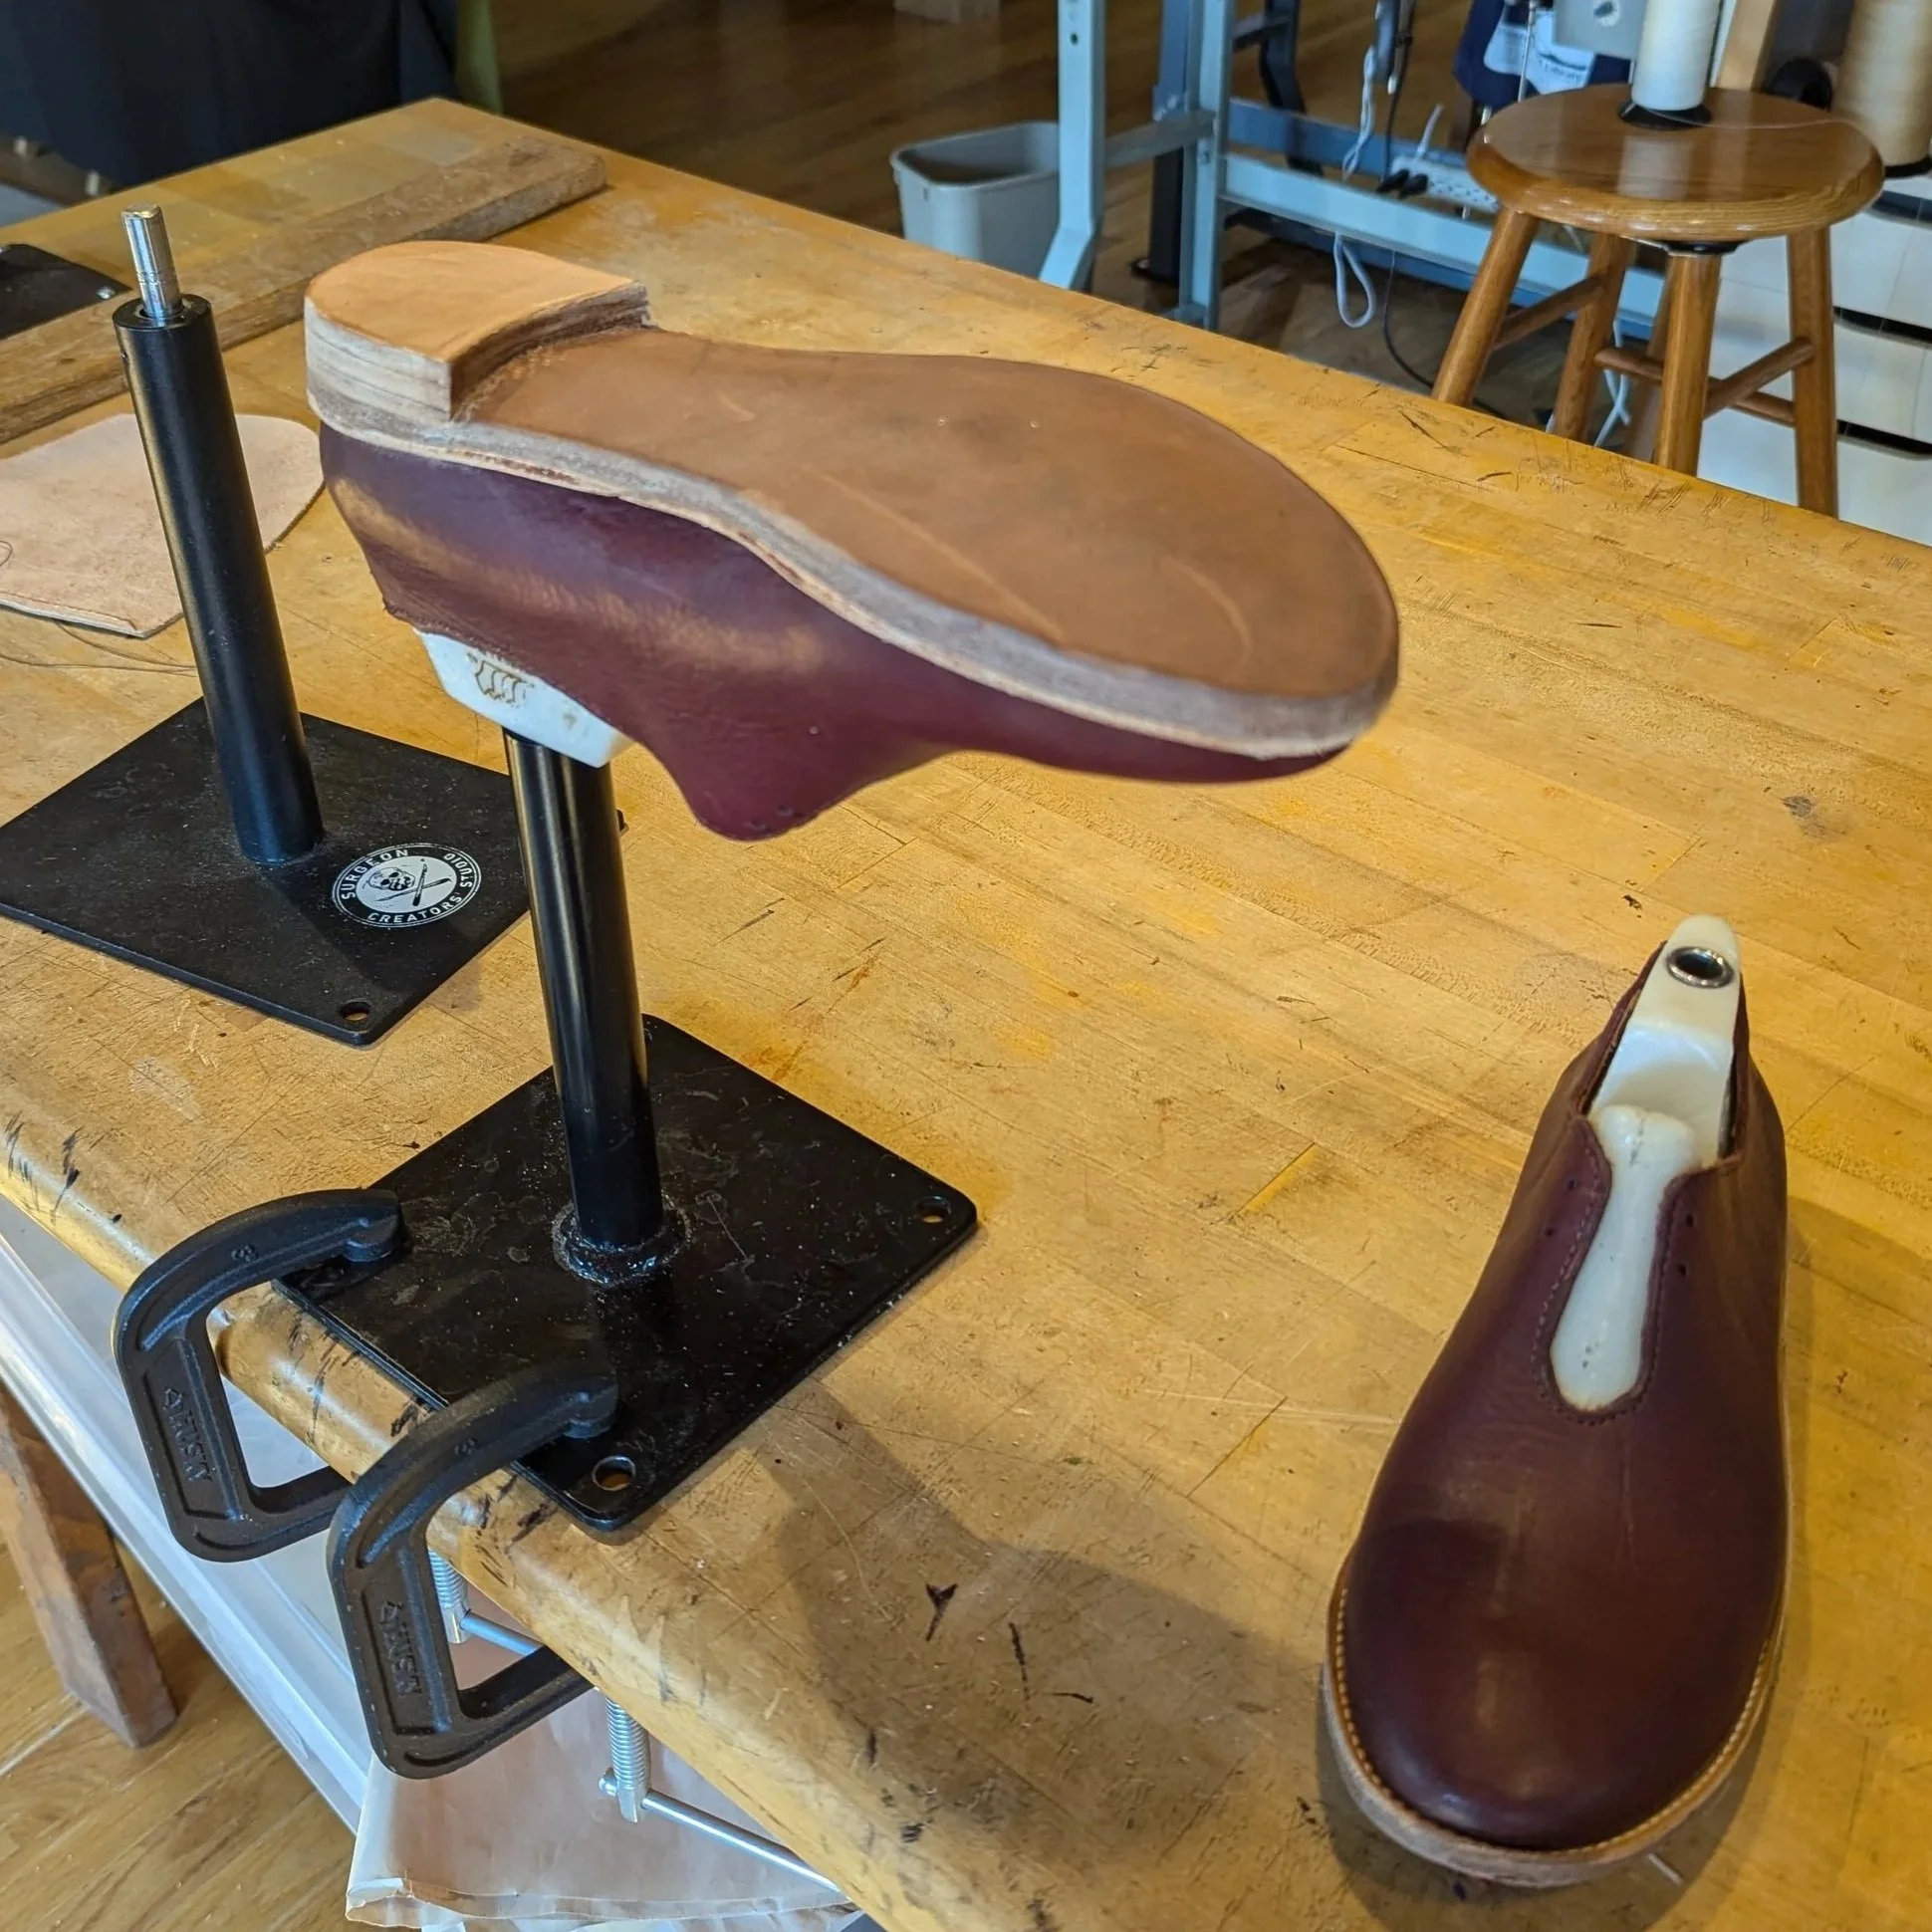
Machine Excesss Material & Finish
As you can see in the previous photos, the outsole is oversized for the shoe. Once the cement is cured, we machined off the excess material. We used an exacto knife to cut out the excess lining at the collar.
We used burnishing gum and a wood slicker to polish the edge of the outsole and the heel stack.
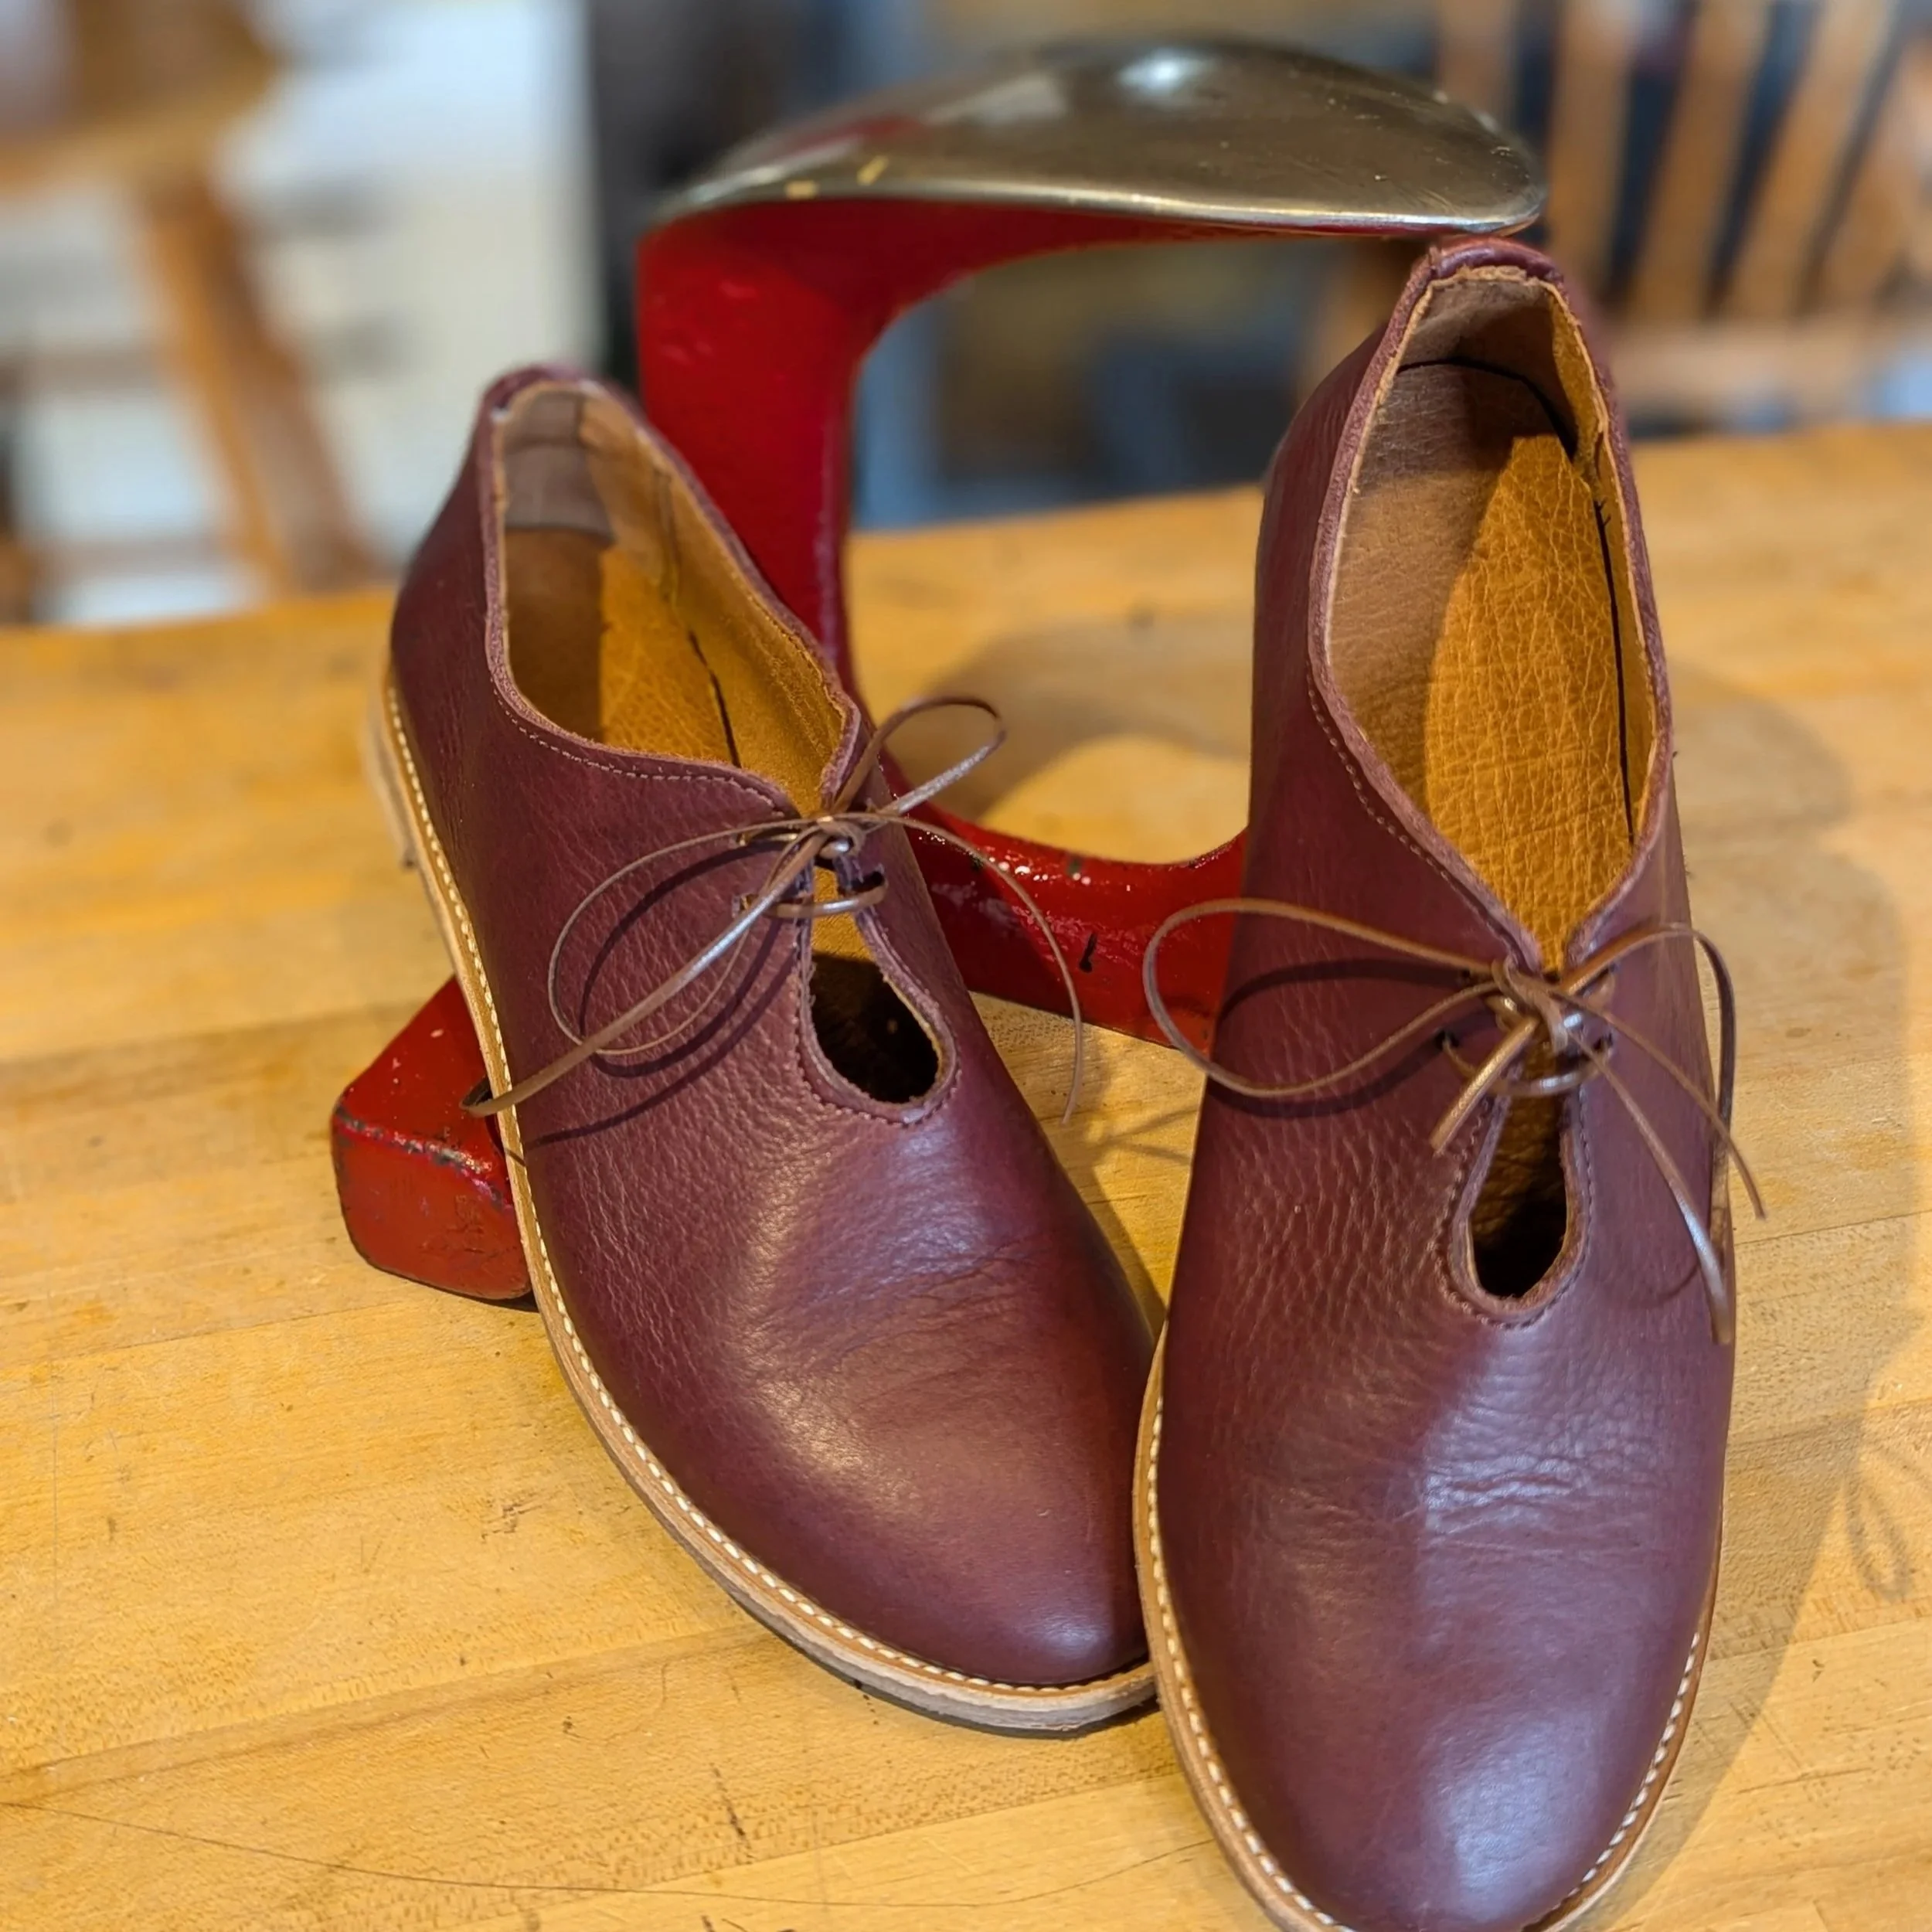
Finally, we added shoelaces and the shoes are ready to wear!
More in this Series…